Inline edit WooCommerce category vs tag in PBULKiT – Bulk Edit WooCommerce Products plugin can help you to add or remove any category or tag, to/from a product directly in the product table.
We are going to show you how to Inline edit category / tag in our plugin in three simple steps:
Step 1: Add category / tag columns
To have access to the category/tag in the product table, you need to add these columns to be displayed in the table.
Adding new columns in the product table is possible by using column profile form.
Read More: How to add columns to PBULKiT – Bulk Edit WooCommerce Products – plugin?
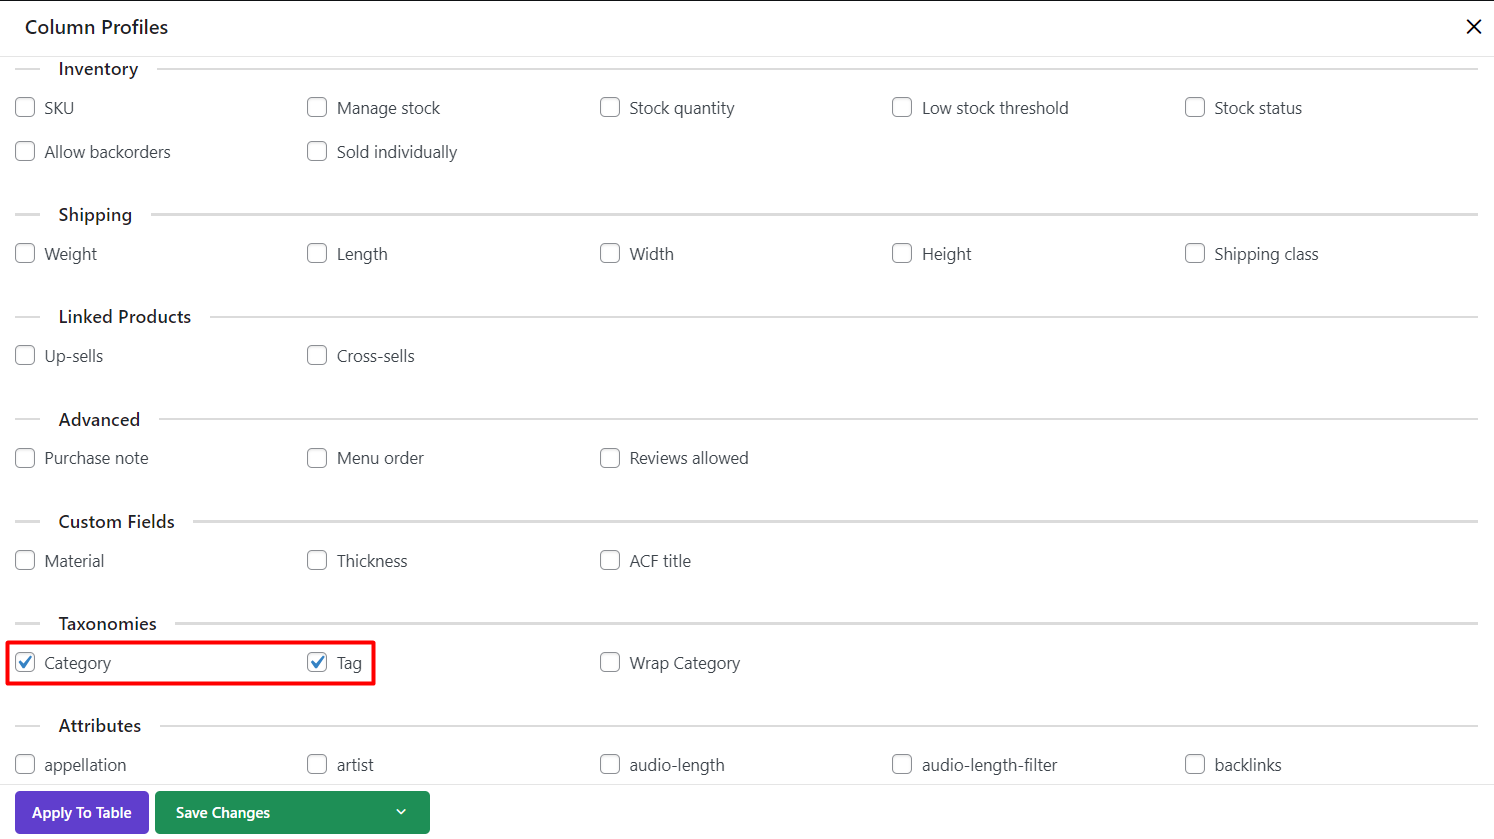
To see the column profile form, you need to click on the “Column Profile” button at the main page of our plugin. Then, you can mark those columns related to the “categories” and “tags” as shown below:

By clicking on “Apply To Table”, those columns will be displayed in the product table and you can easily inline edit any column related to any product.
Step 2: Search product
You can use the “Quick Search” option to find the right product that you need to inline edit its category/tag. By using this field, you can quickly find your preferred profile by searching either “Title” or “ID” of the product.
For example, we searched for a product with “ID No: 2211” And it was filtered as below:

Step 3: Inline edit WooCommerce tag / category
To inline edit WooCommerce tag/category of that product, the following actions are required:
- Click on category/ tag column of that product.
- Add new categories / tags If you need.
- Mark / unmark your preferred categories / tags.
- Click on “Apply Changes”.
Example 1: Inline edit WooCommerce category
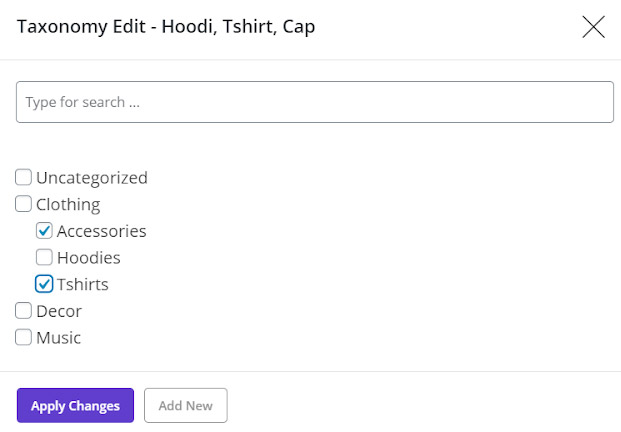
In this example, we tried to inline edit the category of our selected product. As shown below, we unmarke “Clothing” and marked “Accessories” and “T-shirt”:

- Then by clicking on “Apply Changes”, our selected categories were assigned to our selected product:

Example 2: Inline edit WooCommerce tag
To inline edit WooCommerce product tags, we decided to add a new one which could be done by below actions:
- Click on the tag column
- Click on the “Add New” button
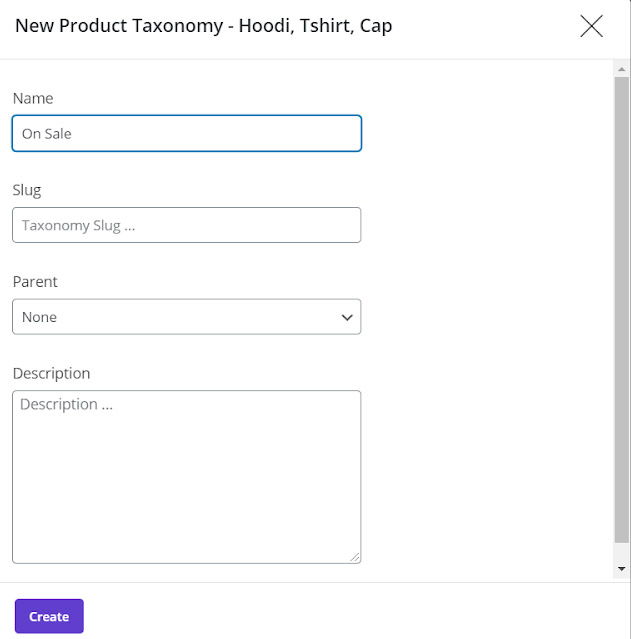
- Type a “Name” for new tag and complete other fields if needed
- Click on “Create”

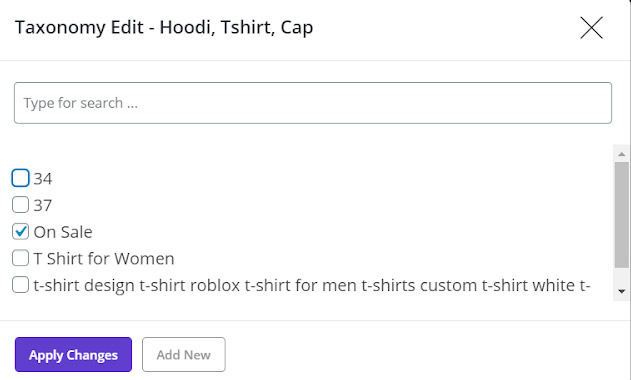
As you can see, the new tag that we have created by the name of “On sale”, has been added to the tag list:

We assigned that new tag to our selected product by marking the check box next to it and clicking on “Apply Changes”:


Comments