Save and load column profiles are as easy as managing product columns in PBULKiT – Bulk Edit WooCommerce Products which we discussed in the previous tutorial.
As you remember from that tutorial we created a new column profile and called it “New profile”. To make it even easier for you to remember, we are now starting from that section by going to the “Column manager” tab.
Here, you can see the list of column profiles and as it is obvious, “New profile” is one of them.
We want to change the name of this column profile. So, as we discussed in the previous tutorial you can easily click on ‘Edit’ in front of this profile to see the “Edit column preset” popup as below:
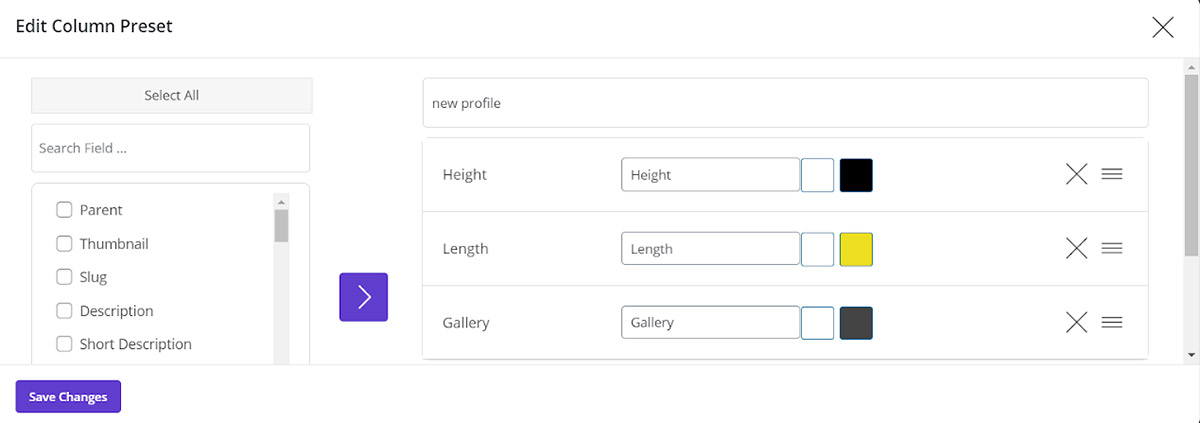
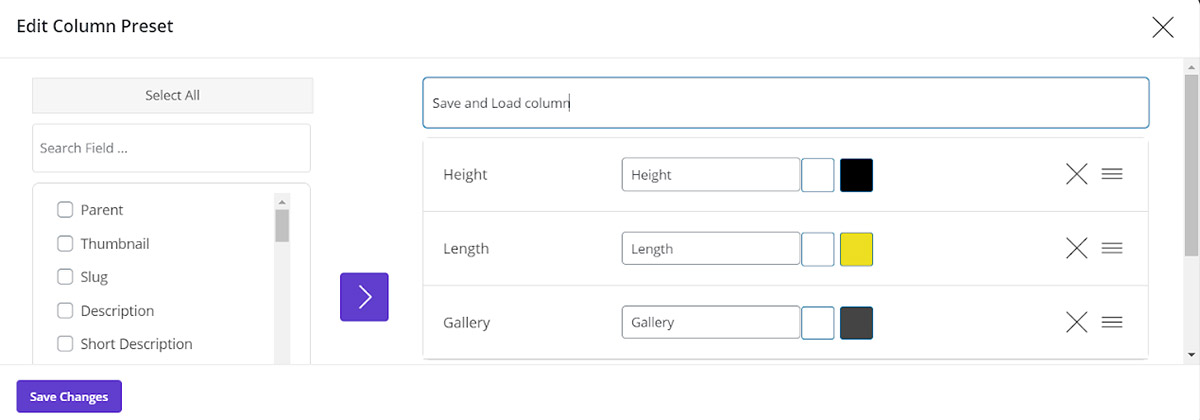
Now, we consider that everything looks great and we just want to change the name of this column profile from “New profile” to “Save and load column”.
This is simply possible by removing the previous name from the name bar above the column list and type the new name then click on ‘Save Changes’ as displayed below:
After that, you can see that this column profile has been added to the list of profiles:
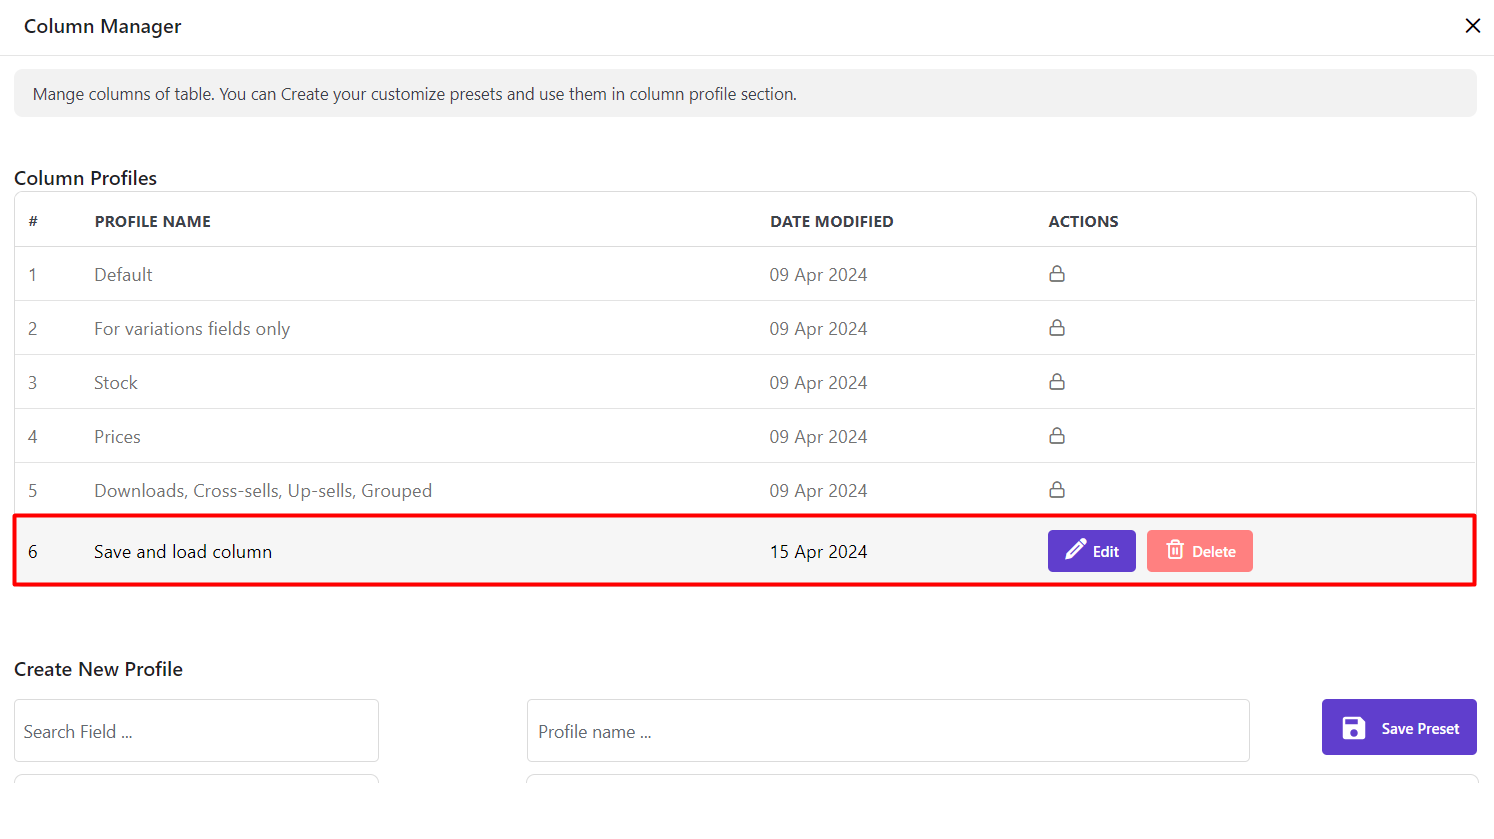
Column profiles
To make PBULKiT plugin display your customized column profile named “Save and load column” in the main page, you have to go back to the ‘Bulk Edit’ tab and click on ‘Column Profile’:
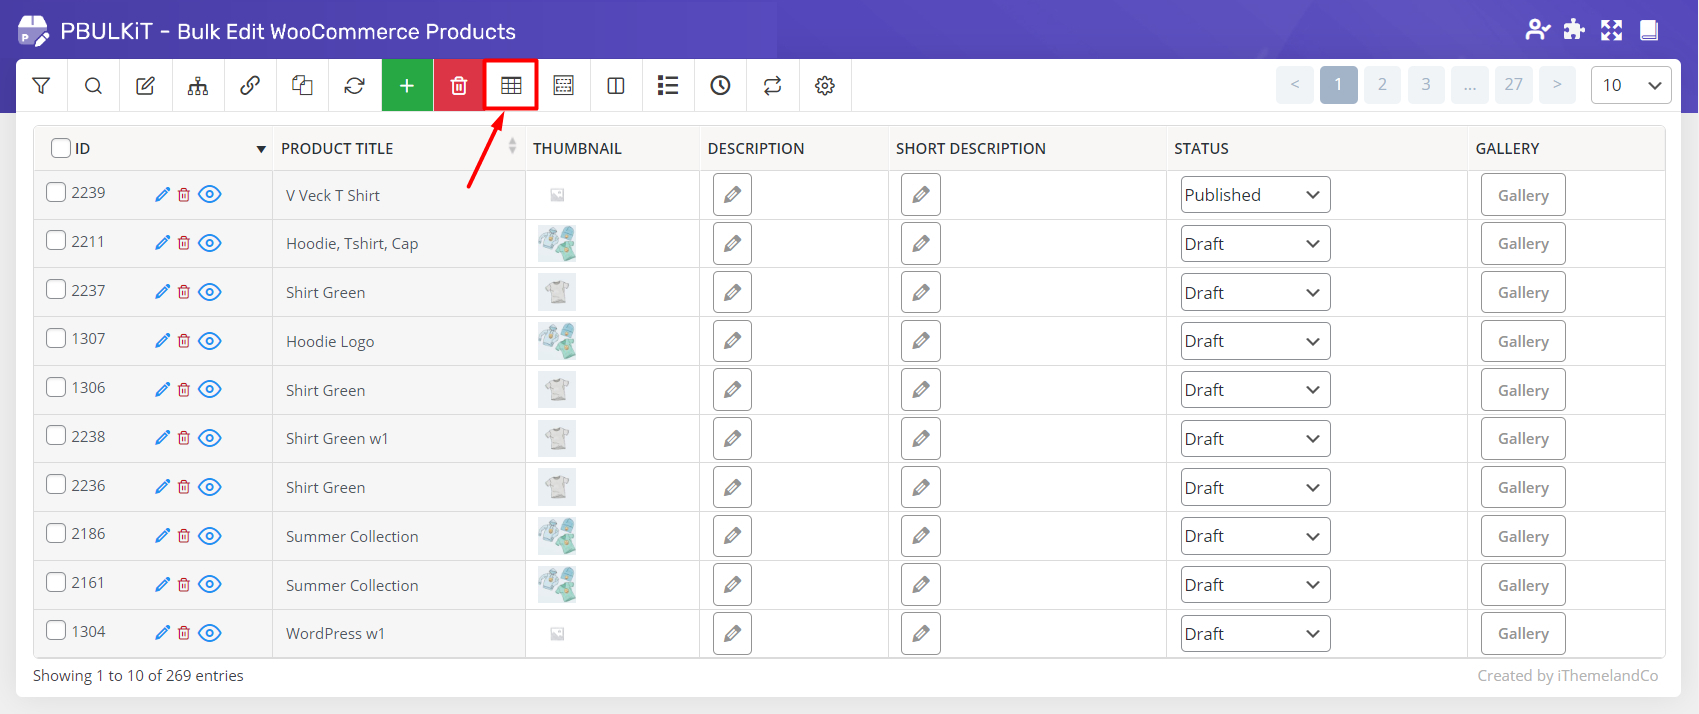
After clicking on Column Profile, a new page will appear as below:
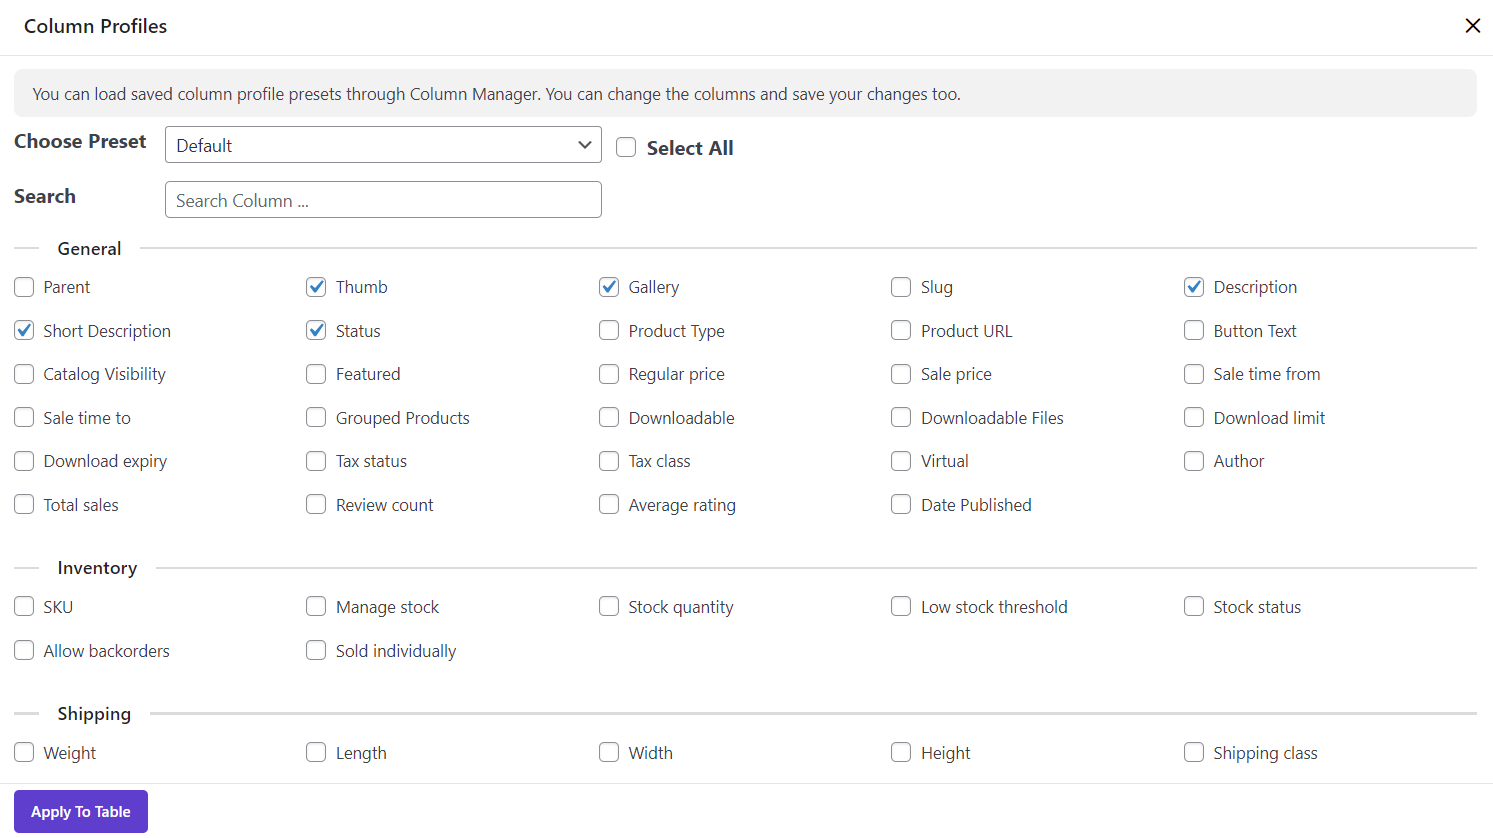
You can easily open the list in front of ‘Choose Preset’ and select your created column profile from the dropdown list –This was “Save and load column” in this tutorial- to be displayed in the main page:
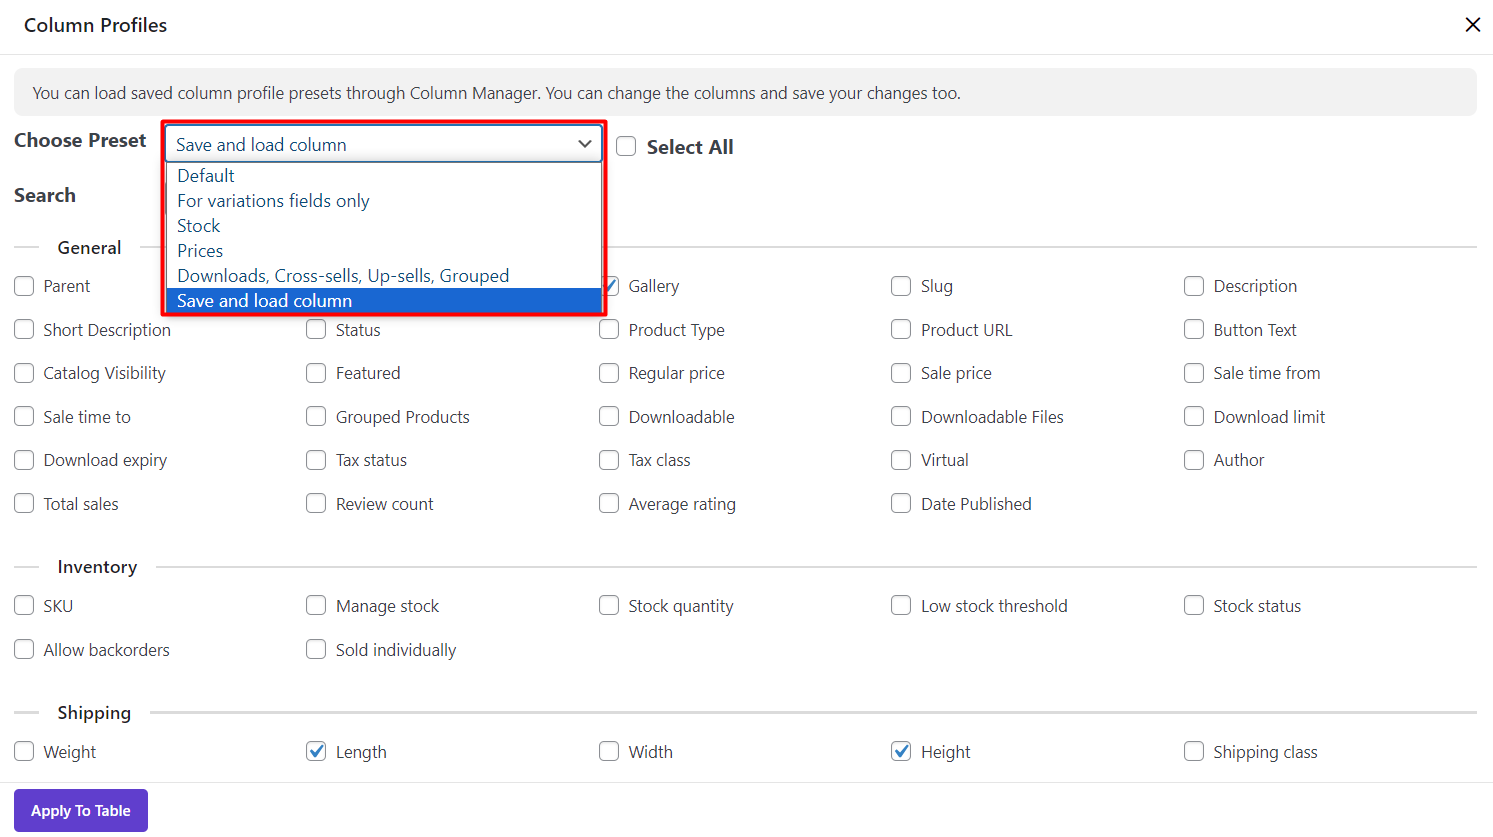
As it is shown in the above picture, By selecting the new profile, you can also see the check-mark next to each item that you have already selected to be displayed as the column of your table in the below form.
By clicking on ‘Apply to Table’, you will be directed to the main page and you can see that your customized columns are now displayed in the product table:
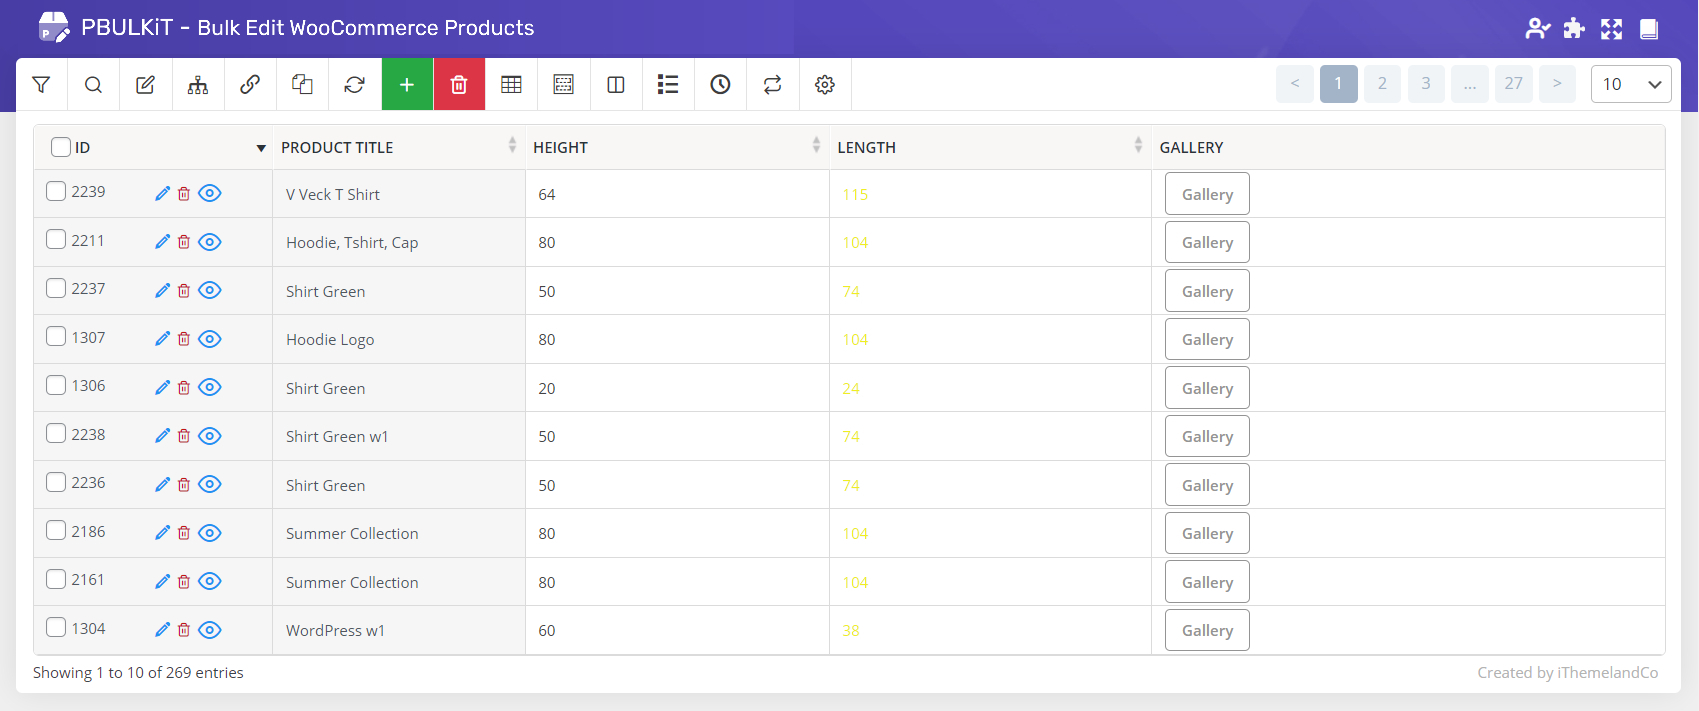
Now, everything is ready for you to Bulk edit any features of your customized product table.
But, this is not the end of our tutorial, there is more to be discussed about the Column Profile tab. So, stay with us.
How to manage product columns from column profiles?
To save and load column profiles from ‘Column profile’ we have to come back to the related page by clicking on “Column Profile” in the Bulk Edit Tab.
As we mentioned before all of the profiles created in this plugin are available on this page.
However, to make the save and load columns easier for store managers, we designed some features on this page which we are now going to get you more familiar with them.
Add or Remove column from Profile
As we explained above, after choosing your profile from drop-down list – Save and Load Column for our tutorial- in front of Choose Preset, all items you have selected before are shown in the below form as below:
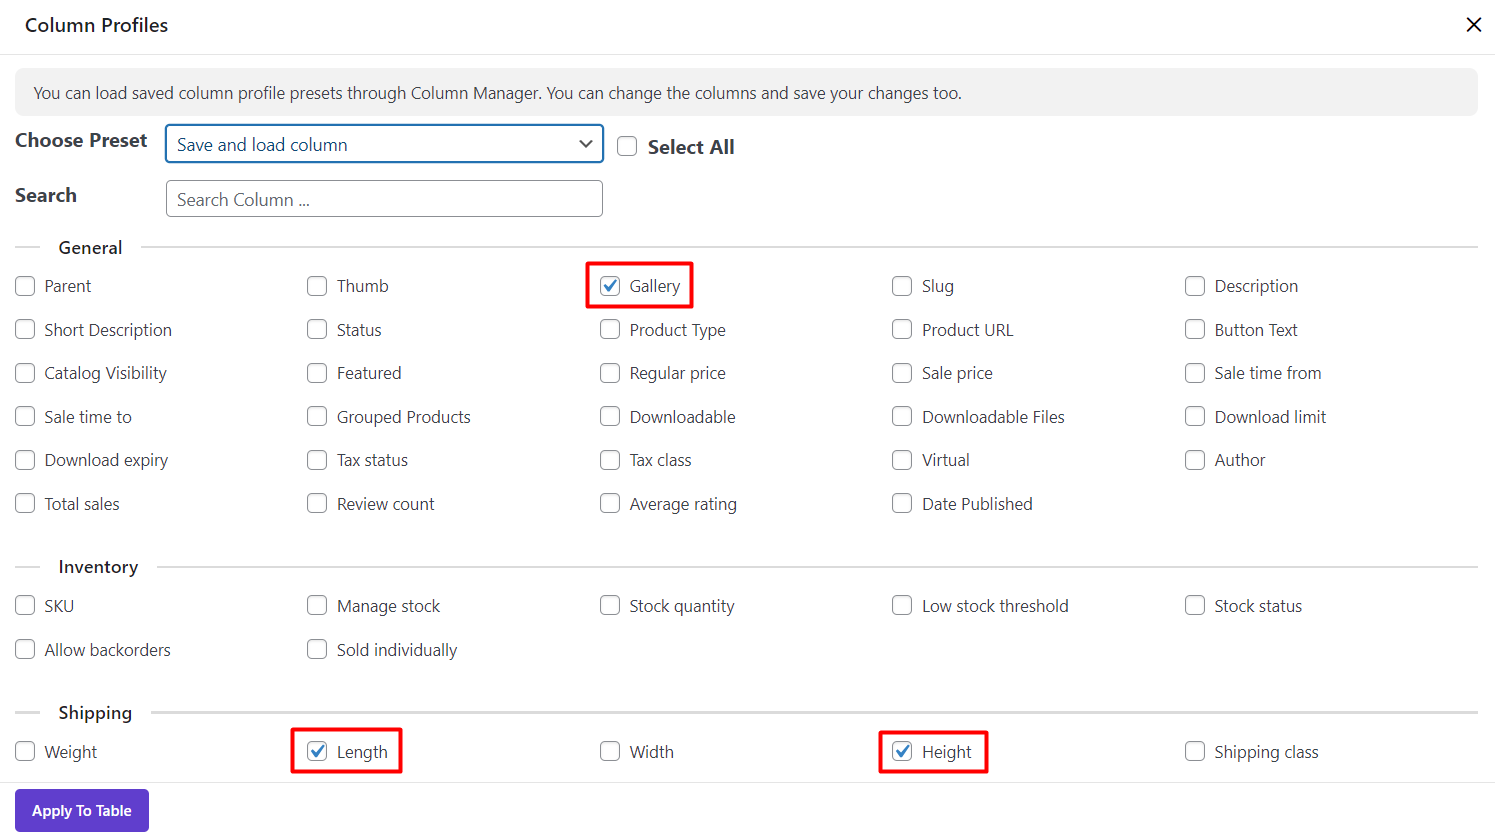
In this form you have 3 ways to add or remove columns in your profile:
1- Select All / Unselect all
If you check the checkbox next to “Select all/Unselect”, Our plugin will display/remove all of the columns in your product table.
2- Check/uncheck the preferred column
You can check or uncheck any column that you prefer.
3- Search
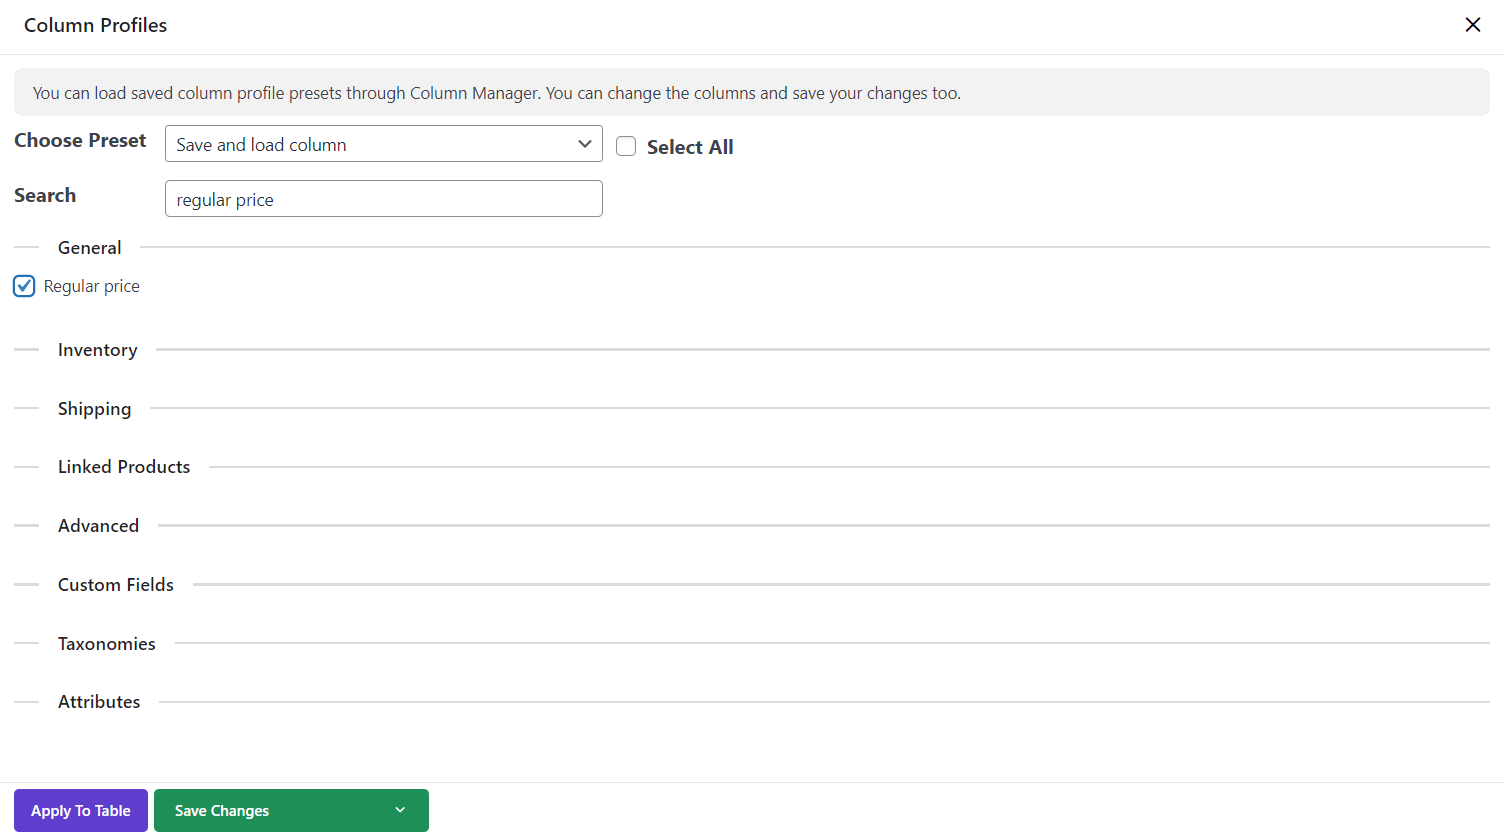
If you type your preferred column in the ‘Search Column’ bar, the related item will be shown and you can easily check or uncheck it without spending time looking for it.
For example, you can see in the below picture that we searched “Regular Price” and checked it after the plugin found it for us.
Save and load column
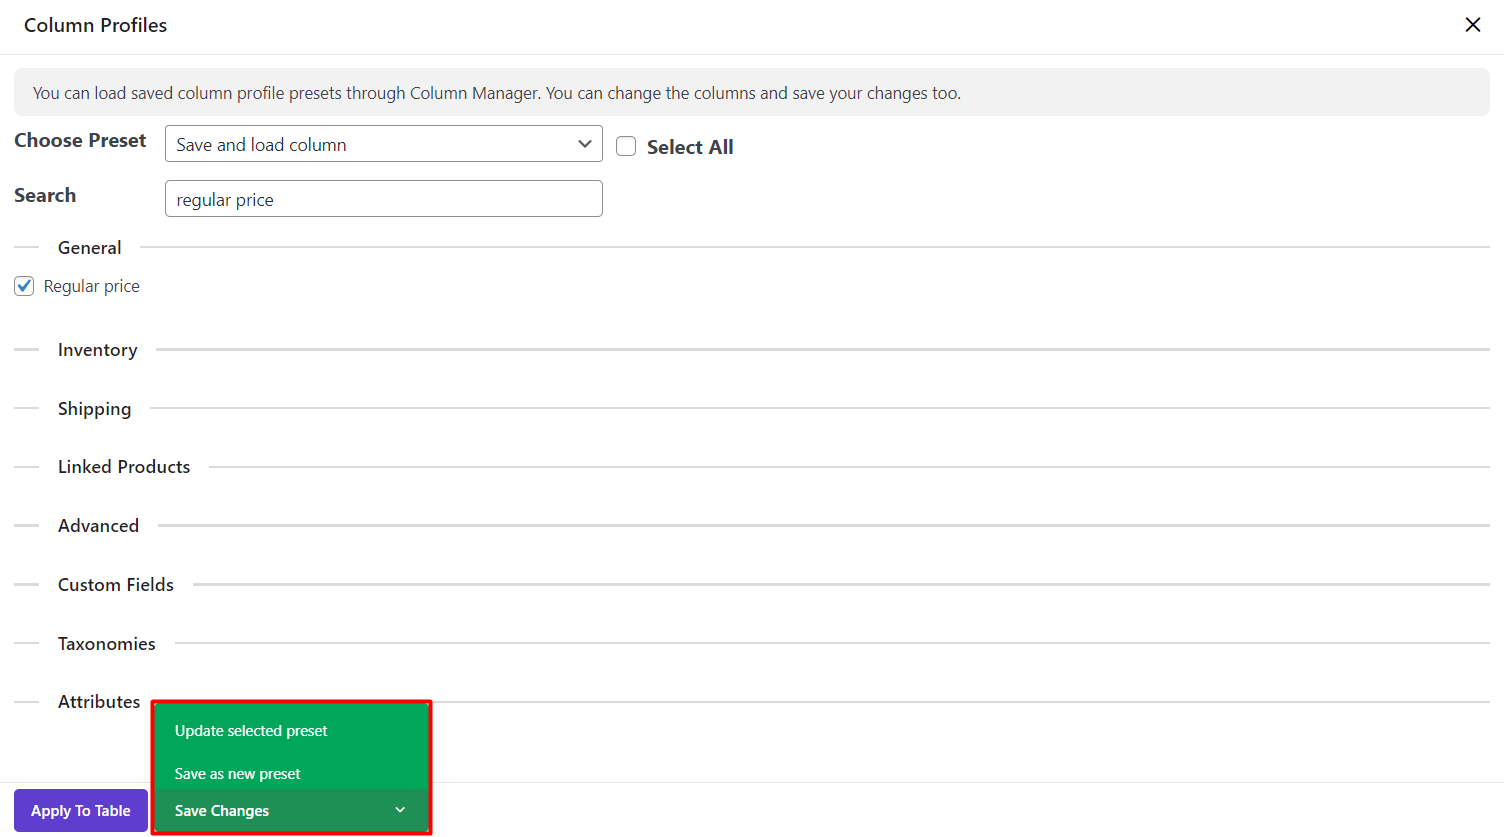
When you make any changes in this page a new item called “Save Changes” will be added at the end of the form including two options:
1- Update selected Profile: all changes will be saved on the previous profile you have already selected.
2- Save as a new Preset: all changes will be saved on a new profile which is created by the plugin and you can have access to it from the dropdown list in front of Choose preset or Column manager tab.

Comments