Adding filter form to the product table is possible by inserting search form in configure its settings in the “Search box & Pagination” tab of WooCommerce product table plugin.
filtering has a big influence on impressing customers to purchase goods from your online store. It is essential to display a customer-friendly search form in your website and encourage your potential customers. This help filter the products they need and add them to the cart.
Follow our below guide to show you how Woocommerce Product Table Plugin can help you to achieve this goal.
Inserting a search box to add filters form in product table
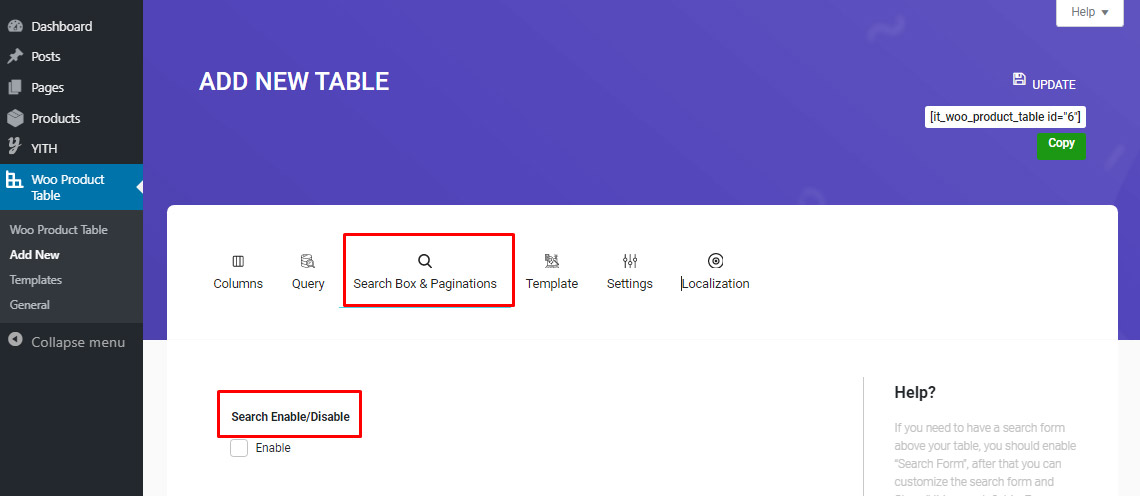
Inserting a search box and add filter form to the product table is simply possible just by one click in “Search Box and Pagination” Tab.
As you can see in the below picture, by clicking on the checkbox next to Enable under “Search Enable / Disable” field, you can insert a search box to your product table:
Depending on how you control and manage the search box by other fields that we are going to describe later, the appearance of your product table would be something like this:
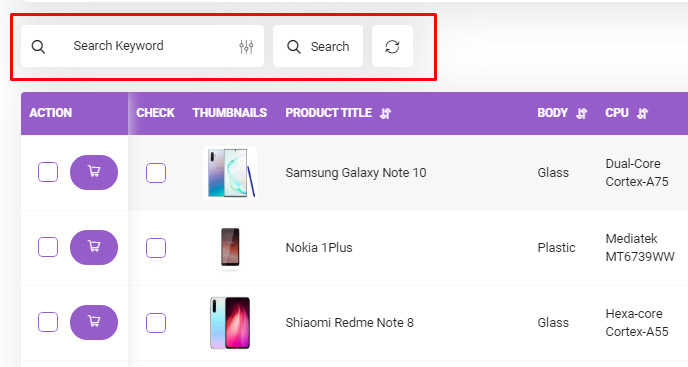
“Search Keyword” box, “Search” box and “Reset Form” button are 3 items that are always displayed on the top of your product table after enabling the search box.
The other item may differ from what you are observing in the above picture according to the settings you would prefer for your search box.
Let’s go and see how you can customize your own search box. It help to make adding filters to the product table even easier for your customers.
Search box setting
Search box settings in the Woocommerce product table plugin includes:
Fields option of filter form
This field has 4 options that you can enable / disable them by marking /unmarking the checkbox next to them including:
Order options
This is a very good option for customers to sort product table items based on what they need.
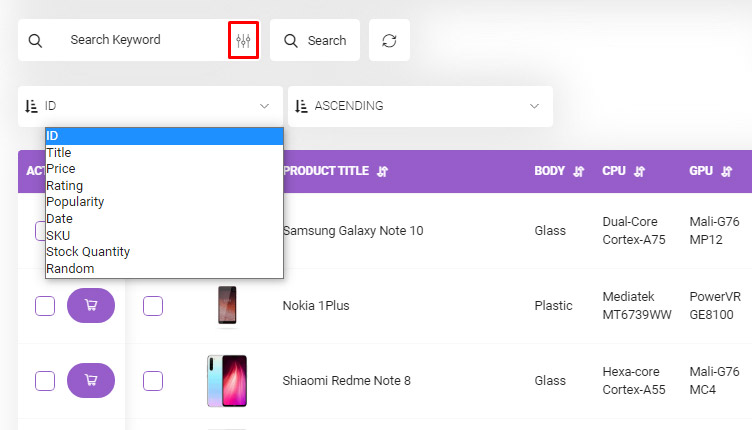
By enabling Order Options, a dropdown list will be added under the search box including the below items:
- Title
- Price
- Rating
- Popularity
- Date
- SKU
- Stock Quantity
- Random
To apply filters to the product table, customers just need to select one of these items. And without clicking on the refresh button.
They are also able to choose in which order they want to see the products: Ascending or descending.
For example in the below picture, we filter the products according to their price. It’s from the most expensive to the least. This by choosing price from the left dropdown list and “Descending” from the right one.
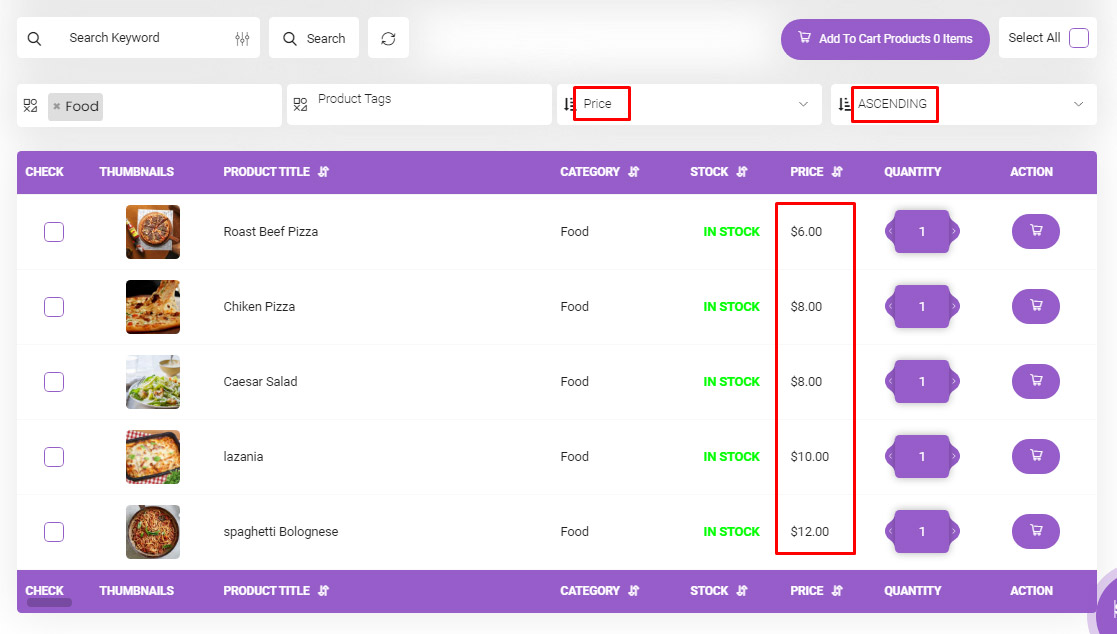
Price Options and filter by product price
Price is the most important value for the customers when they are shopping. So we consider a separate field with some details for it.
By enabling the price option in this field of filter form, you can set the “Price Step” for the search box. It depends on you how to set this step and help customers to find the products according to their budget.
To make it more clear, we will describe it by an example. As in the above picture, we set the “Price Step” to “50” after enabling the Price options. Now let’s see how customers can filter products according to our setting:

At first, you can see that two boxes have been added under the search box. This fields are here to help customers set their preferred price from minimum available value in the product to another.
They are able to select the minimum and maximum prices in first and second boxes according to the step you had set before.
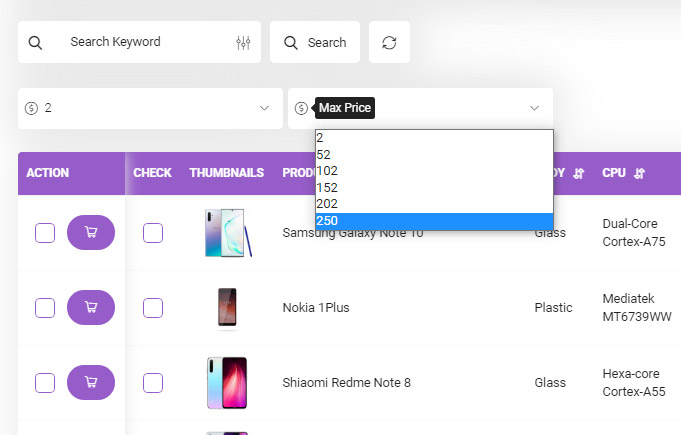
Note: Customers are not allowed to enter the price manually. They have to choose it from the list which is beginning from the minimum available price in the product table and end to the maximum one increasing according to the step you have set.
Status Options
After enabling status option, another box will be inserted above the product table including below options:
- Featured: Display Featured products.
- On sale: Display On-Sale products
- In Stock: Display In-Stock products.
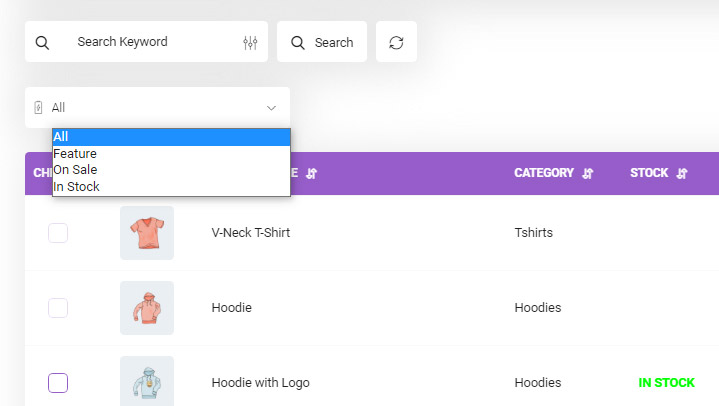
Customers can add filters to the product table regarding these options. For example they can only see the products with “Off” Prices by choosing On “Sale” item.
SKU Options for filter by SKU
Adding filters to the product table according to the SKU is ideal for those customers who need to buy a specific product again or the ones who want to buy some goods repeatedly.
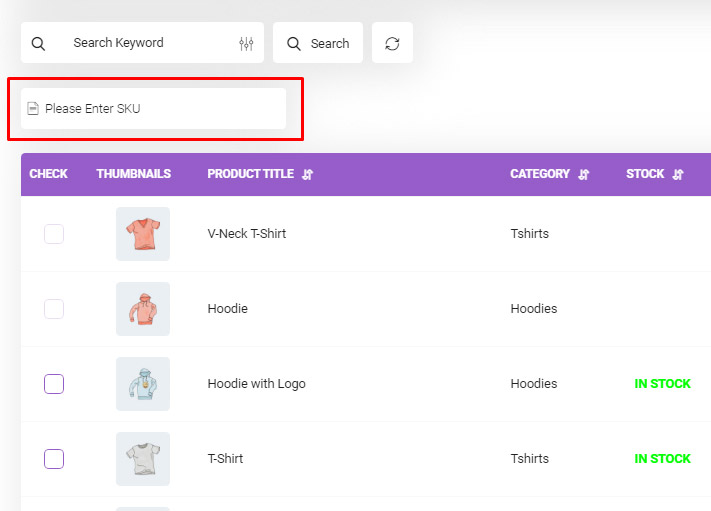
In this way, they are able to manually type the SKU related to that product and directly add it to their cart just by few clicks.
Category / Taxonomy Fields
Under this field you can enable / disable Category, tags, shipping classes and any taxonomy or attributes you have assigned to your products to be filtered by the customer.
As we completely describe “Category” and “Attributes” in another tutorial. We just skip it and refer you to “How to create a search form by category and attributes in Woocommerce Product Table Plugin” for more information.
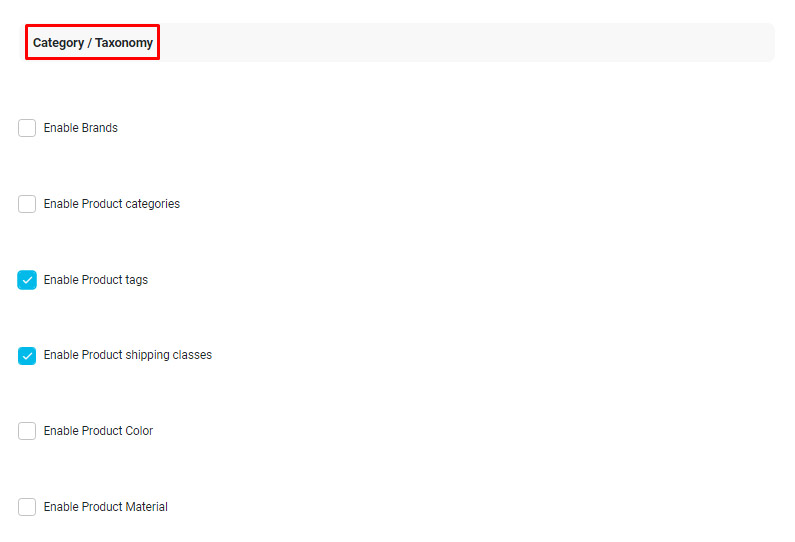
In the below Picture, you can see that enabling tags and shipping classes will add another boxes to the search form above the product table and customers are able to filter products according to their preferred tags or shipping classes:
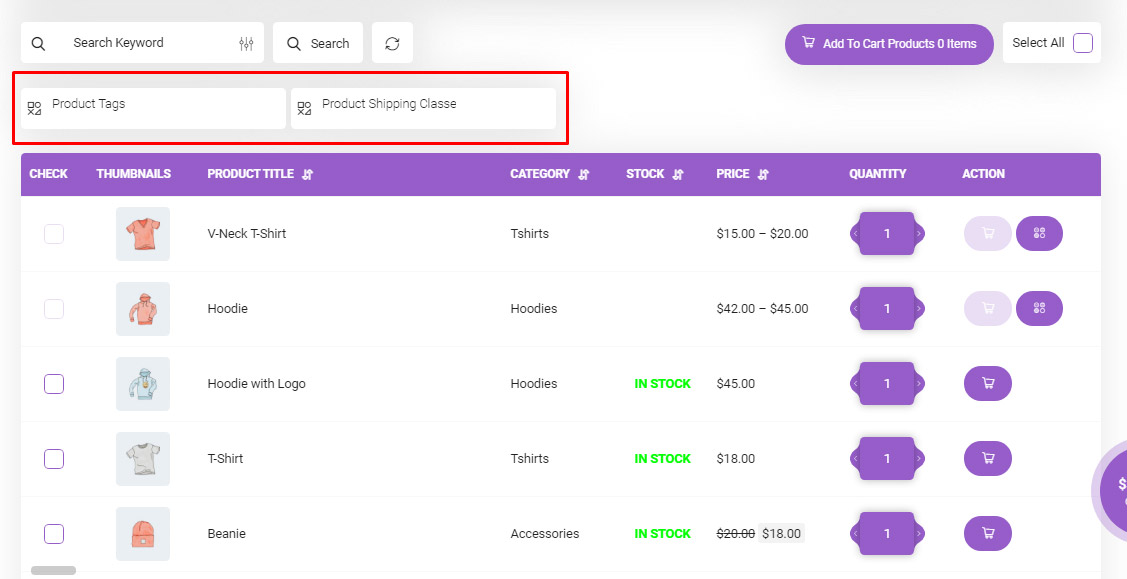
Note: It is possible for customers to find their category / taxonomy term inside these boxes.
Always show search filter form
“Always show search form” is an option you can enable from the very beginning of this page. However, to prevent you from being confused we are going to explain it at the end of our tutorial.

By enabling this option, all of the items you have chosen to be shown in the search form above the product will be always displaying.
But if you disable this option, every time the page of your product table being refreshed, all items will be hidden and just the 3 main items including “Search Keyword”, “Search” and “Reset Form button” will be displayed till the customer click on the setting sign in the Search Keyword box to see them.

Comments