It’s possible to Manage trashed orders especially when you want to assign a specific status to them is a time-consuming task in WooCommerce because you need to first restore them then change their status one by one.
The good news is that you can manage all trashed orders directly on “OBULKiT – Bulk Edit WooCommerce Orders plugin“.
Stay with us to see how our plugin makes managing trashed orders easier for store managers.
Filter trashed orders
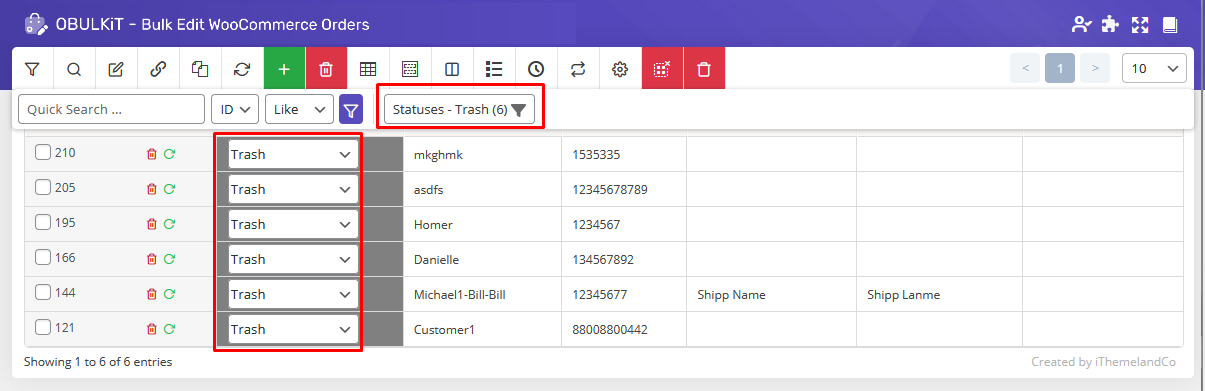
To make managing order status more convenient for store managers in our plugin, there is a status dropdown in the “Quick Search” section enabling you to filter the orders with that status by clicking on it.
For example, as you can see all of the available statuses:
- All
- Cancelled
- Trashed
- and etc
It is also noticeable that the number of orders with that status is displayed on the status dropdown.
To filter the orders belongs to each status you just need to click on your preferred item.

As we are going to manage trashed orders, to see those orders we clicked on the “Trash” item and as shown below those orders were filtered for us:
Delete trashed orders
To delete trashed orders permanently, you can easily hover on the recycle icon on the toolbar and choose the “Empty Trash” item.
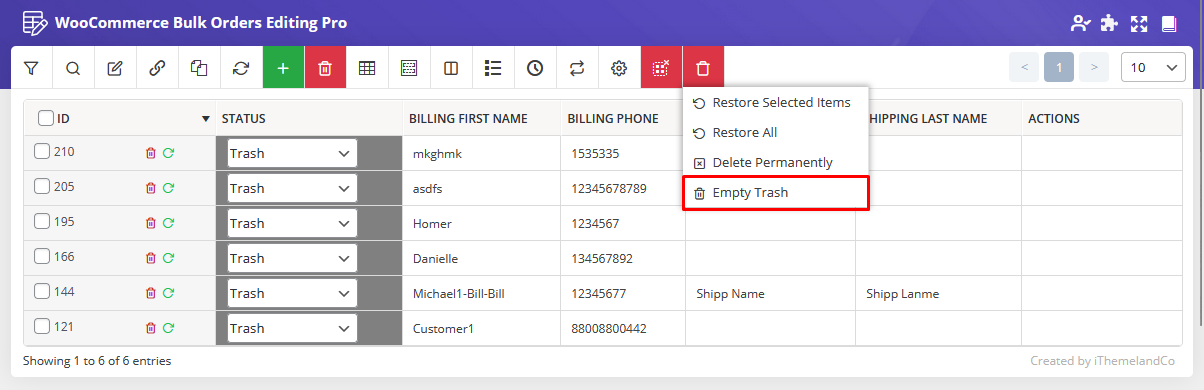
Please, note that the “Recycle” icon and “Empty Trash” just appeared on the main page when you open the Trash tab.
We do recommend you to delete trashed orders by using the “Empty Trash” button very carefully because when you delete orders in this way, you don’t have any access to them in the future.
Restore trashes Orders
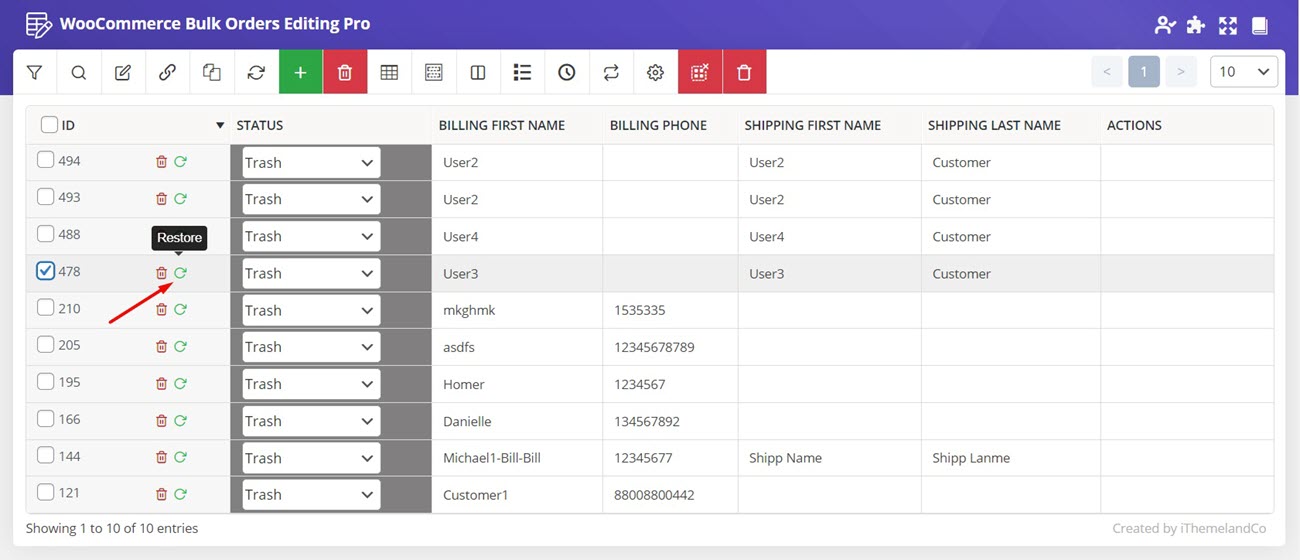
It is also possible to restore one or more trashed orders directly from the order table. To do this, you can directly click on the Restore icon for each row or mark those orders you want to be restored in the table:
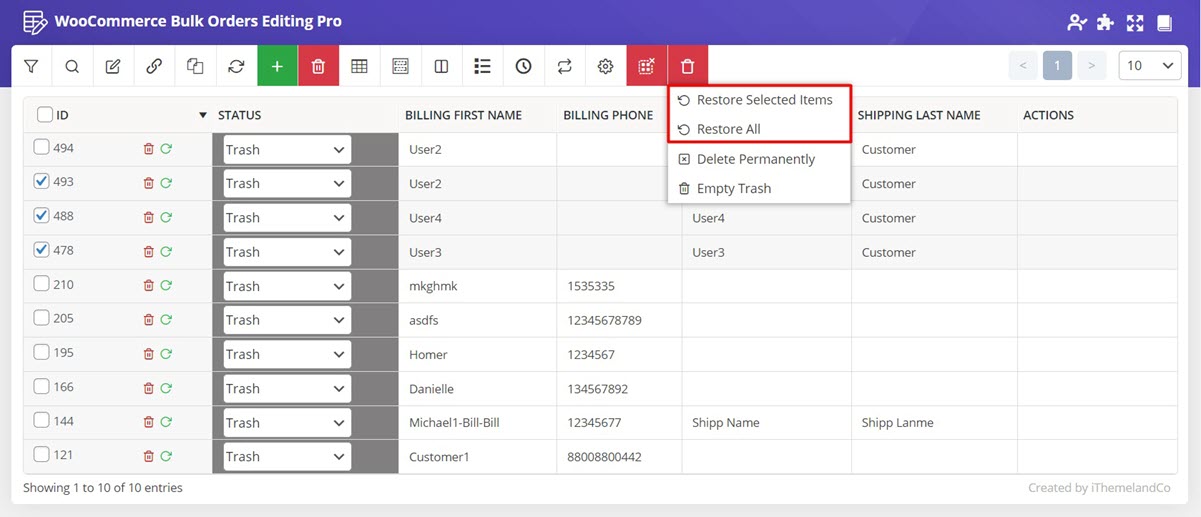
Then as you can see in the picture, the “Restore” options will be available when you hover on the “Recycle” icon on the top of the table.
By clicking on the “Restore” button, the selected orders will be restored and they are not in the Trash anymore.
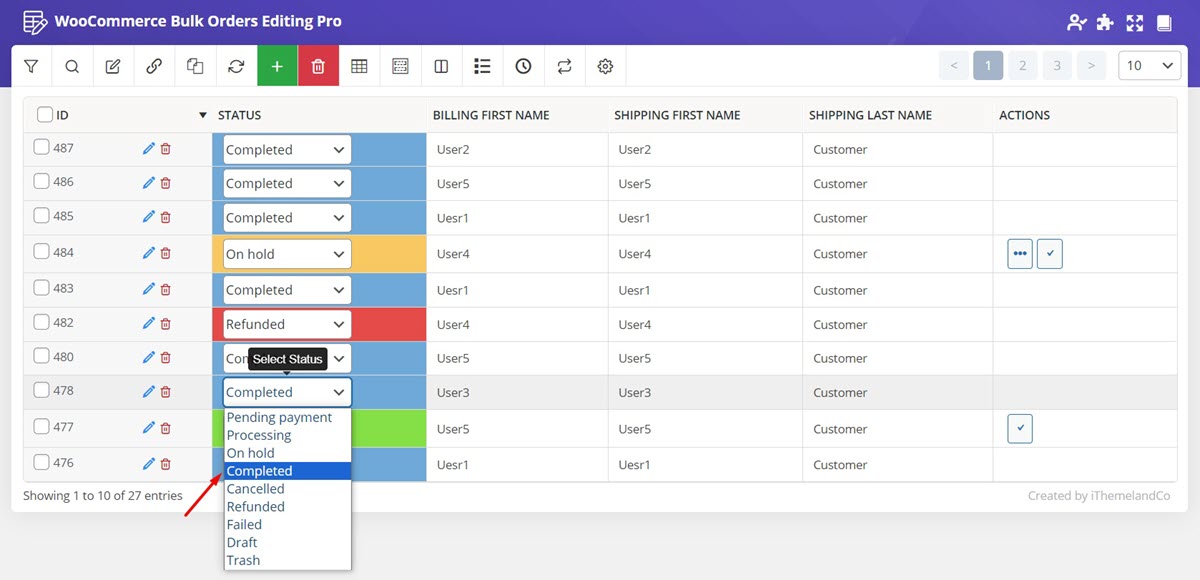
You can change the order status too, by clicking on the “Status” field and changing their status if you need.
Comments