Image settings play a crucial role in making an attractive and impressive eCommerce website. The product thumbnails or images are the first thing convincing your customer. It help to decide purchasing goods from your online store.
To change the thumbnail or image settings by the WooCommerce product table plugin, there are effective options which we are going to describe in this tutorial.
Change image settings in setting tab
To change image settings of your products in the “Setting” tab you have to go to the below address:
Dashboard > Woo Product Table > Setting
By scrolling down on the page of “setting” in our plugin, you can see the below options related to the image settings:
- Thumbs Image Light Box.
By enabling this setting, a pop up will be displayed when the customers click on the thumbnail product image.
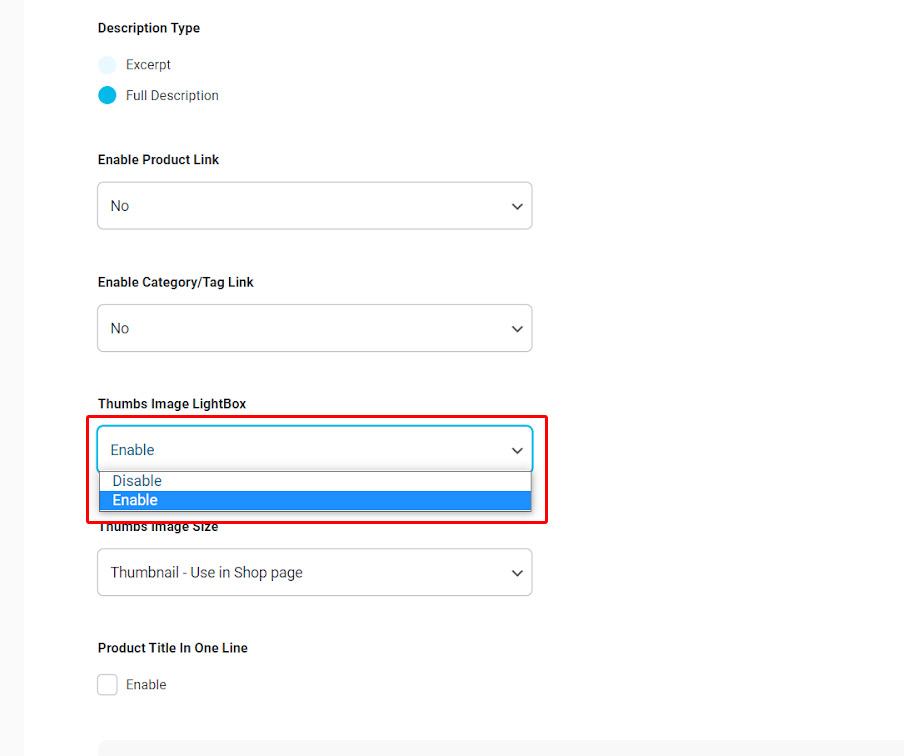
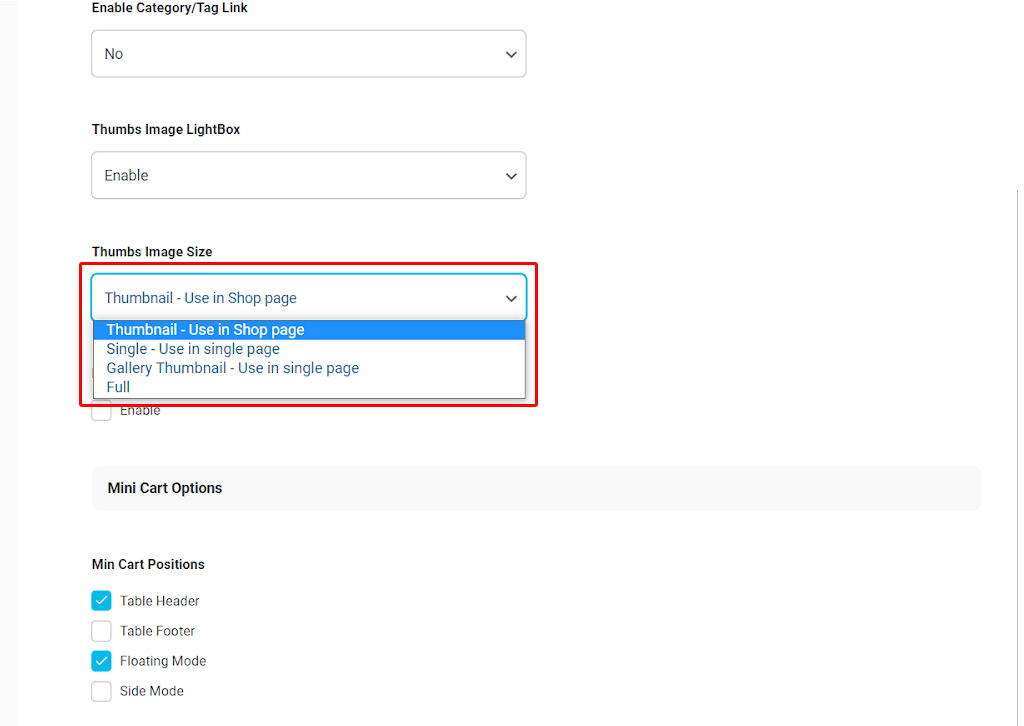
- Thumbs Image Size: You can change the image size of your product in the table. It’s available by choosing one of the below options under this field:
- Thumbnail – Use in Shop Page
- Single – Use in single page
- Gallery Thumbnail – Use in single page
- Full
Change in the template section
To edit any features of saved template or create a new one you have to open the Template page by going to:
WordPress Dashboard > Woo Product Table > Templates
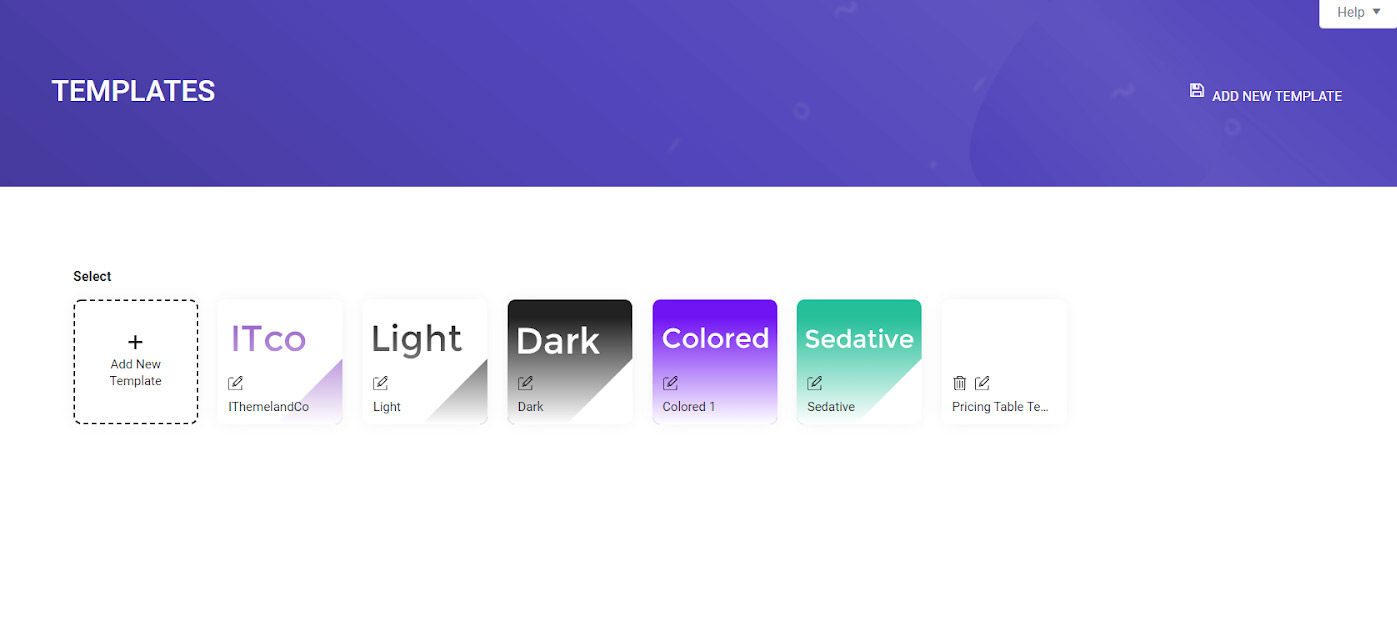
By clicking on the Edit icon or “Add New Template” or “Edit” button of existing templates, you have full access to manage the appearance of your product table.
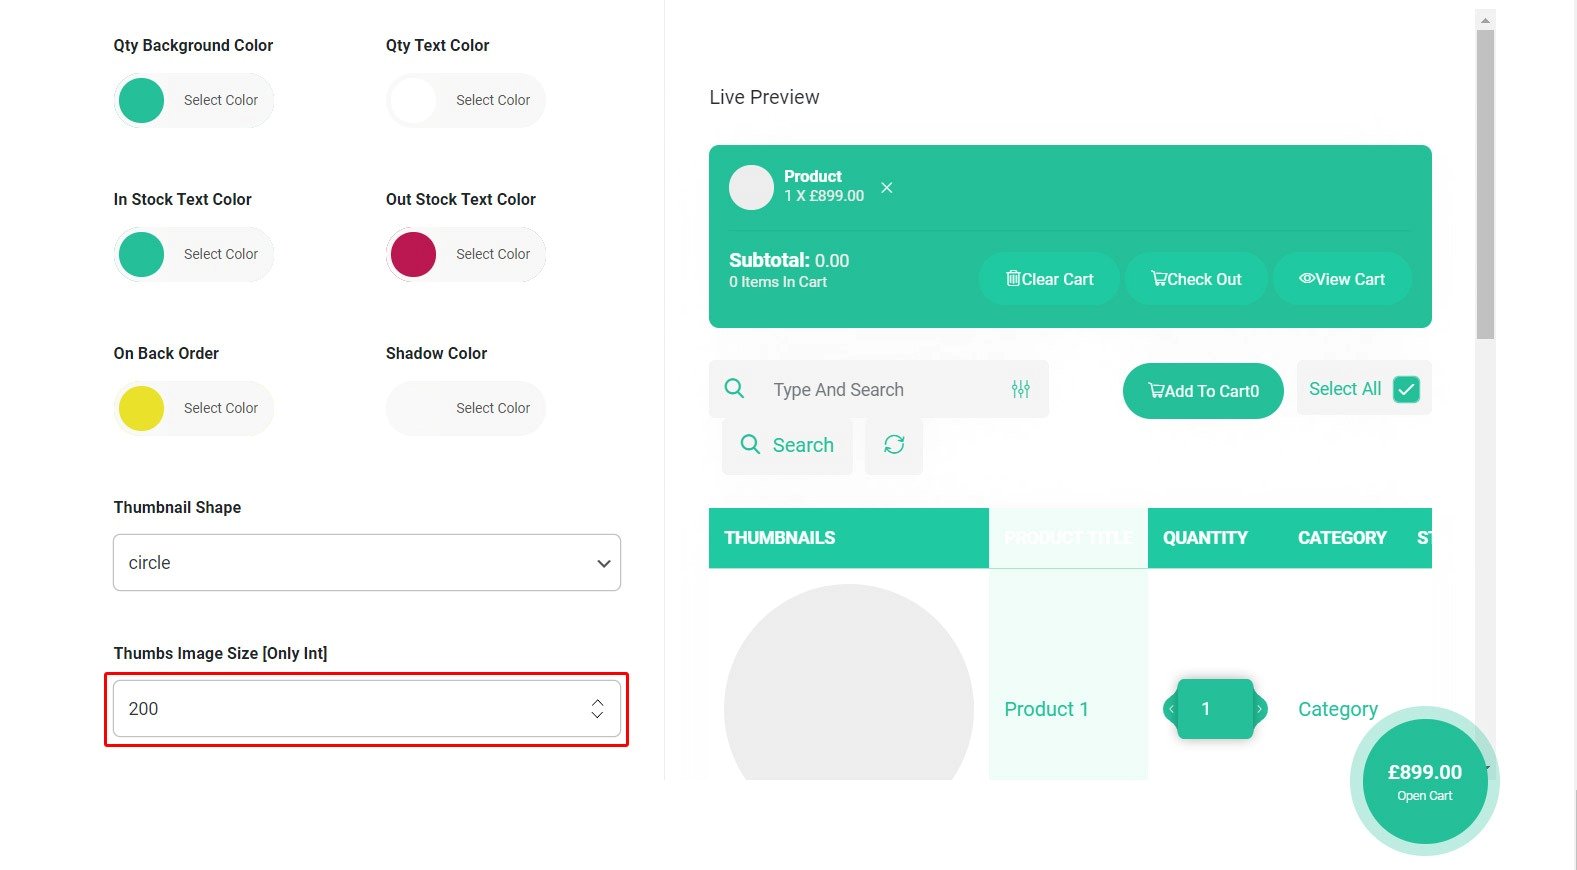
One of the most important items you can change or edit in the template is the image setting which is available under “Others” field as you can see in the below picture:
In the “Thumbnail Shape”, three options are available to change the way that you are showing the product pictures in the table, including:
- Square: The thumbnails will be displayed in a square shape with sharp angles:
- Square with radius: The thumbnails will be displayed in a square shape with curved angles:
- Circle: The thumbnails will be displayed in a Circle shape:
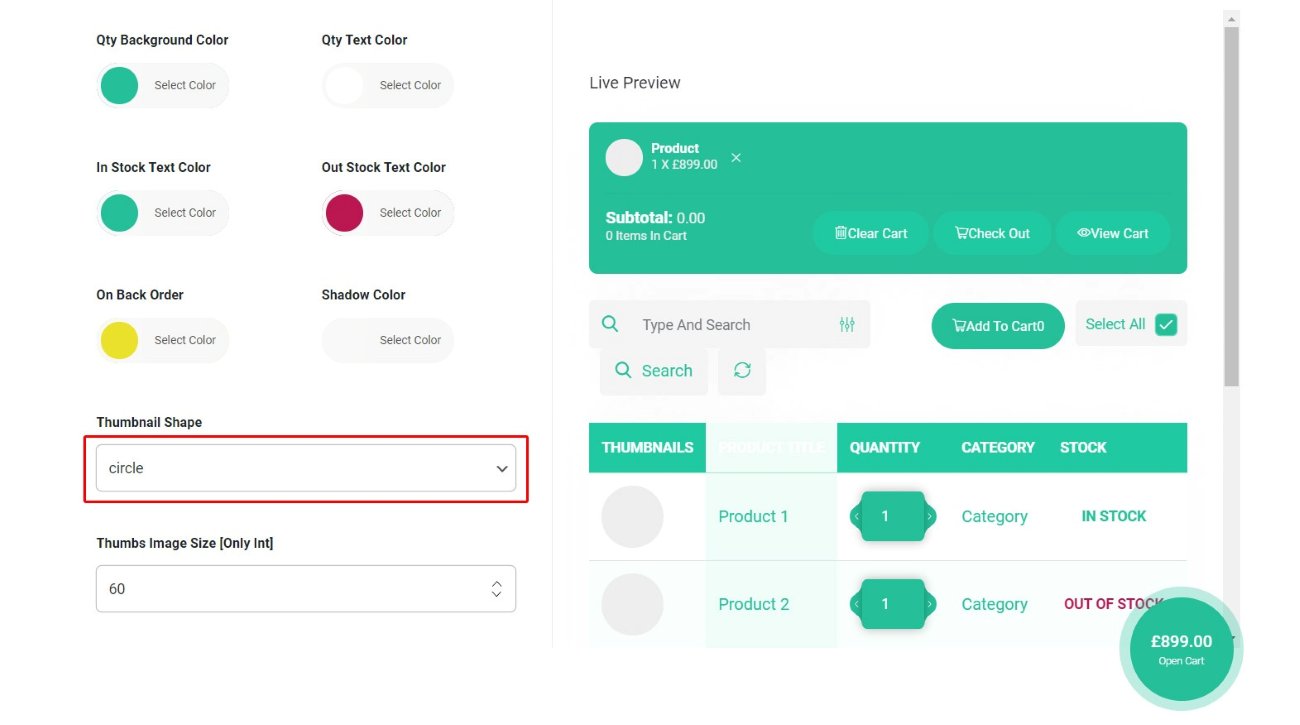
After choosing the best option that suits your product images, you can also change the size of the images. It’s available by clicking on up or also down for increasing or describing the image size. Also you can easily type the preferred size in the text box.
For example, we types “200” instead of “60” in the text box under Thumbnail Image Size which resulted in:

Comments