User role-based report is important when you want insight into the purchase history of each customer group in your online store. This is one of the WooCommerce report plugin‘s easiest tasks, which is possible with just one click.
What are user role-based (customer group) sales reports?
By generating this report in our plugin, you will receive a monthly sales report of all user roles, such as new users, registered users, loyal customers, and any other role that you have assigned to the customers.
Why are user role-based (customer group) sales reports important for store managers?
Store managers usually assign different roles to their customers to have a better insight into their purchase behavior. The user role-based (customer group) sales report is important when they want to know which group of customers engaged more with their marketing strategies. For example, they may need to know if the recent promotional plans attract new customers to their online stores on a specific date or if the discount coupons offered to loyal customers encourage them to return to the store and order more products.
How to generate user role-based sales reports?
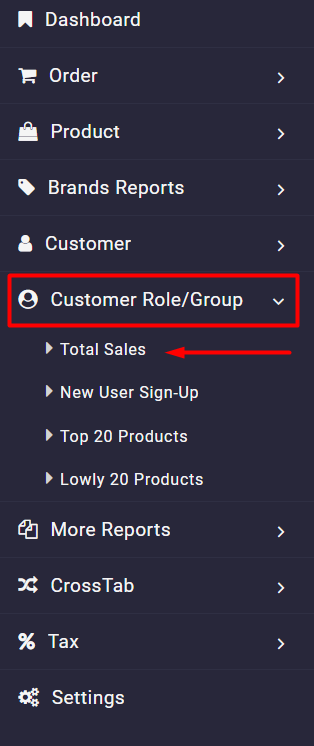
To generate this report, you need to go to the below address in the plugin main menu simply:
Custom Role -> Total Sale

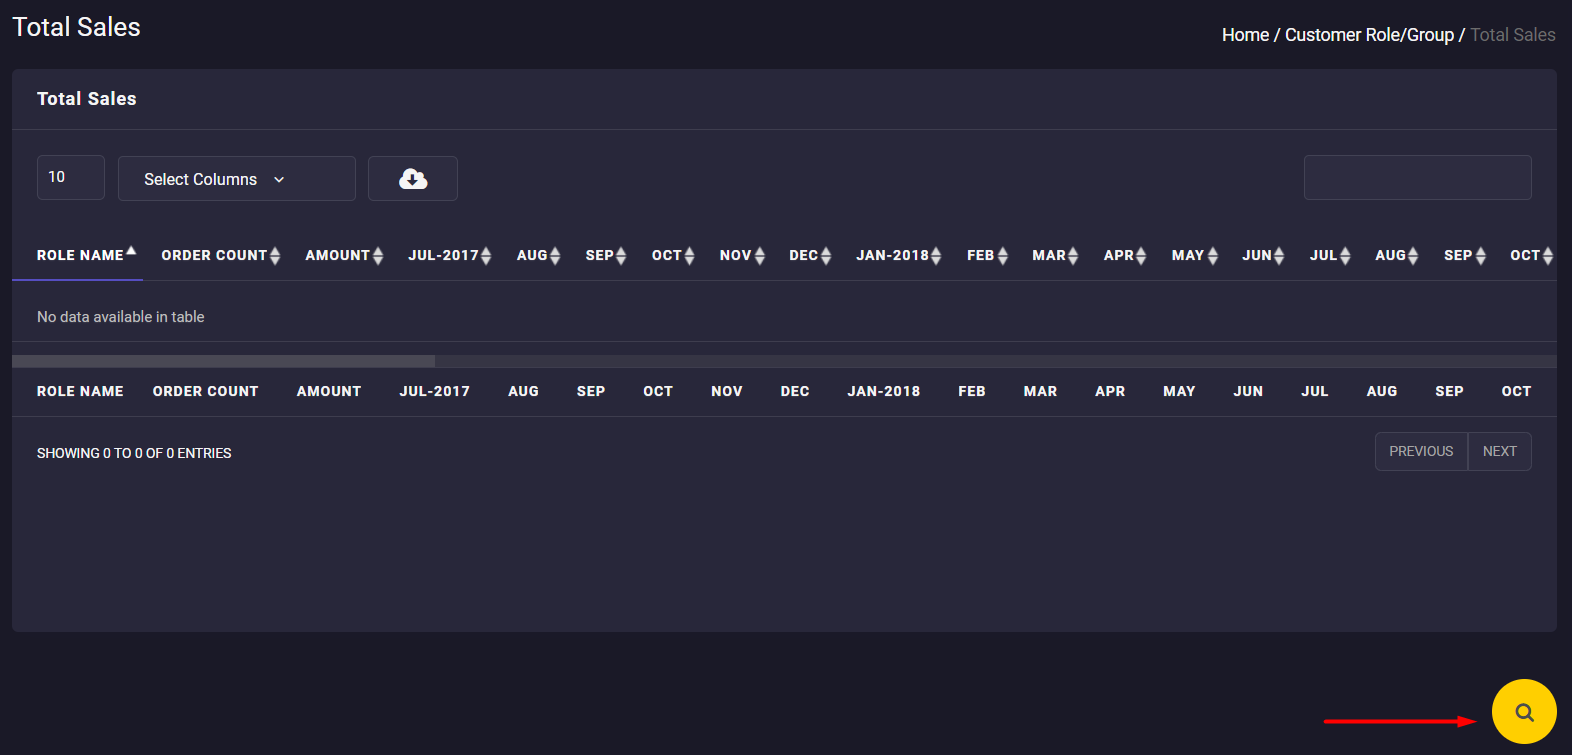
Then as illustrated below, our plugin will automatically generate a list of all user roles in your online store and enable you to observe a monthly report that specifies the total amount of orders related to those user roles.
The first column in this report is Role Name, which is a list of all user roles you may assign to your online store’s customers.
Other columns are:
- Order Count: The number of orders placed by each user role.
- Amount: The total amount of orders placed by each user role.
- Jul, Aug, Oct (months): In these columns, you can find out the total amount of orders that are placed by each user role in that month. If you set more than one year in the Search form, you must scroll over the table to observe all columns. It is also possible to filter some months by mark/unmark them in the Select Column Form.

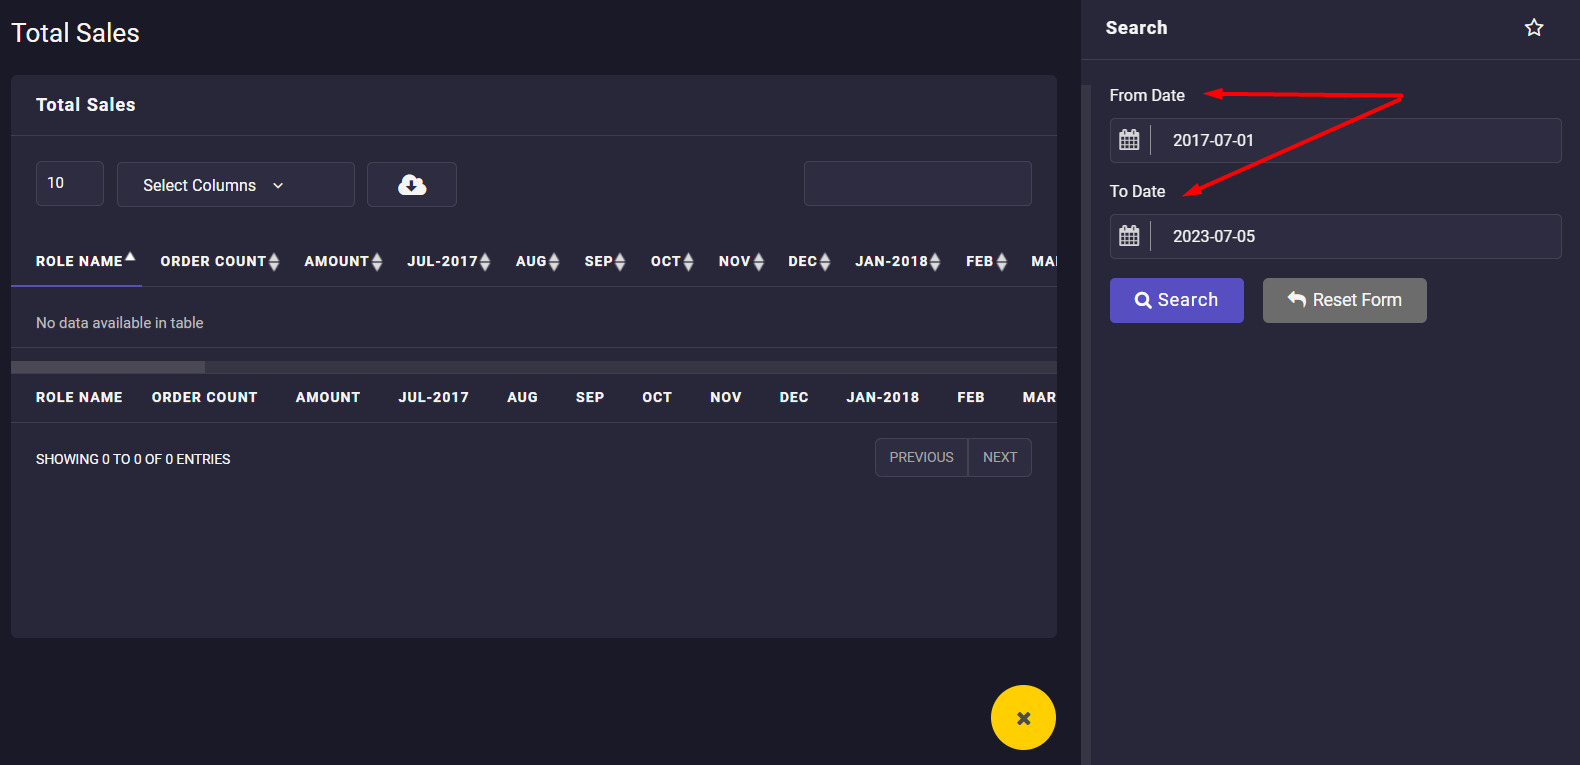
In the Search form, which is accessible by clicking on the Search icon, you can set a date range to apply to the table:


Comments