The provided options in the main settings of WooCommerce CBULKiT – Advanced Bulk Coupons for WooCommerce enables you to manage and customize the plugin as you wish.
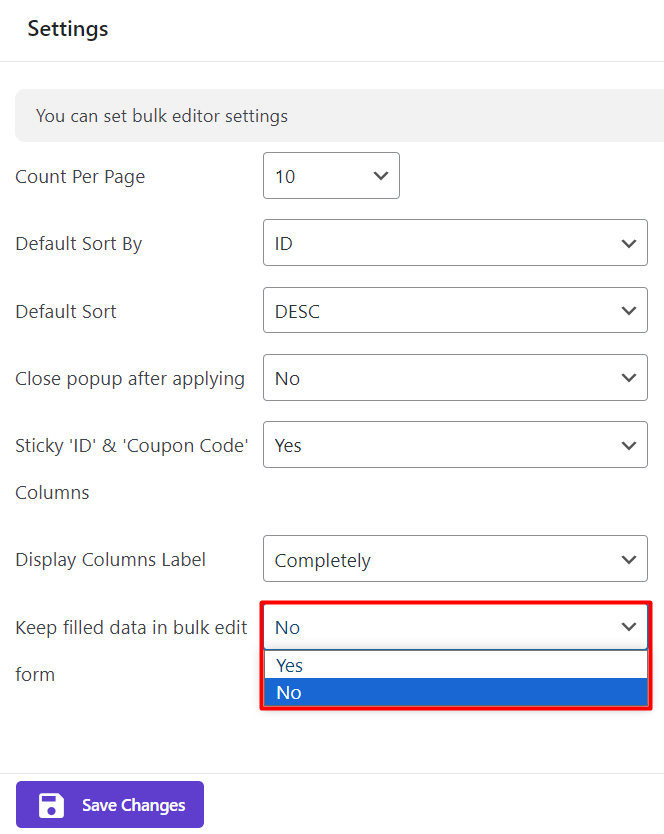
By navigating to the “Setting” tab displayed on the top ribbon of the main page, you have access to the below options for personalizing the plugin options:
Count per page
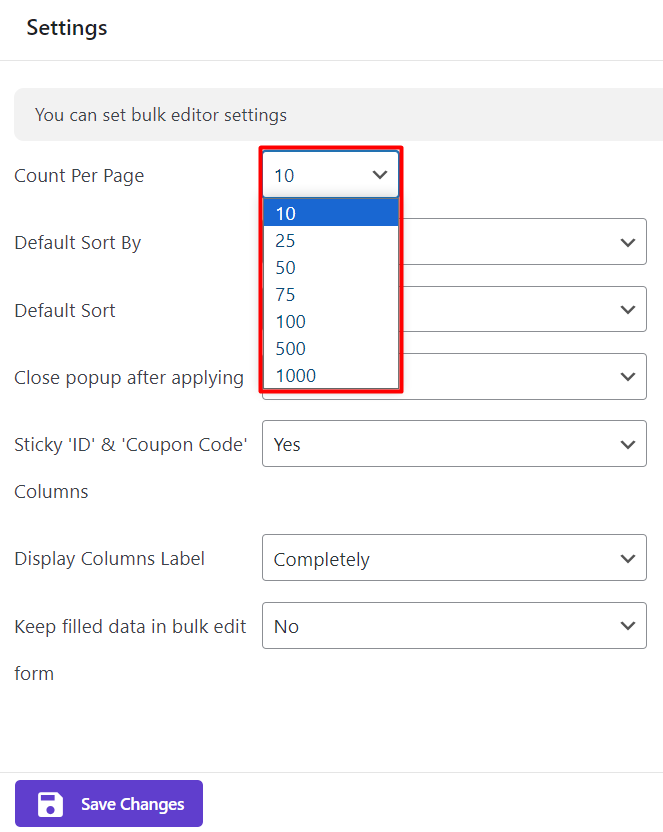
Count per page in the main settings allow you to arrange the number of coupons displayed in the table in each page.
You can choose one of the default numbers from the list which are:
- 10
- 25
- 50
- 75
- 100
Default sort by
You can instruct plugin to sort the orders in the table according to the item selected for this field. As shown below, orders in the table will sort by ID no, as a default.
Default sort
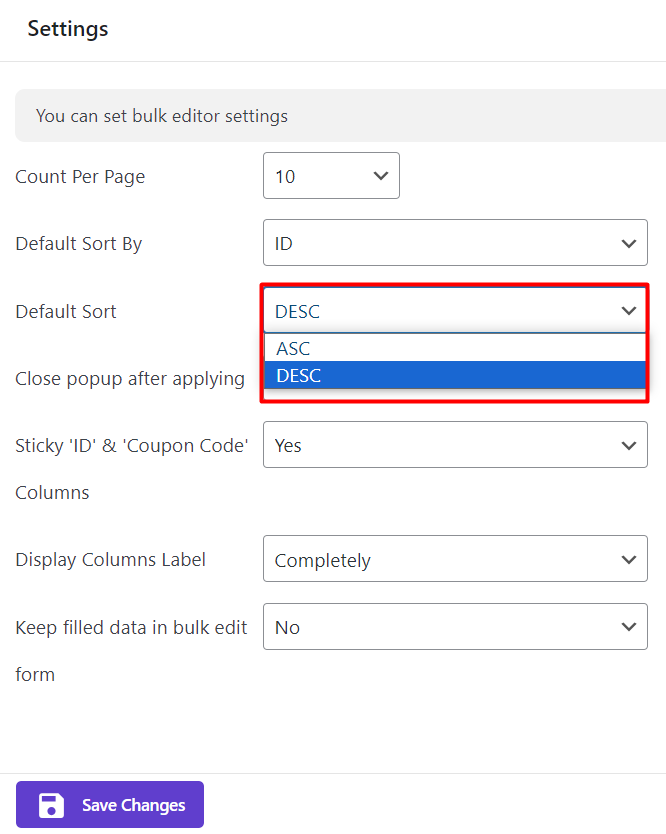
In this item on main settings, you can determine how the plugin sort the orders in the table by choosing one of the below items :
- ASC: This option will sort the orders from the min. ID no. to the max. ID no.
- DSC: This option will sort the orders from the max. ID no. to the min. ID no.
Sticky ID & coupon code columns
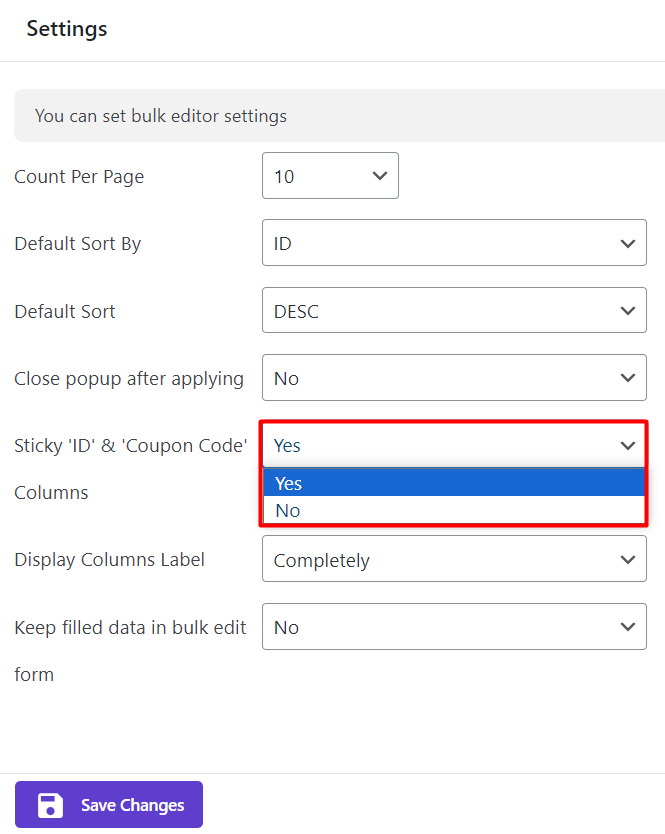
You can choose if the plugin considers “ID & Coupon code” columns as sticky columns on the table by choosing “Yes”. This means those two columns will be always displayed even when you scroll to the right or left to see other columns in the table.
It’s obvious that if you choose “No”, those columns will be hidden by scrolling the table.
Display columns label
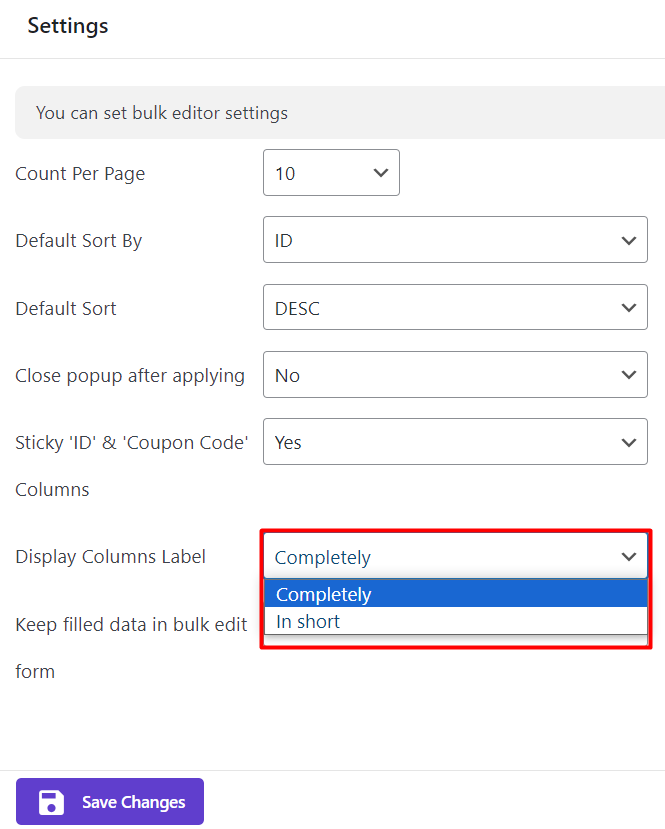
You can customize columns label to be display completely or in short. This is available by choosing your preferred Option for this item on the main settings.
Keep filled data in bulk edit form
You can instruct the plugin to keep the data you have entered in the bulk edit form by choosing Yes. It means when you set a condition, choose a data from a list or type anything in the textbox of “Bulk Edit” form, they will be saved for you and you will see them every time that opening the “Bulk Edit” form.
On the contrary, if you choose “No“, the data will be clear from the “Bulk Edit” form after closing and you will see a blank form the next time you open it.
Save Changes
To apply the changes you have made on the main settings, you need to click on the “Save Changes” button at the bottom of the page.

Comments