Main settings in OBULKiT – Bulk Edit WooCommerce Orders plugin helps you to customize the plugin according to your taste.
In this tutorial, we are going to describe how you can customize the plugin by using the options provided in the main settings.
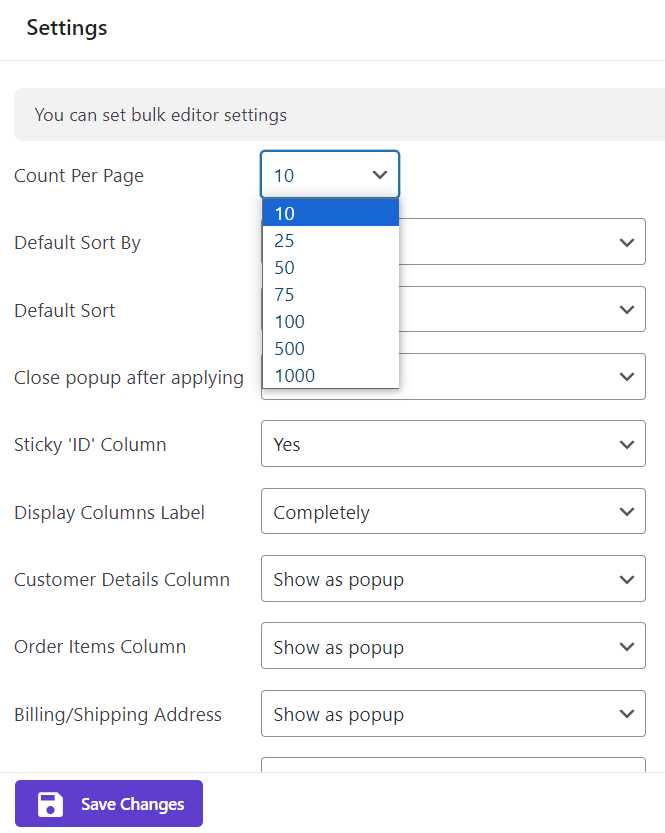
Count per page settings
You can use this option to specify how many orders to be displayed on each page of the order table. There are some default options that you can choose among them including:
- 10
- 25
- 50
- 75
- 100
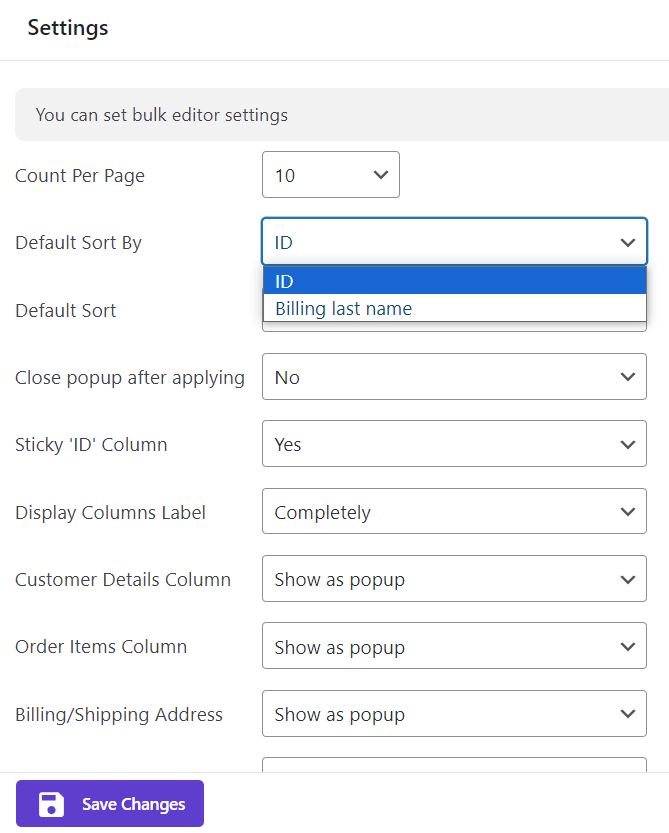
Default sort by setting
In this option, you can instruct the plugin to sort the orders in the table according. By default, Our plugin sorts all orders on the table.
Default Sort
“Default sort” is a good option for specifying if you want the orders sort descending or ascending in the table.

Sticky ID column settings
If you want to always see the ID column on the table even by scrolling to the right or left or not.
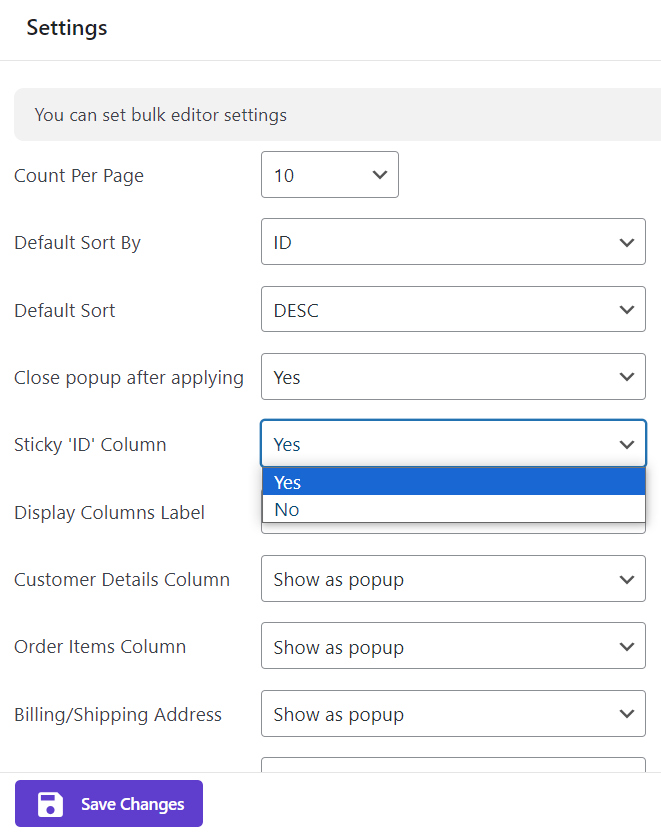
In OBULKiT – Bulk Edit WooCommerce Orders you can sticky the ID column or hide it by scrolling the table.
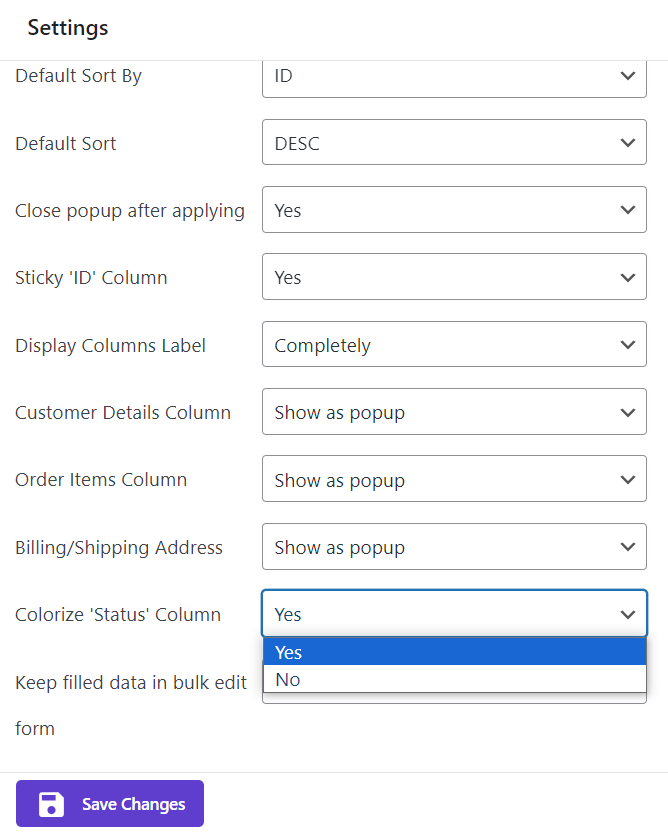
Main settings of ‘Displays column label’
If you want to see the column label completely on the table choose “completely” from the drop down list of this option on main settings.
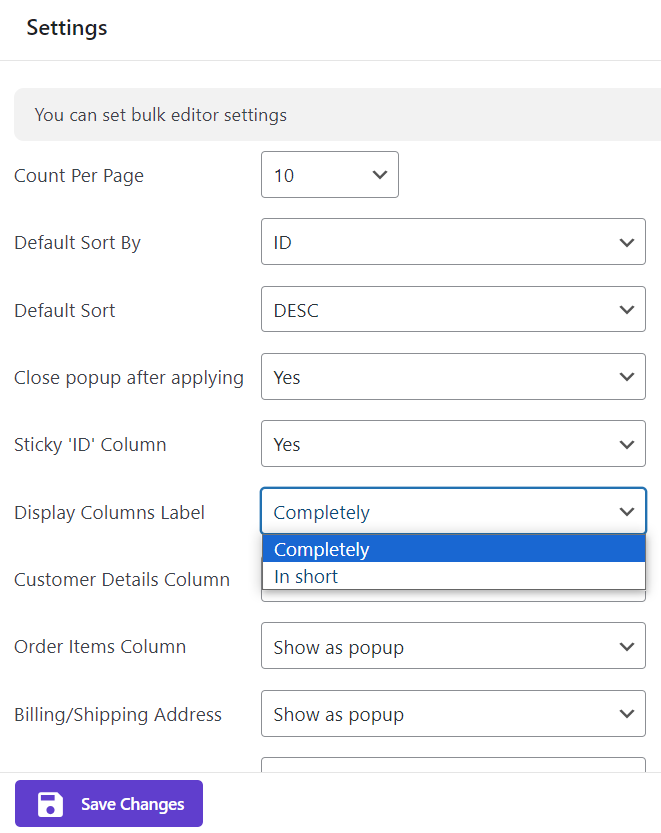
Otherwise, you can choose “in short” to see the labels briefly as shown below.
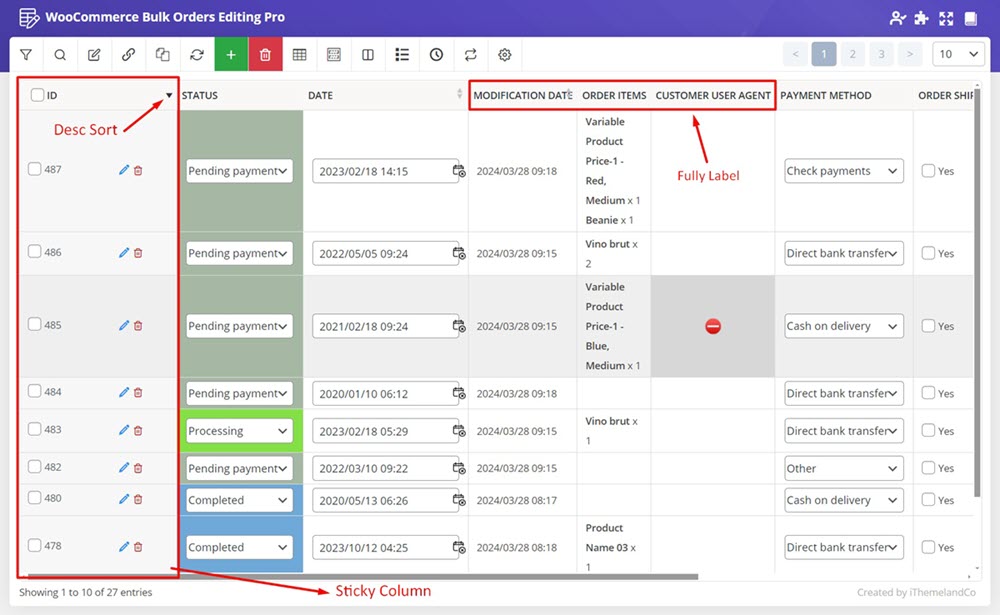
Customer details columns settings
There are two options for displaying the customers details columns:
Show as pop-up
In this method, a button will display on the table for customer details. So, if you want to see the values of these columns you need to click on the button to open the pop-up.
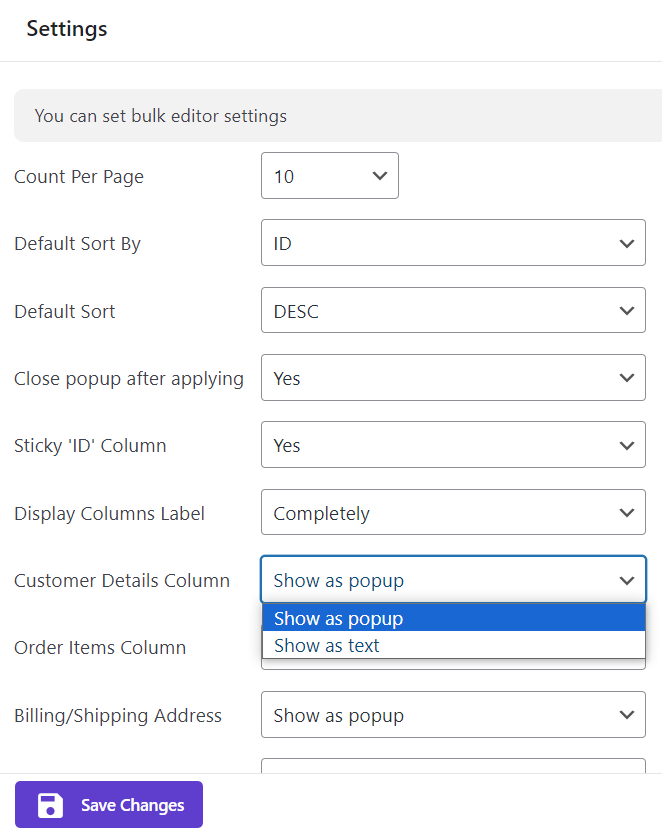
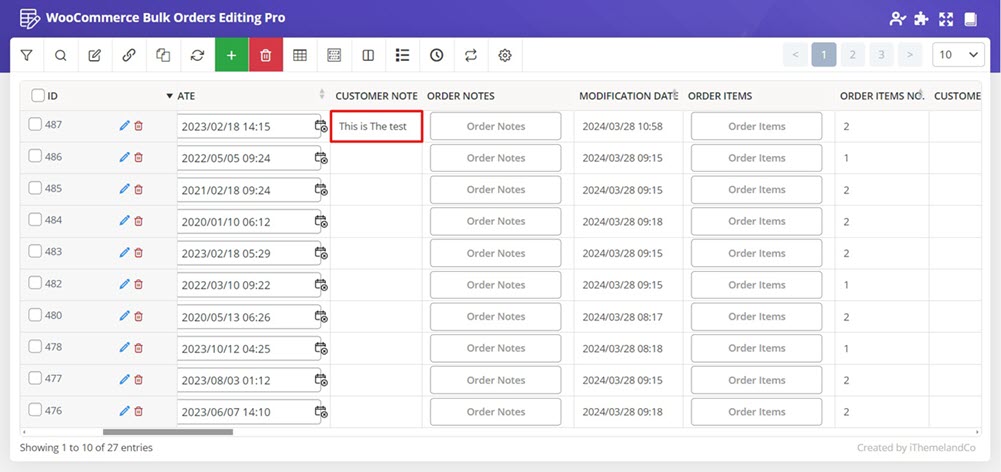
Show as text
If you choose “show as text”, the values of those columns such as “Customer note” as shown below will be displayed on the table directly.
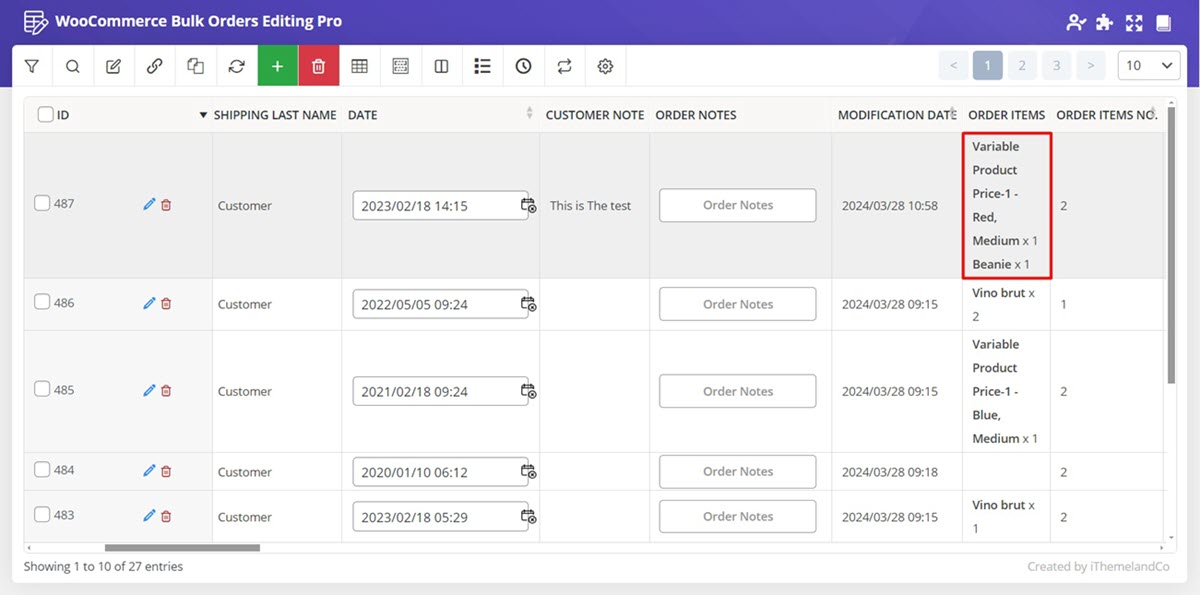
Order item column
The options provided here are exactly the same as previous item in the main settings.
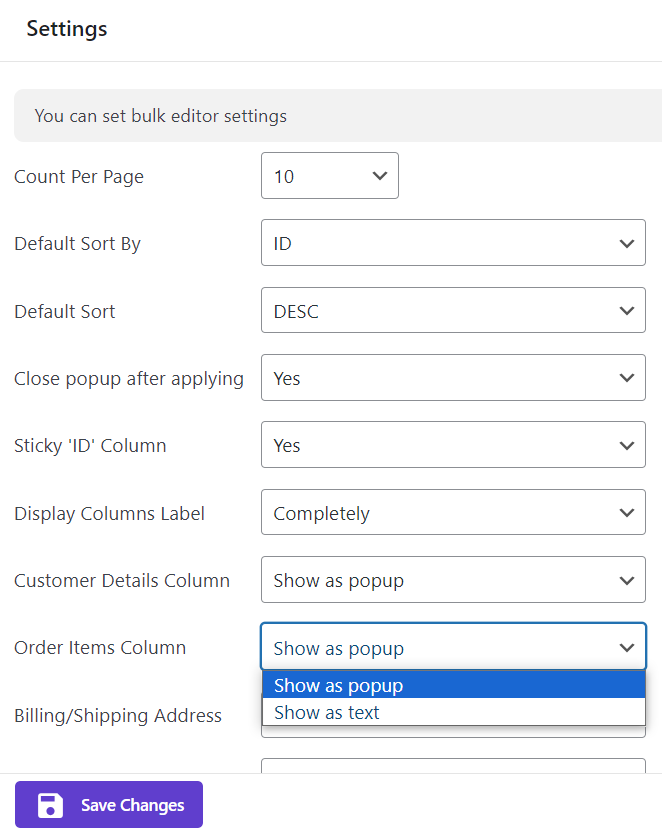
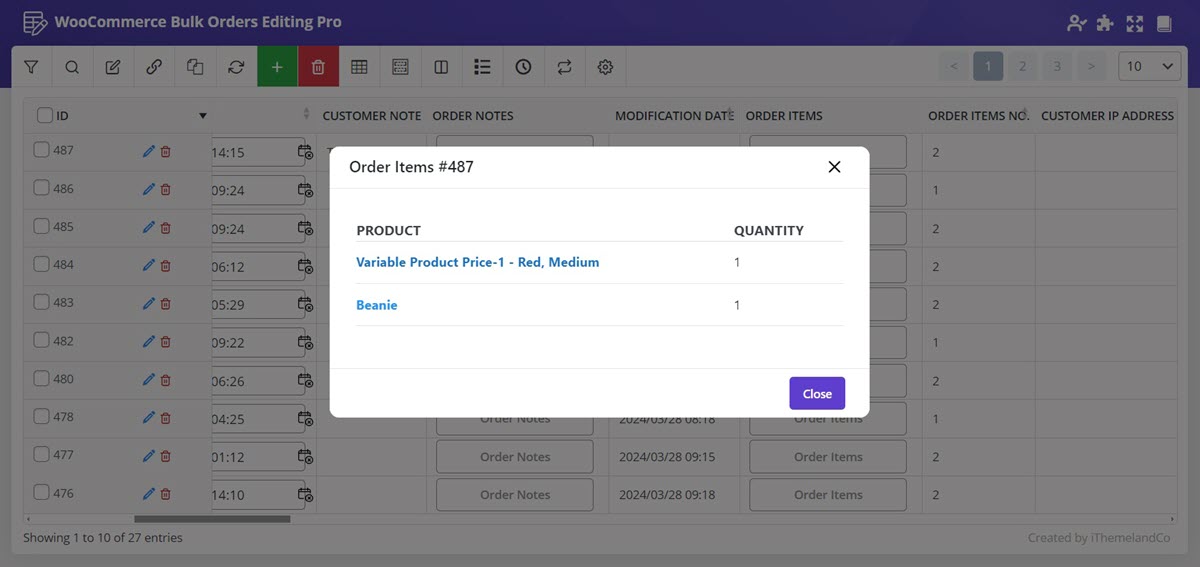
For example, if you choose “show as text” for this item, all data will be displayed on the table directly instead of showing a button to open a pop-up.
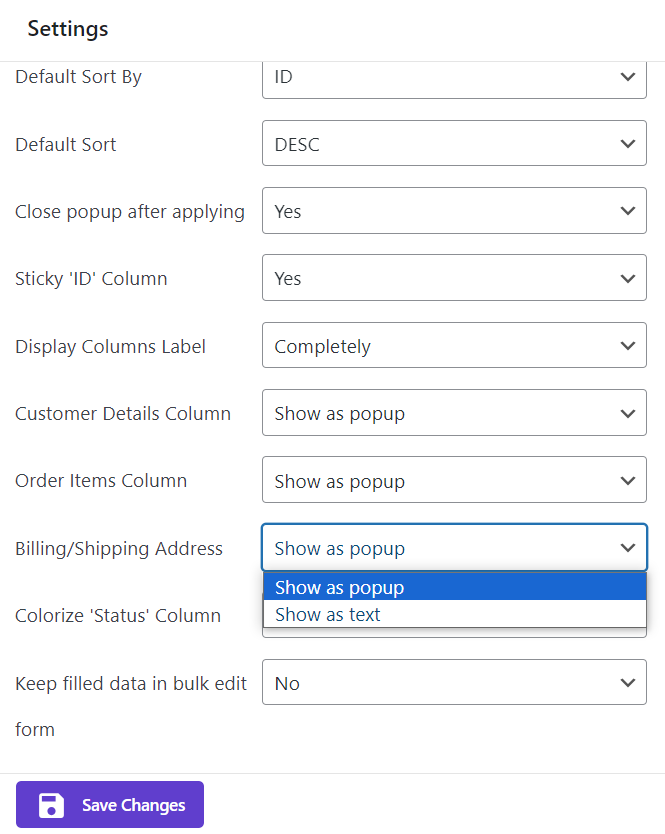
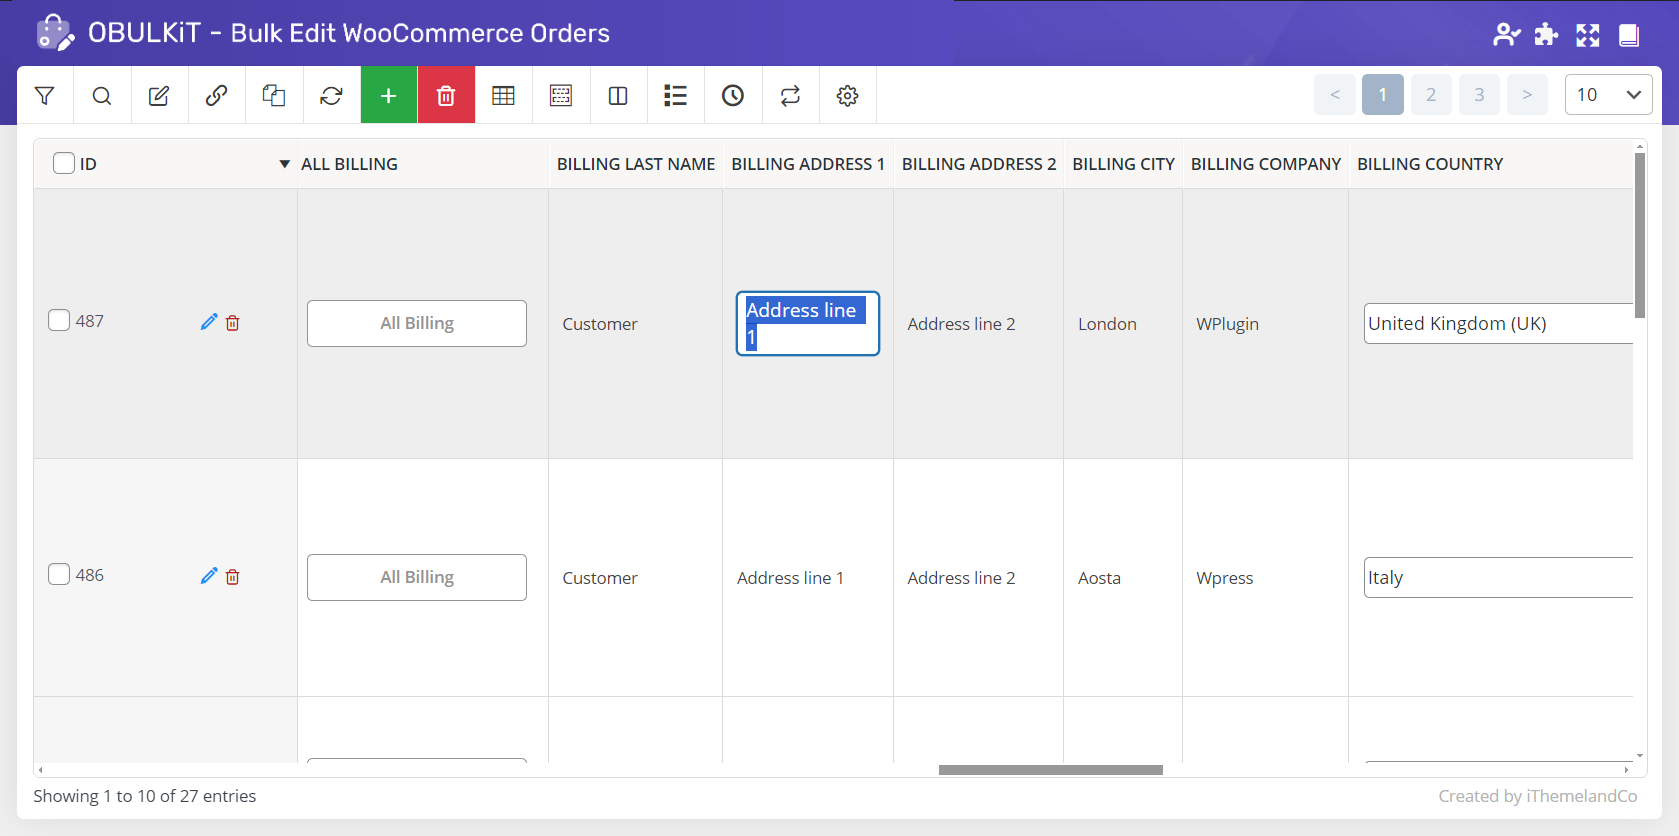
Billing/Shipping Address
You can choose to see the contents of “Billing/ Shipping Address” in a pop-up view or directly on the table by choosing one of the below items:
- Show as pop-up
- Show as text
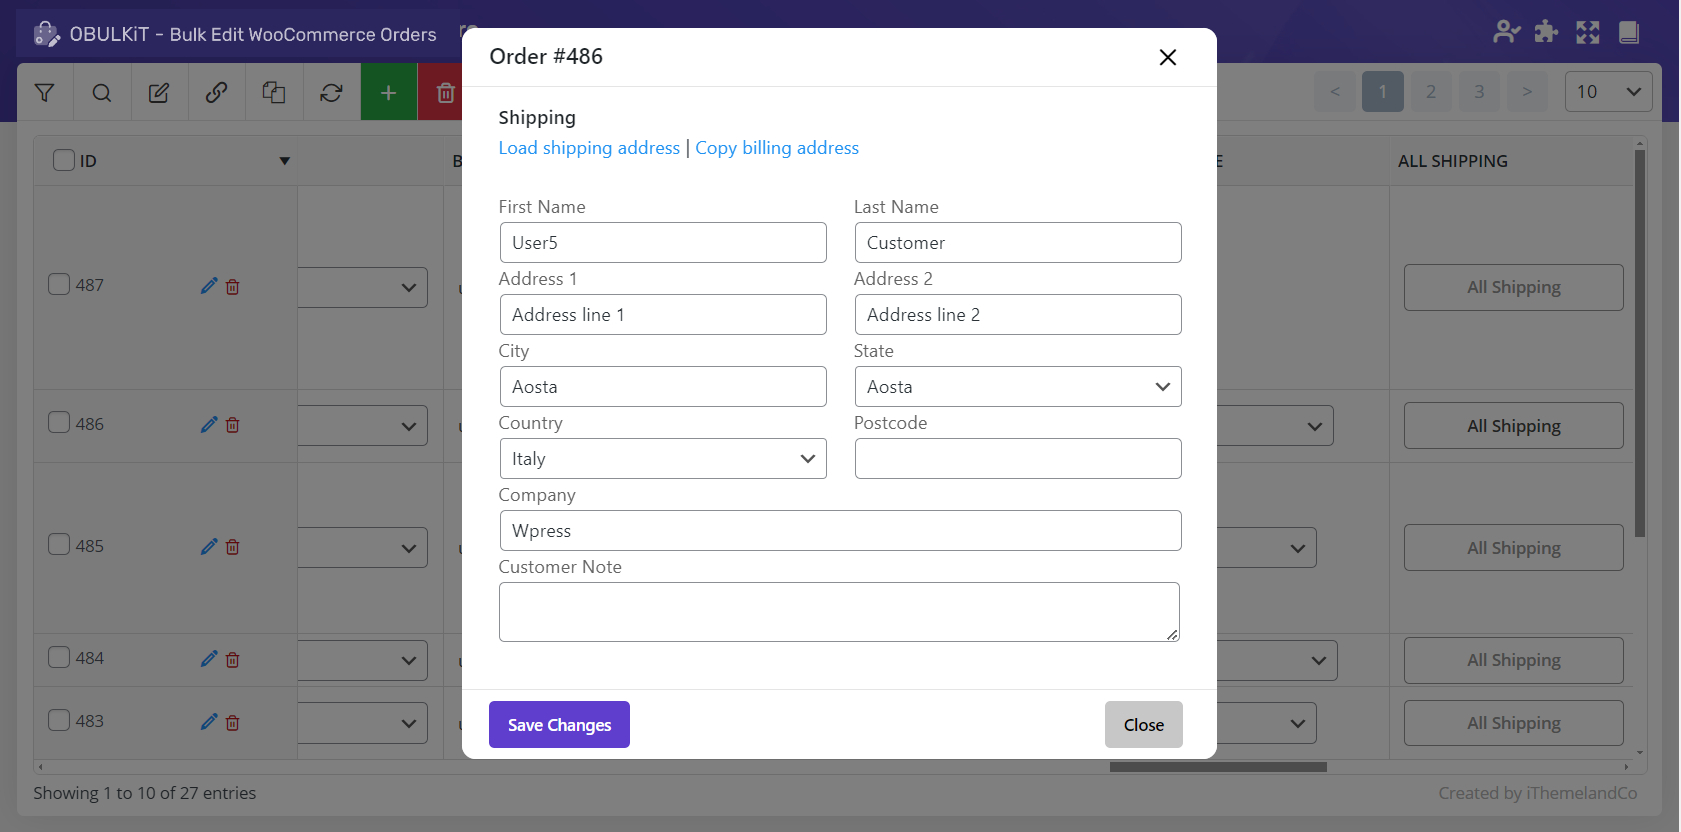
For example, as you can see in the below picture, the contents of “Billing Address” displayed on the table to be seen and edited as we have chosen “Show as text”.
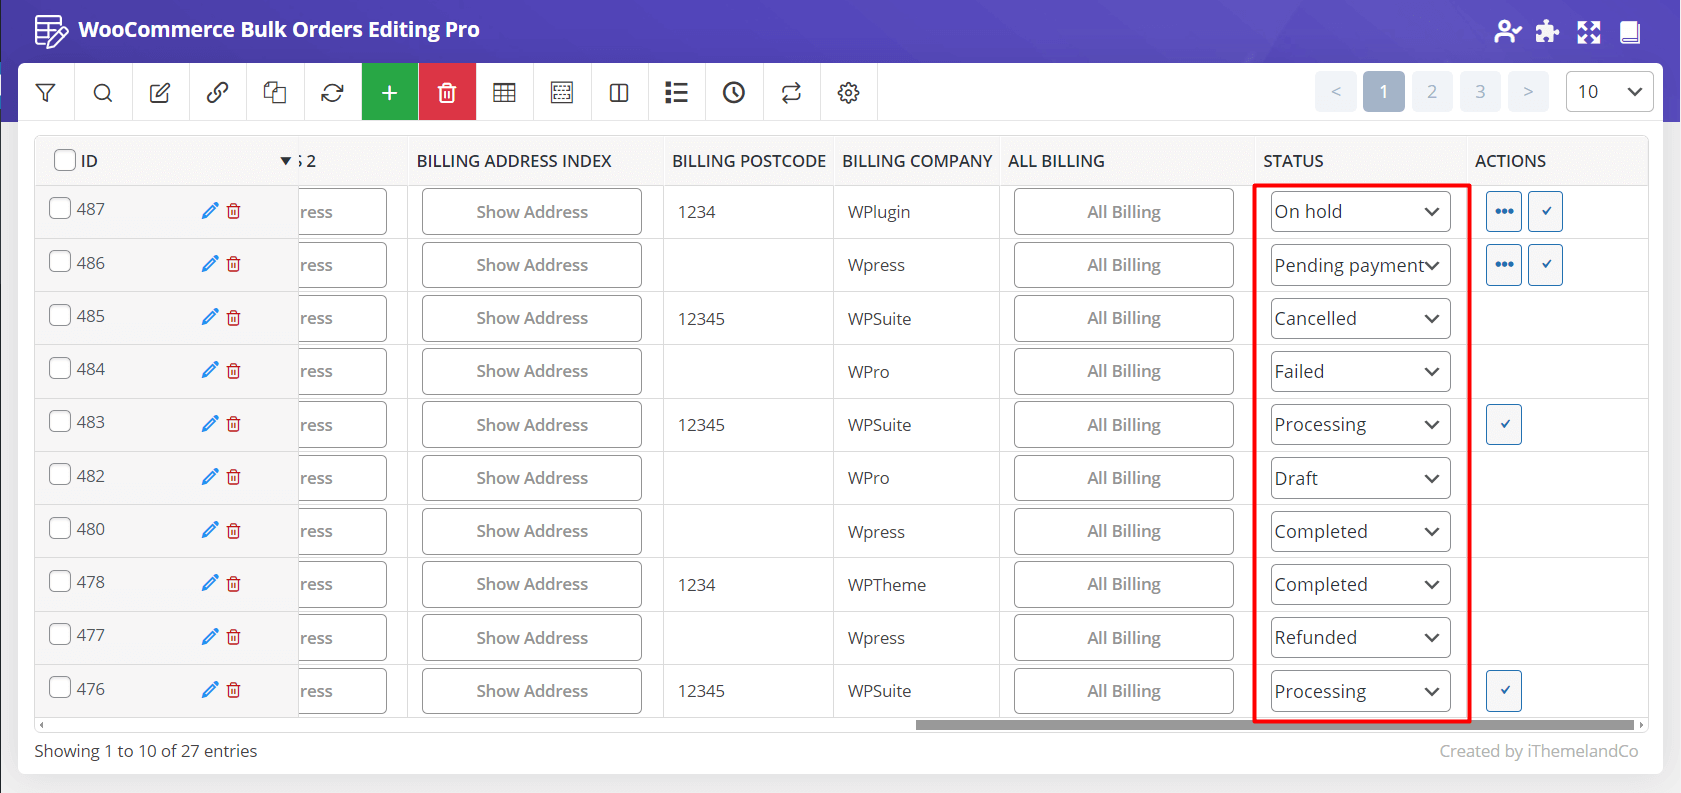
Colorize status column
It’s one of the incredible features of our plugin that the Status column of the orders are colorized by default.
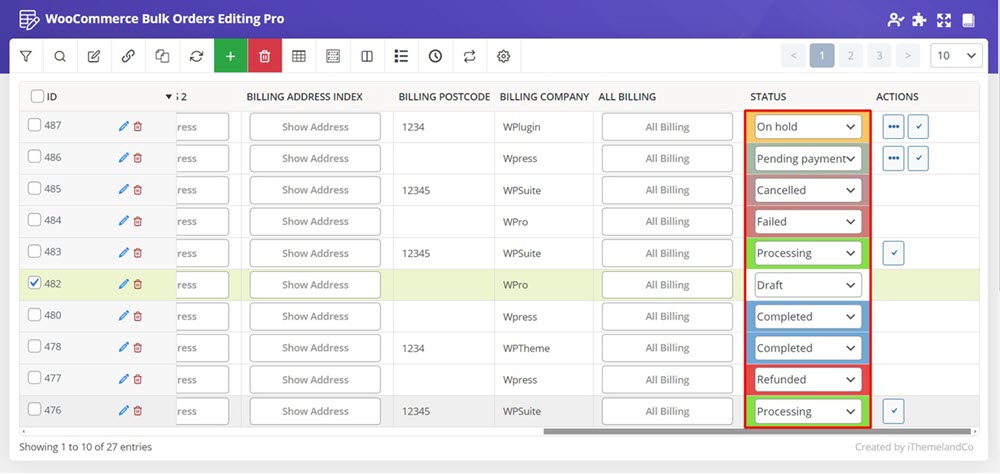
However, if you don’t want to see the colors for each status on the table, you can disable this feature by choosing “No” Which results in displaying the data on the Status column as below:
Keep filled data in bulk edit form
If you choose Yes for these options, all data entered in the “bulk edit” form will remain even if you close the form. So, you can see the previous data that you have entered on the Textbox, condition box or combo boxes later.

However, if you choose “No”, every time you open the “bulk edit” form, a blank form is ready for you to be filled.
Comments