Inline edit product thumbnail image and gallery images in VBULKiT – Bulk Edit WooCommerce Variations – plugin makes it easy for you to change the images of each product in less than a few seconds directly from the product table.
As the purpose of inline edit is enabling you to edit the features from the product table, before doing anything, you need to add the proper columns to the table.
So, to make product image available in the product table, you need to:
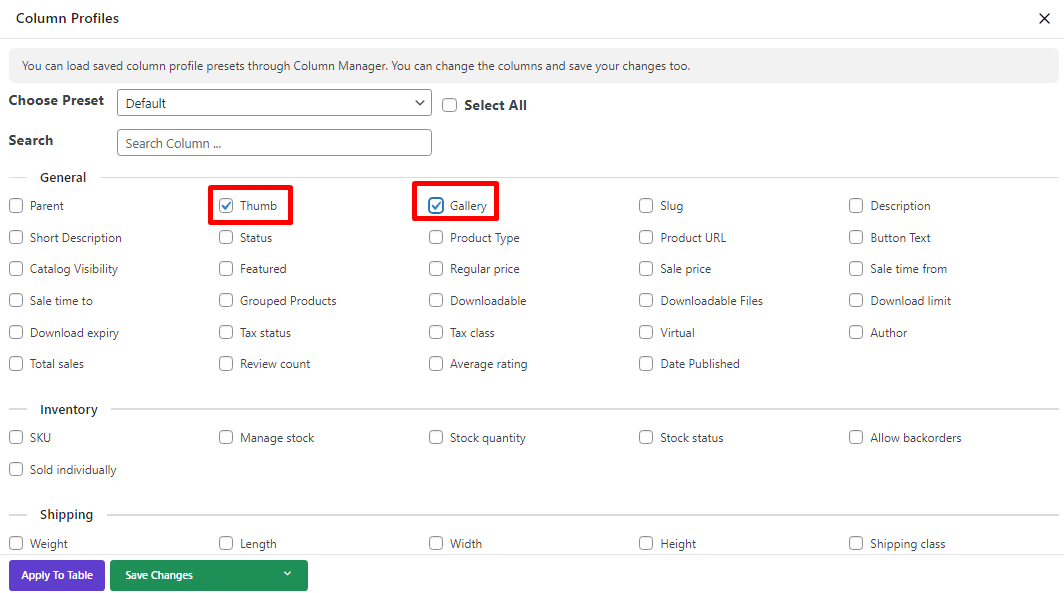
- Click on “Column Profiles” button.
- Mark “Thumbnail” and “Gallery” in the “Column Profiles” form.
- Click on “Apply to Table”.
As illustrated below, two columns are added to the product table and we are now able to inline edit any of them by easily click on the image or gallery button.
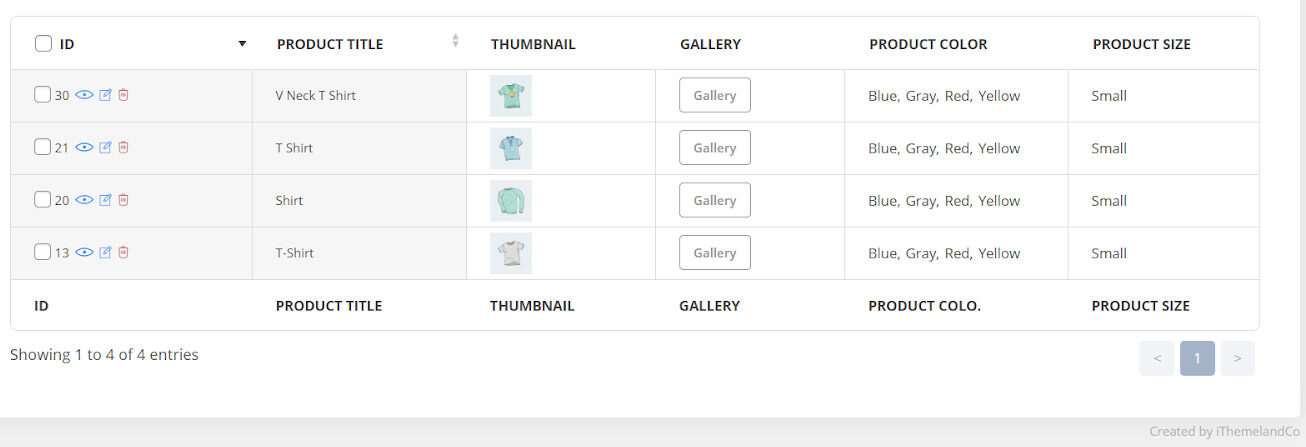
Inline edit product thumbnail image
By clicking on of the images in the product table, a new pop-up will appear which includes below options:
Remove image
By clicking on this button the thumbnail will be removed from that product
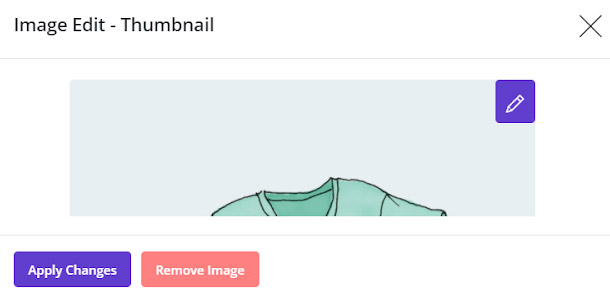
Pen(edit ) icon
by clicking on the pen, you will be directed to the media library so you can replace or edit the thumbnail easily.
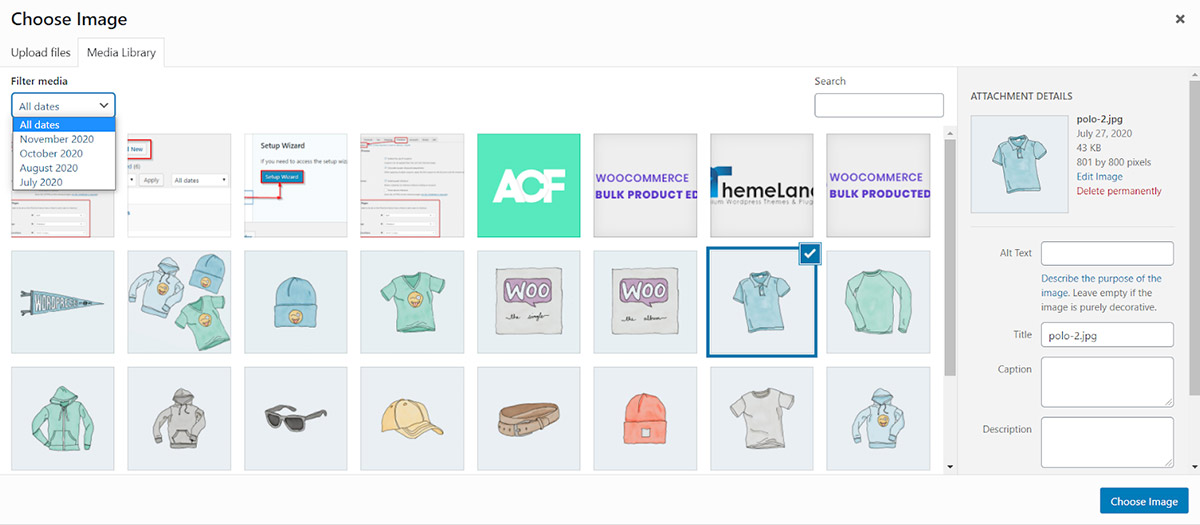
In the media library which has the default format of WordPress media libraries, you can:
- Choose another image from the existing ones.
- Add some information to your image such as alt text, title, etc.
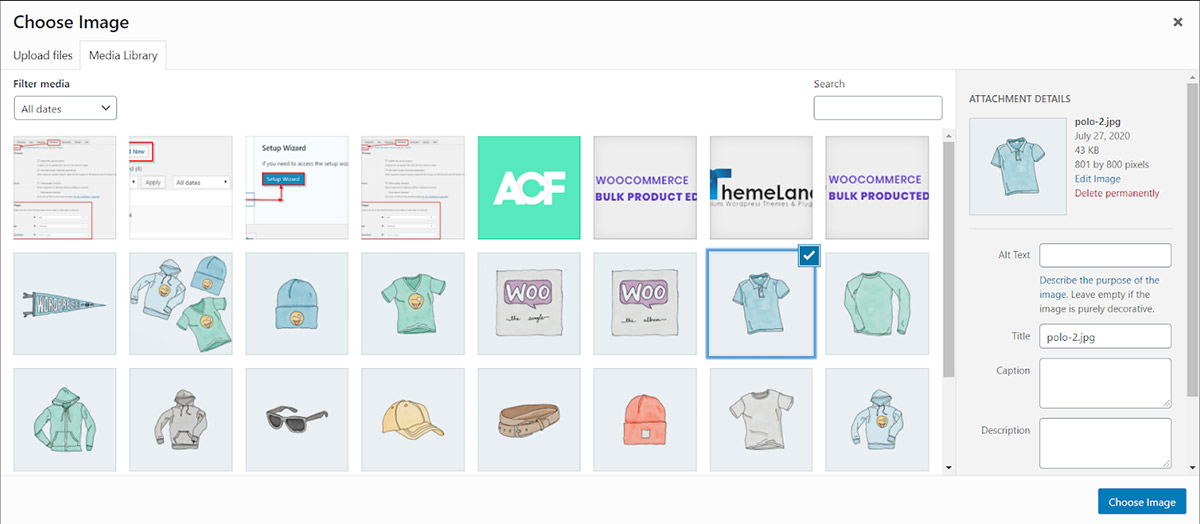
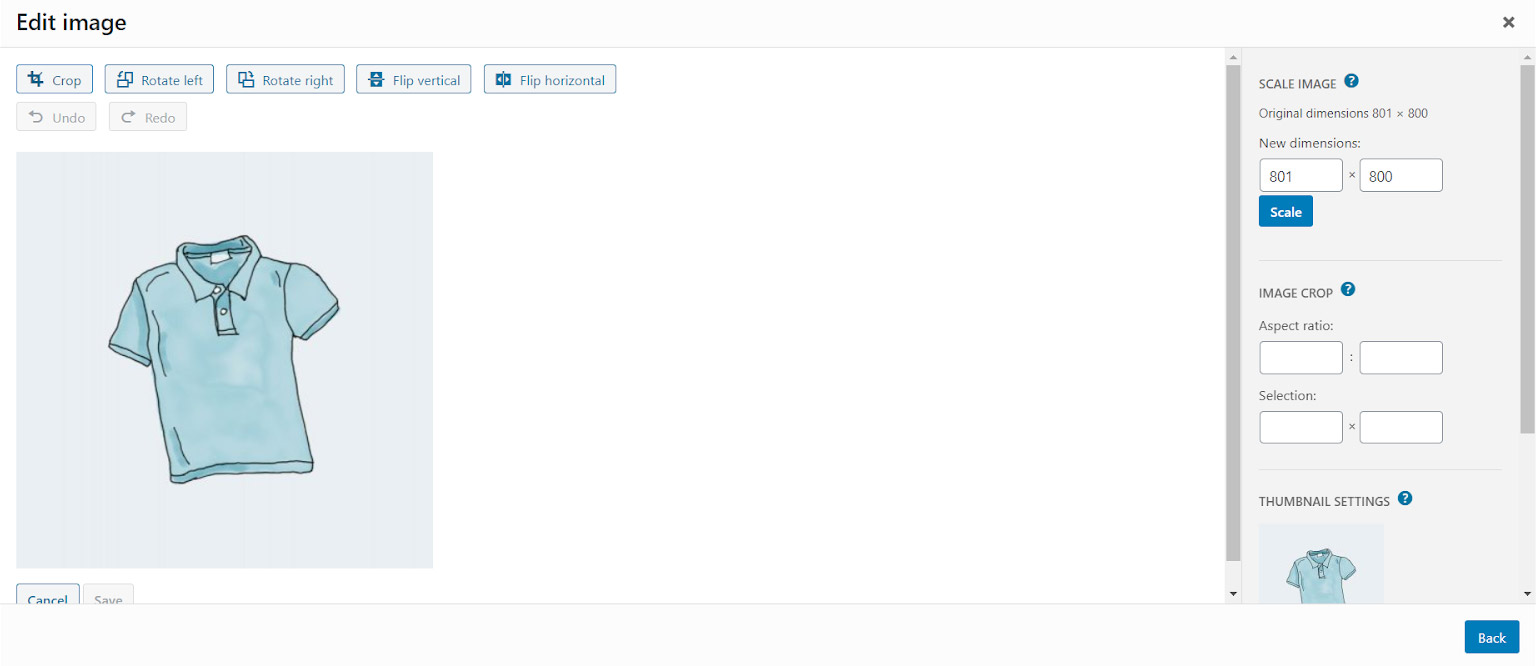
- Edit the selected thumbnail by clicking on “Edit Image” which directs you to a new page including some options for cutting, rotating or resizing the selected thumbnail.
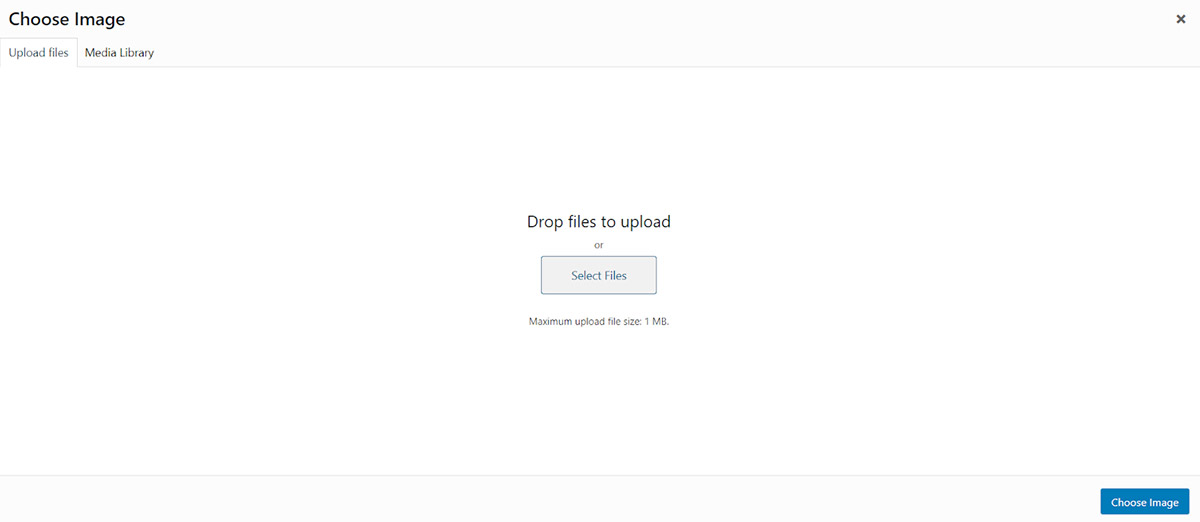
- Upload a new image by opening the “Upload File” tab and drag & drop your prefered image from your device.
When you edit the thumbnail exactly according to your requirements, this new thumbnail will be assigned to your product by clicking on “Choose Image” button:
Inline edit product gallery images
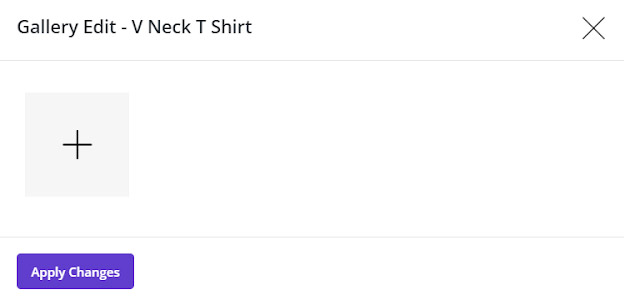
Inline edit product gallery images is somehow similar to the Inline edit product image. The only difference is that when you click on the gallery button in the product table a new pop-up will appear that enable you to assign more than one images to the gallery of that product by clicking on the + option:
For example, for “v neck t shirt”, we choose the below pictures:
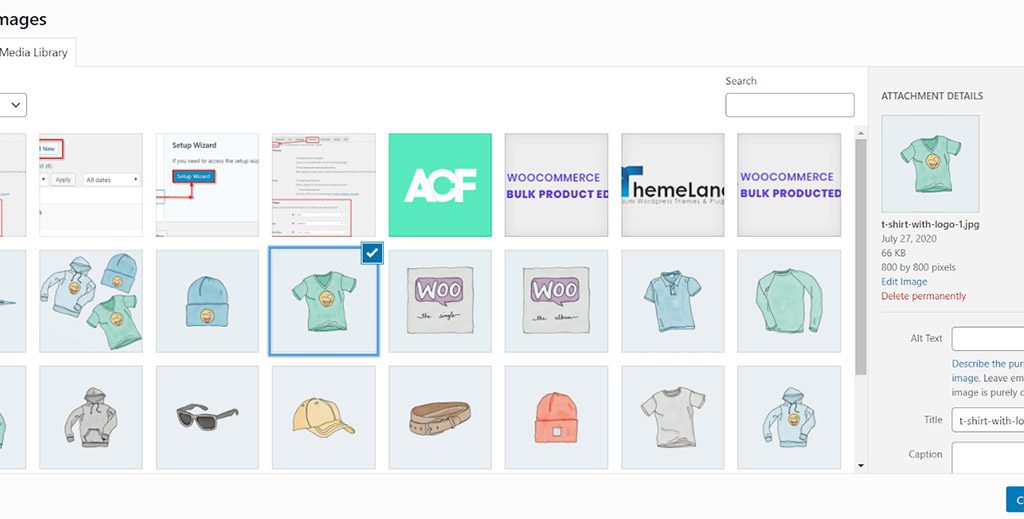
Then by clicking on “Choose Image”, it was added to the product gallery.
As you can see, some images were added to the gallery of “V neck t shirt”:
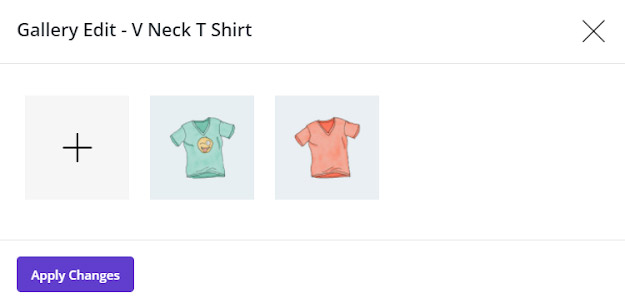
By clicking on “Apply changes”, those images were assigned to that product.
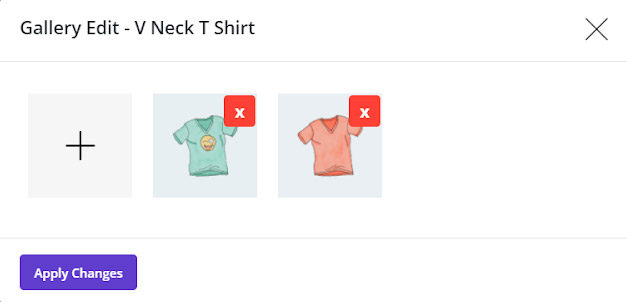
As shown below, If you have already assigned some pictures to the gallery of any product, you are also able to delete any of them by clicking on the gallery button and select × appeared on each image in the new pop-up. After delete you need to click on the “Apply Changes” button.

Comments