Create online music store are the best way to sell the music as virtual products. In this store, customers are looking for their favorite music or singer. Then expect to download the music or the album after payment.
So, to create an online music store you should first add those musics or albums to WooCommerce. But this is not the end of the story. You need also make your WooCommerce online store as attractive and customer friendly as you can to boost your sales.
WooCommerce product table plugin is the most useful plugin which can help you to improve the appearance of your online music store and make an audio WooCommerce product table.
In this tutorial, we are going to show you how to use our plugin for creating an online music store.
Step 1: Create a product table for online WooCommerce music store
To create a music product table on WooCommerce product table plugin, at first you have to click on “Add New” to see the “Columns” tab:
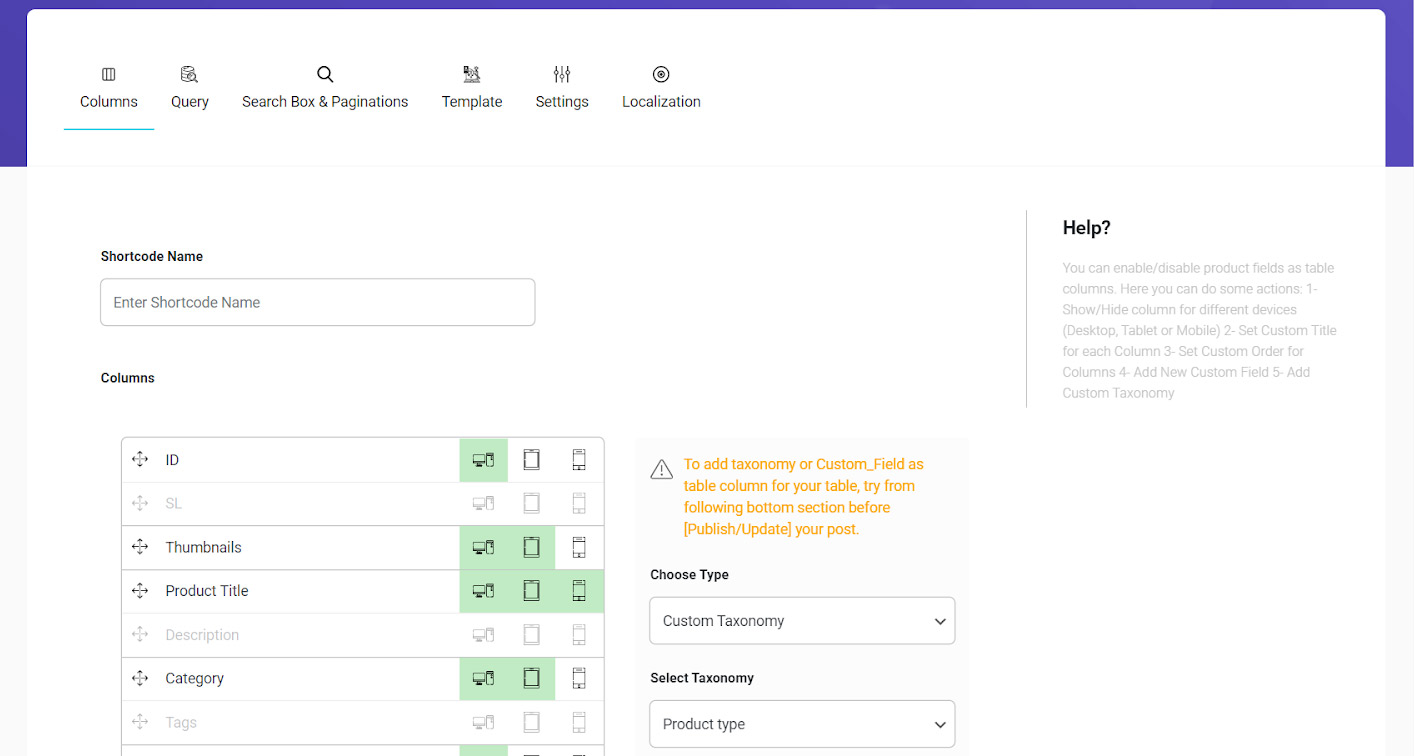
In this page, some default columns have been listed to help you create your product table. However, you can add any column to this list by using the form next to it.
In this tutorial, we selected below columns:
Check: A checkbox will be displayed next to each product. It help to customers select their preferred music and add them to their cart
Thumbnails: We chose this option to show the music or album cover. So, we replace the name of this column by “Cover”.
Note: To change the name of each column you can simply click on it. Then type any other name you want as below:
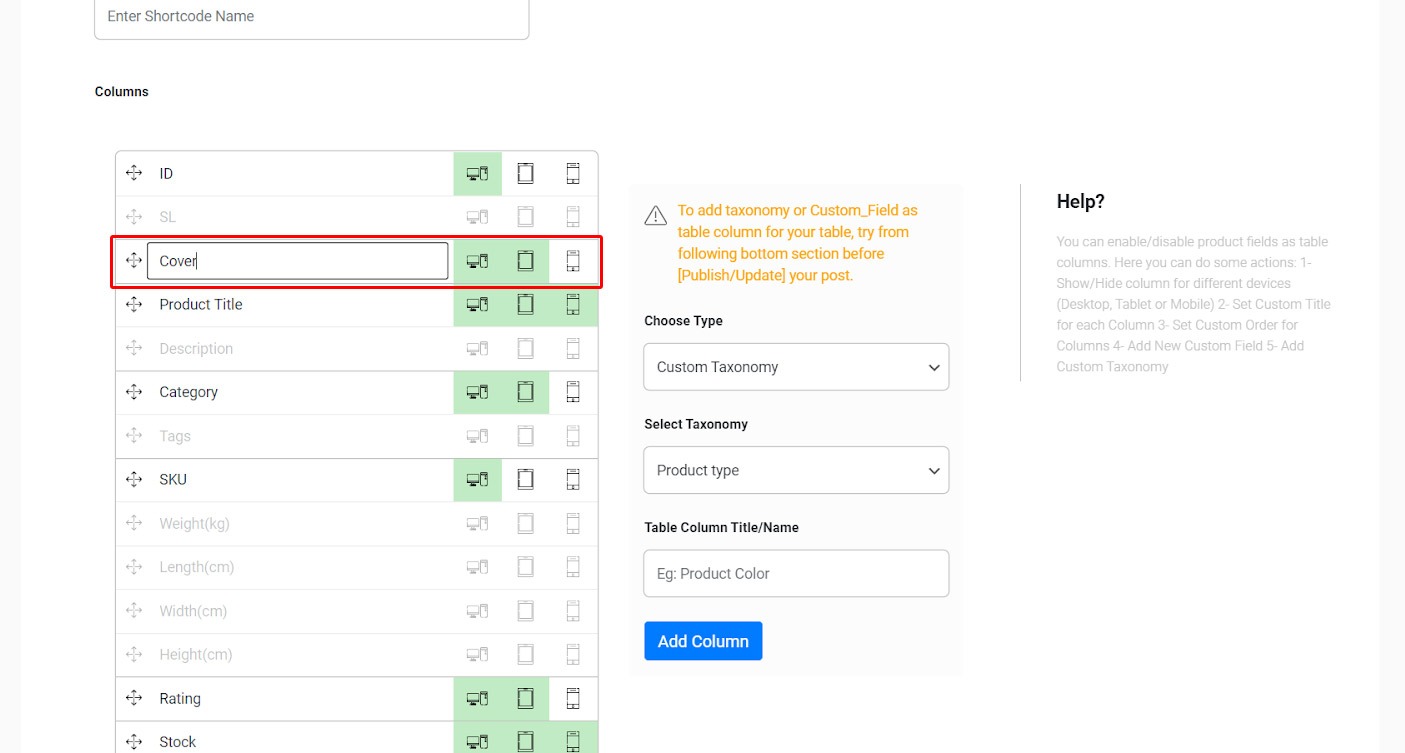
Product Title: This is a useful option for displaying the “Song title” so we change the name of this column as well.
Preview: This is the most important option in an audio product table as customers must be able to listen to some part of the music they want to buy. WooCommerce audio preview displayed by this column.
Rating: In this column, customers can rate music and encourage other customers to purchase more favorite songs.
Price: Price column is the most essential feature for an online music store which informs customers about the price of music or albums they are going to buy.
Action: Actions column helps customers to add music or albums to their cart and proceed their purchases.
After choosing the right columns for your online music store, you have to enter a name for your product table in the Shortcode Name box and save it.
Step 2: Filter the products for online WooCommerce sell music store
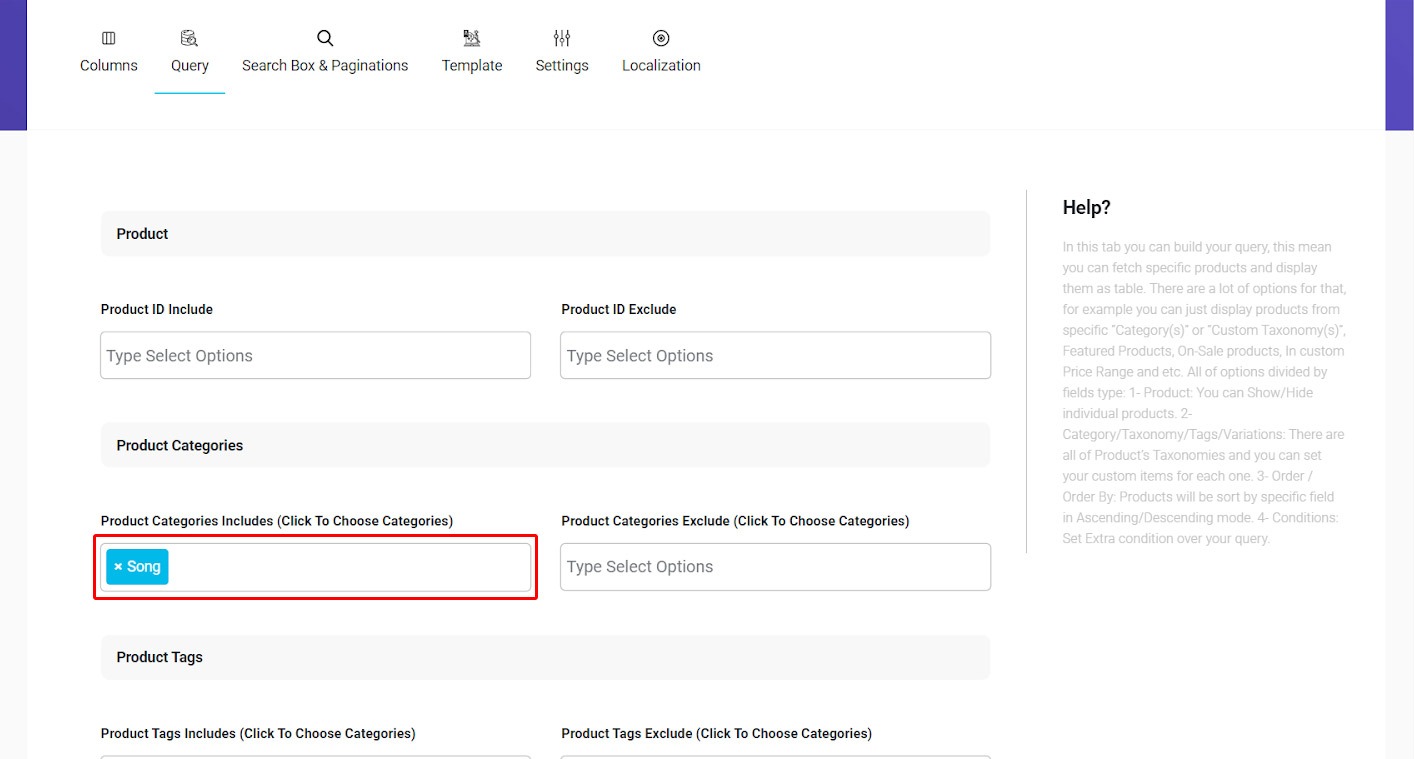
As you may enter so many kinds of products in WooCommerce which are not related to online music stores or even you may not decide to sell them, yet, we designed the “Query” tab to help you filter those products that you are going to sell in your online store.
I this tutorial, we are going to sell all products under “SONG” Category, So, we make a Query as below:
Step 3: Add search box to your online music store
Having a search box in an online music store will improve the customer experiences when they want to find a song and purchase it from your online music store.
By filtering their favorite singer or type of music, they will be more encouraged to buy songs from your website.
To enable Search Box for your audio product table, you just need to mark the checkbox in the “Search box and Pagination” tab as below:
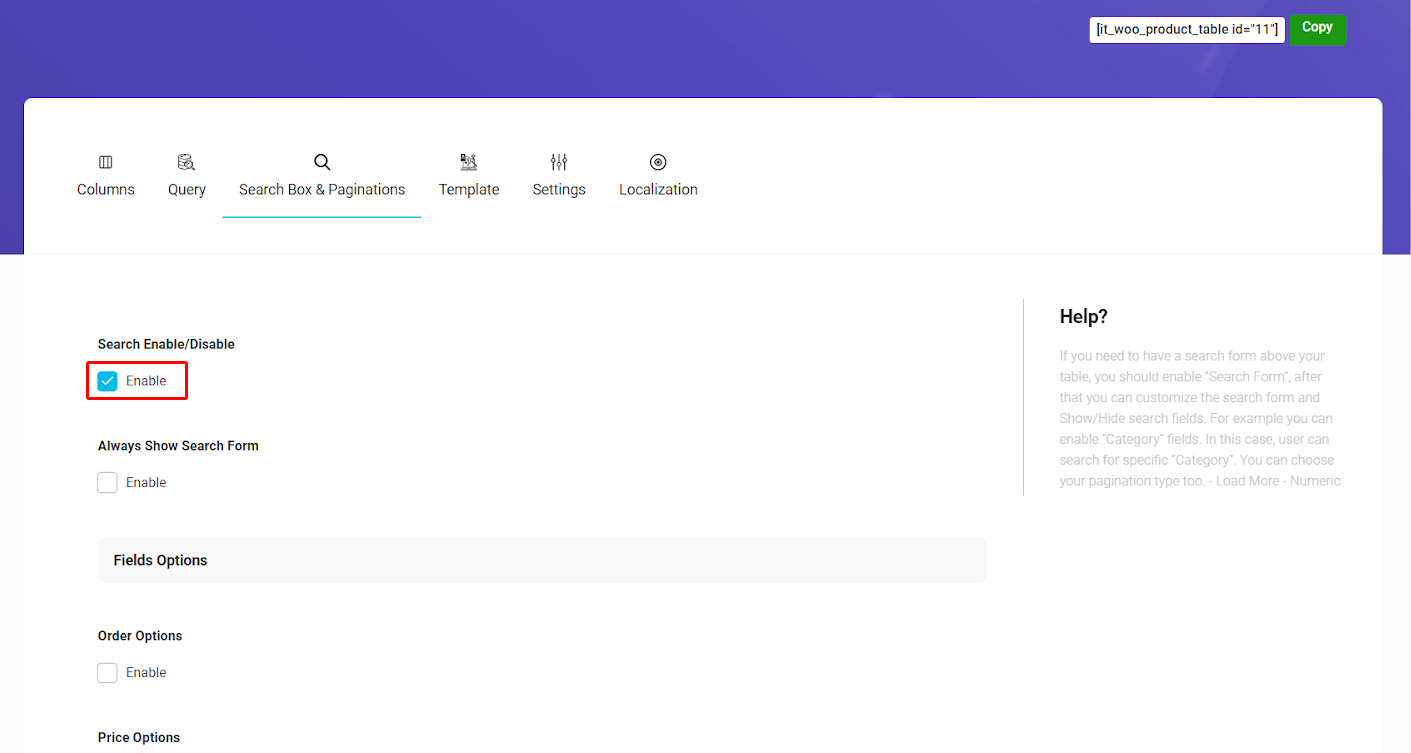
You can add any items such as category or attributes to the search box to make filtering the songs more convenient for your customers.
As we discussed the Search Box and Pagination in detail, we just skipped it. However, you can always refer to “How to create a search form for the products?” if you need any more information about it.
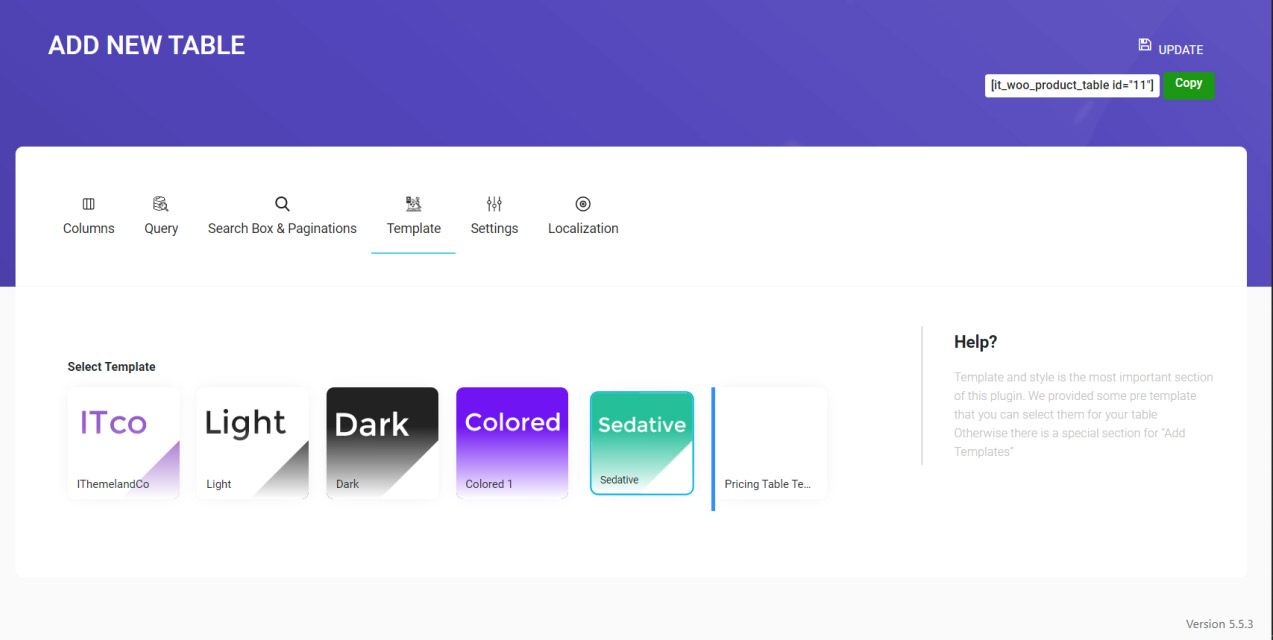
Step 4: Choose a template
Online music stores must be elegant and eye-catching as they are selling artistic products which are more attractive for younger people.
To make an impressive online music store you have to choose a template regarding the taste of your customers.
In this tutorial we chose one of the default templates in the WooCommerce product table plugin named “Sedative”, however you are able to make your own template by changing color, font or appearance of each single item in the product table.
If you need more help, please refer to “How to create a product table with a custom template?”.
Step 5: Change settings of WooCommerce audio store
There are a lot of options waiting for you in the Setting tab, such as changing “Add to Cart” options, product options, choosing sticky columns and etc.
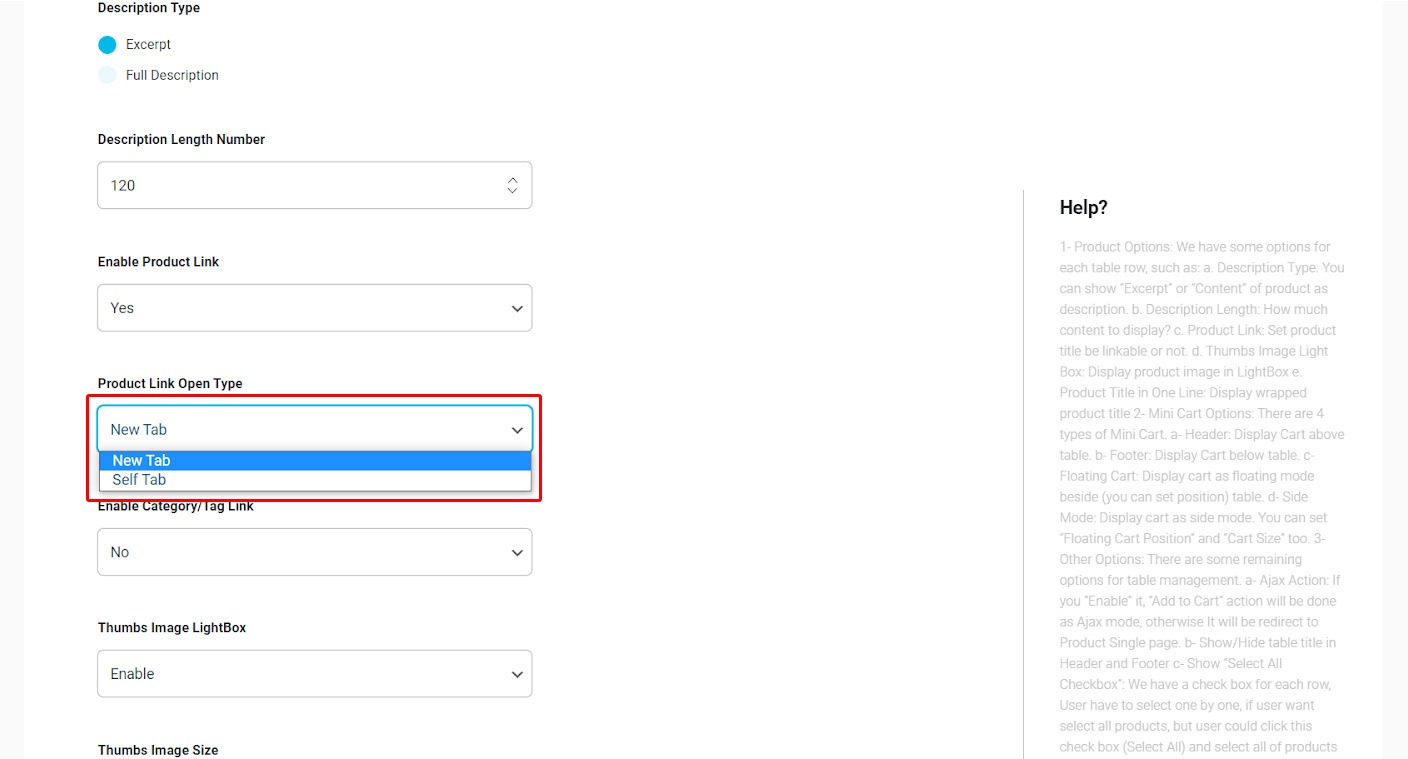
For an online music store, the important item related to the product is the download link. As you can see in the below picture, you can enable product link by choosing “YES” from the dropdown list under “Enable Product Link” field and then you can choose how the new link opens:
- In a new tab
- In the self tab
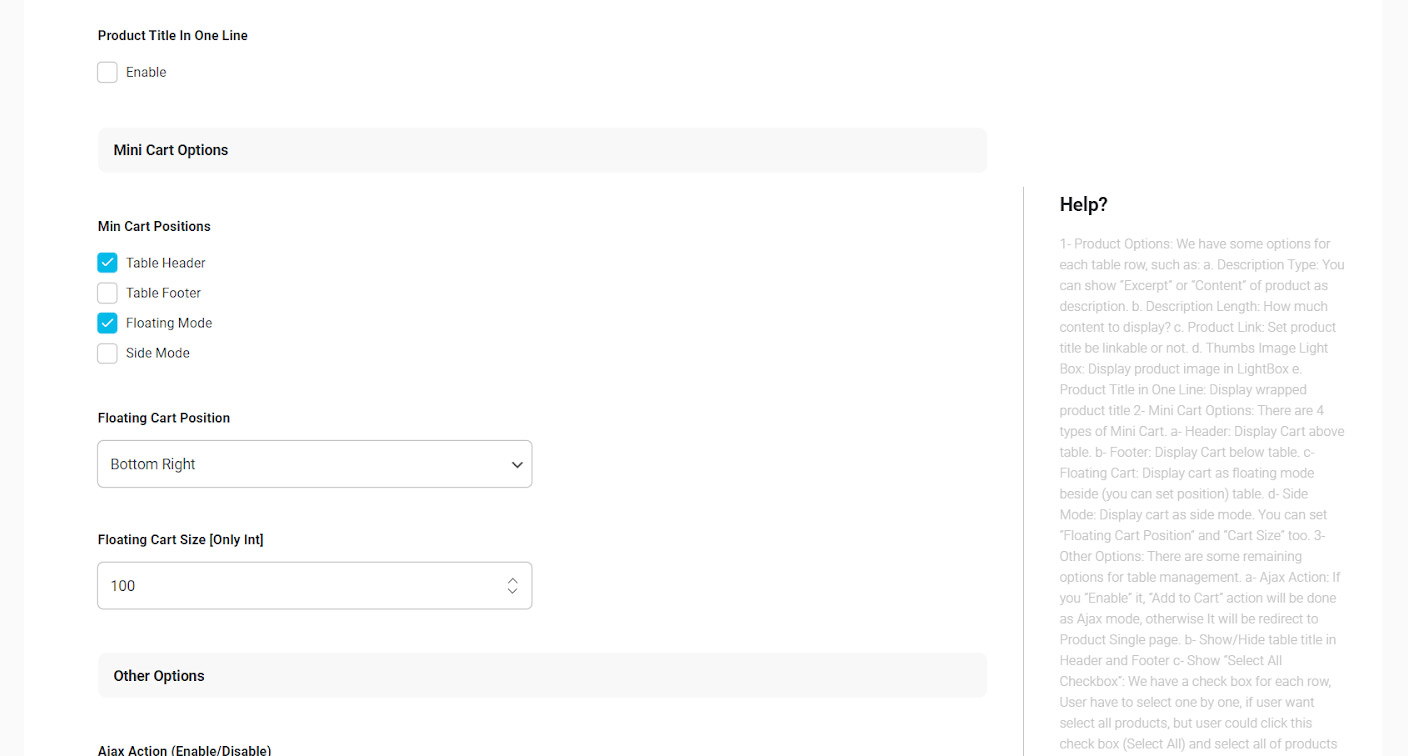
There is also some other options for displaying cart as header or footer which we marked it for our audio product table:
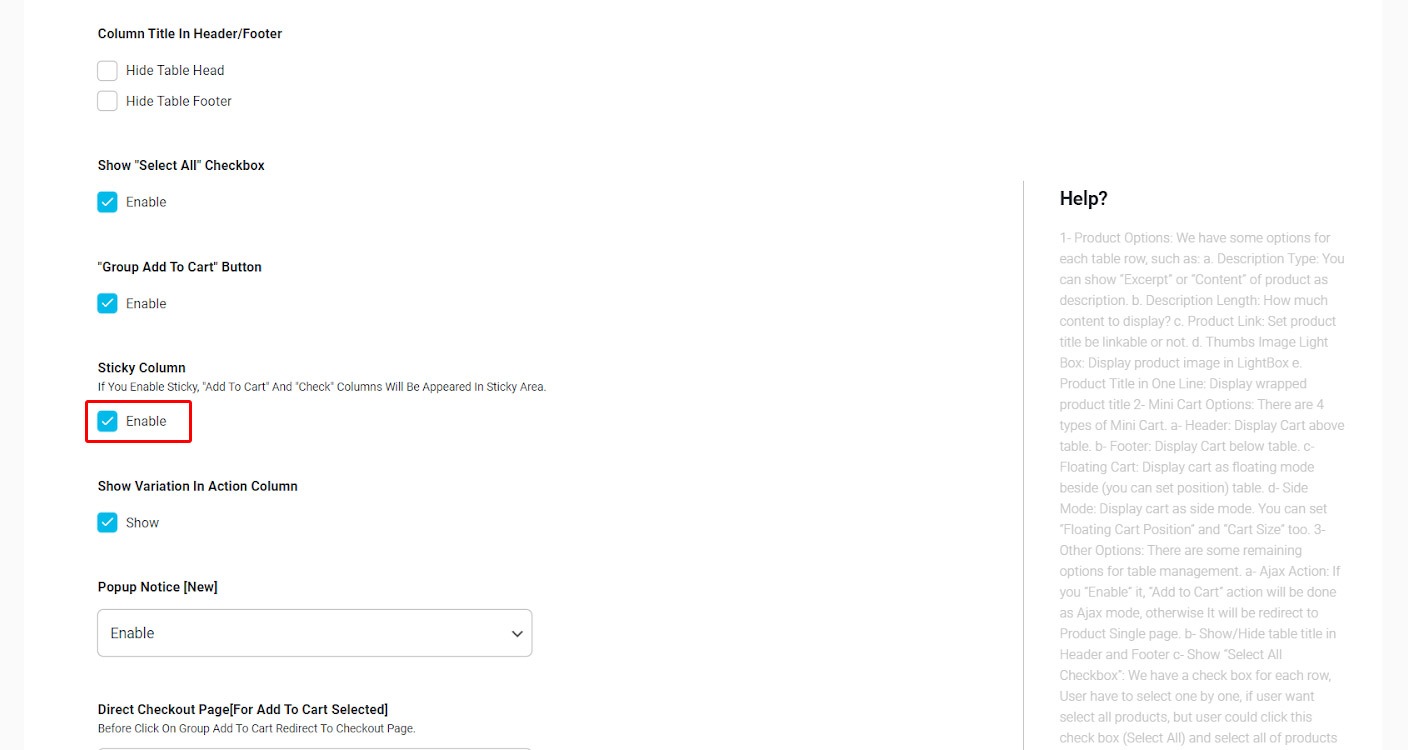
We have also added the sticky column to our online music store:
There are so many different options which are designed to make your online store as customer friendly as it can be. As they are so easy to be used, we are not going to explain all of them in this tutorial, you can easily find out which one is right for your ecommerce website by using them in your product table.
Final Step: Add product table shortcode to WordPress pages
As you have successfully changed the settings related to your online music store and created the most attractive and useful audio product table, now it’s the time to see the result.
To publish your online music store in WordPress you have to use “shortcodes” as we described it in “How to insert product table shortcode in WordPress?”.
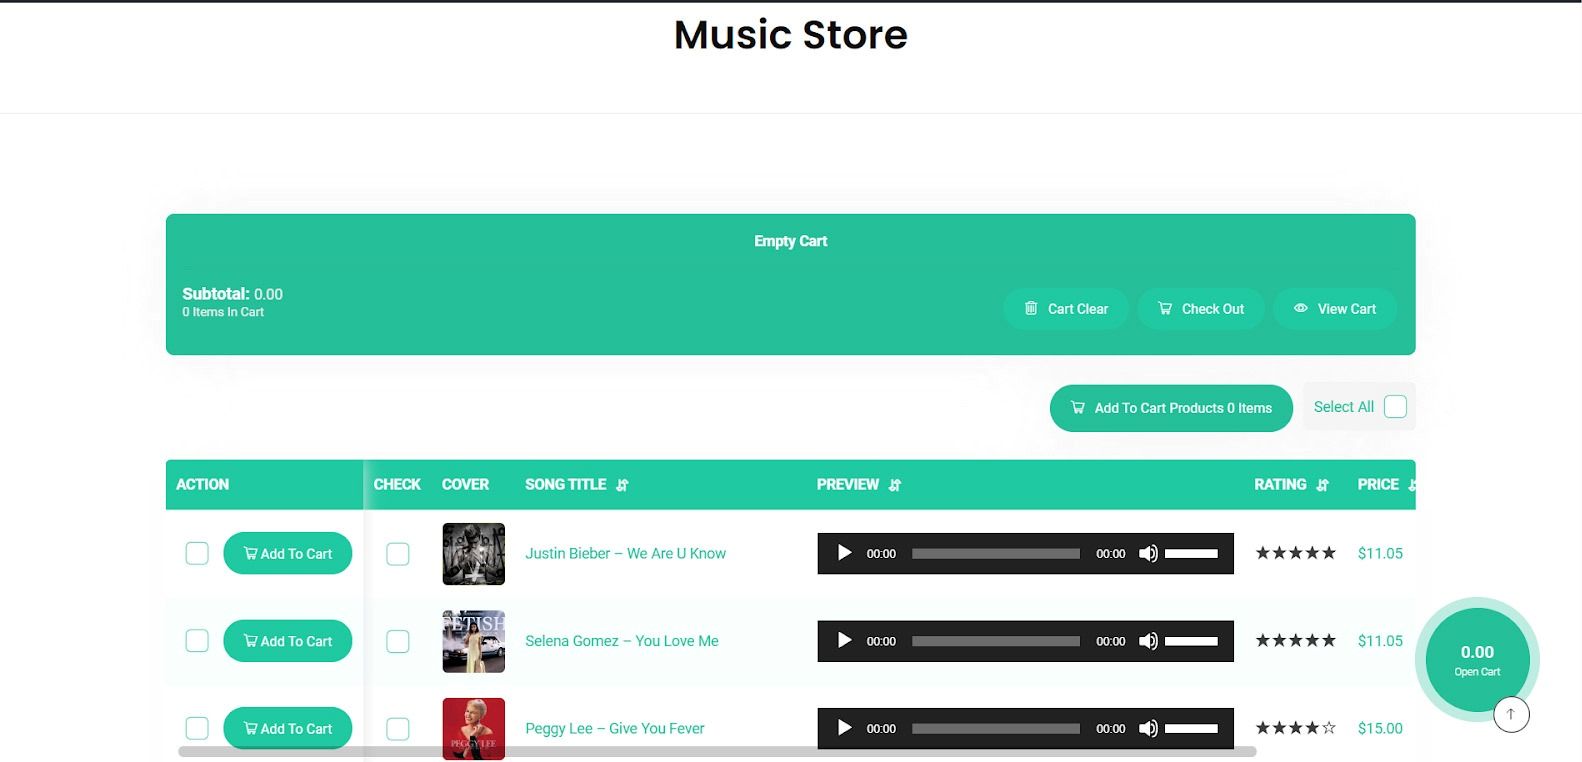
According the guide described in that tutorial, we published our online WooCommerce music store as below:
Comments