Attach / change product variation in PBULKiT – Bulk Edit WooCommerce Products – plugin can help you to add any attributes to your products in a few seconds. This option can save your time by attaching any attributes to your custom products without any need to open the product pages one by one in Woocommerce.
You can attach any variation to as many products as you filtered at the same time in our plugin in two ways:
- By using variation bulk edit form
- By bind edit
We are going to describe both methods in this tutorial, so, stay with us.
Attach / change product variation by using variation bulk edit form
Attach / change product variation by using variation “bulk edit” form is possible by following the below steps in our plugin:
- Go to WordPress dashboard > iThemeland > PBULKiT
- Filter custom products by using “Filter Form” or ”Quick Search”
- Click on “Variations” button
- Go to “Attach / Change Variation”
- Choose your preferred attributes
- Attach those attributes to your products by clicking on Attaching
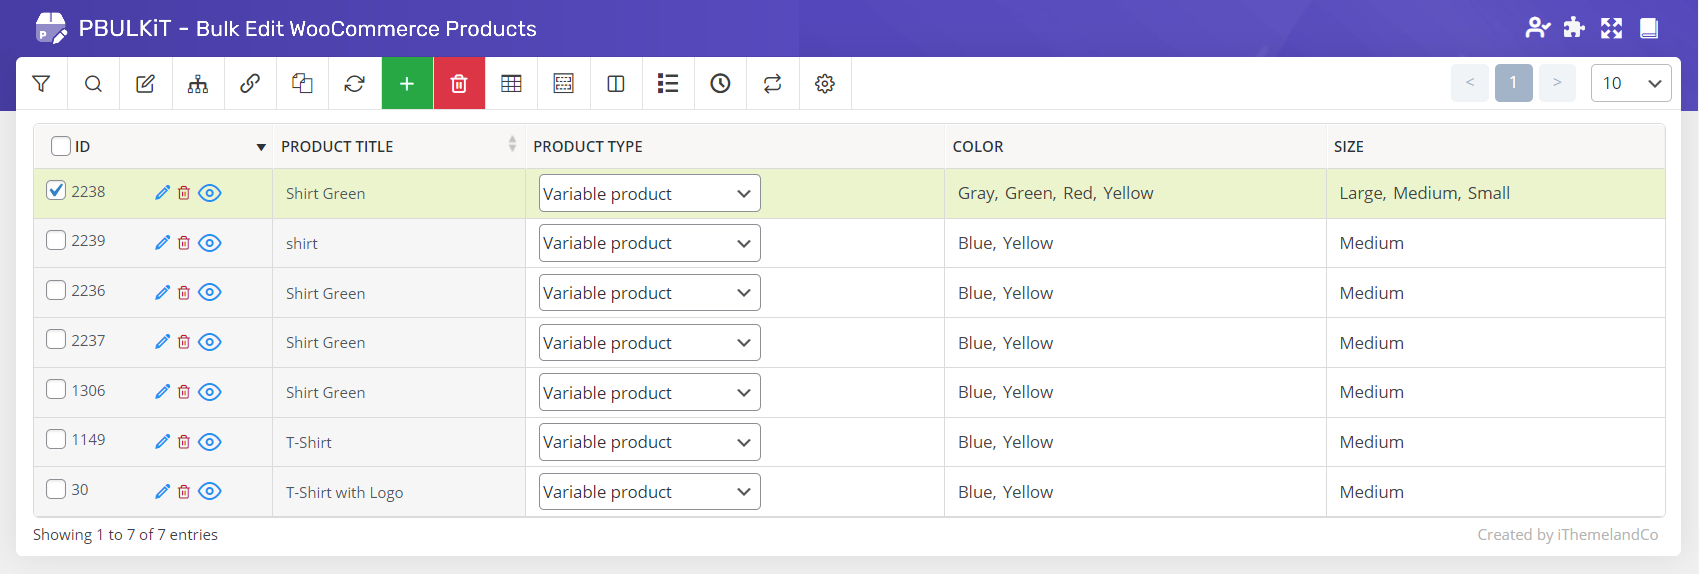
For example, we searched the products that their titles include “shirt” by using “Quick Search” fields as following:
- Type “Shirt” in the text box
- Choose “Title” from the type combo box
- Select “Like” from condition box
- Click on filter icon
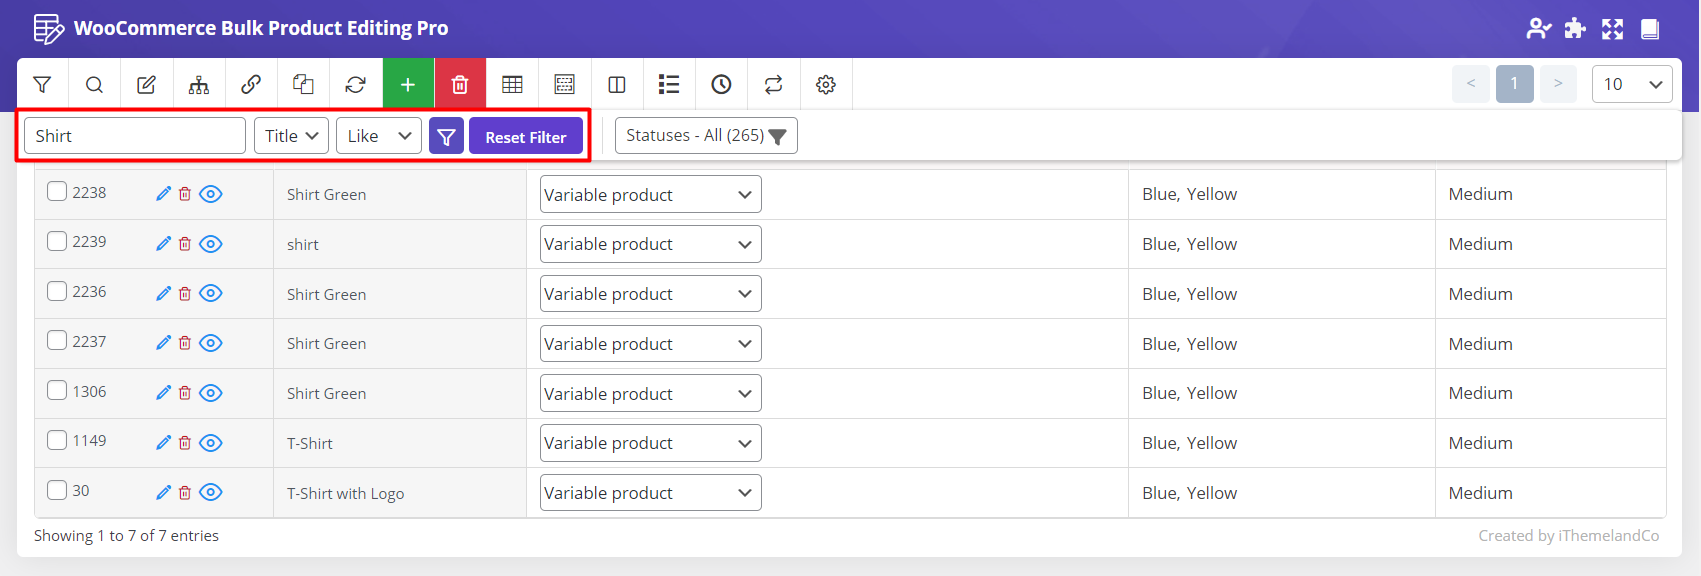
After selecting all filtered products by marking checkbox next to ID, we clicked on “Variation” button, to see the Variation bulk edit form:

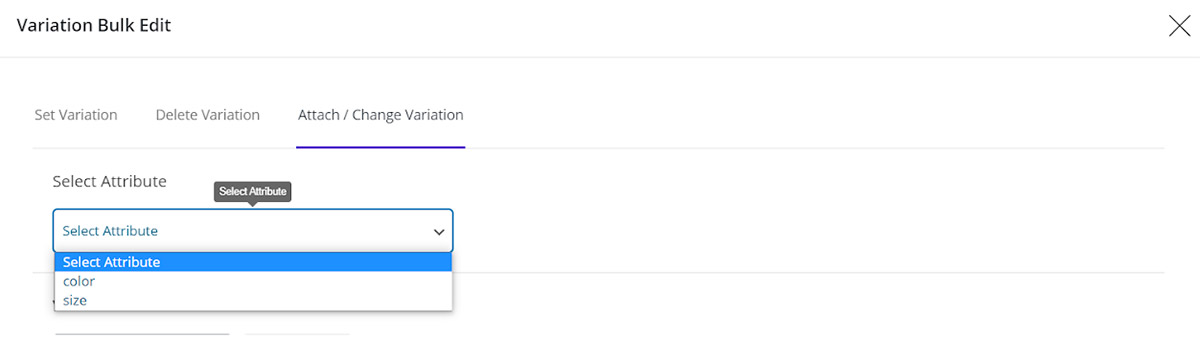
In “Attach/change Variation” tab, you can add any variation that you have already assigned to the WordPress in two ways:
By “Select Attributes” field
By clicking on the box under Select Attribute field, a list of all variations assigned to the products in the WooCommerce will be displayed. So, you can choose any of them to be attached to the custom products.
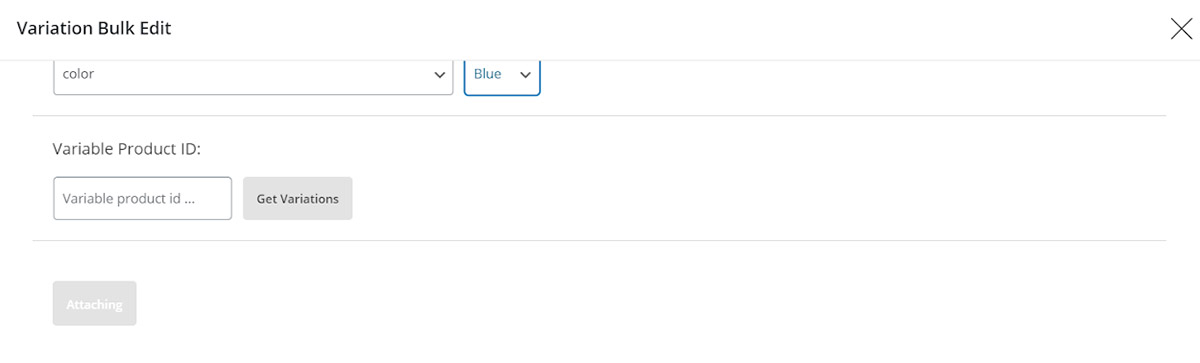
For example, we selected color in the below picture:
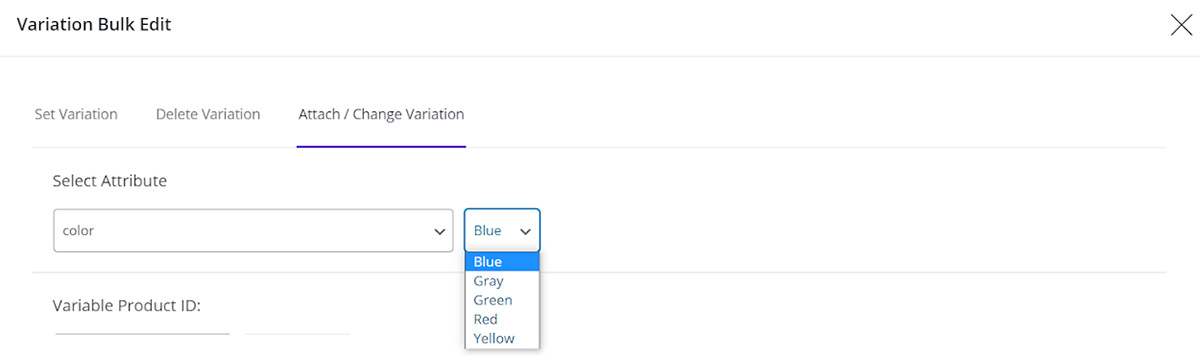
As soon as adding a new variation, a combo box will appear including all attributes related to that variation which enables you to choose one of them from the list:
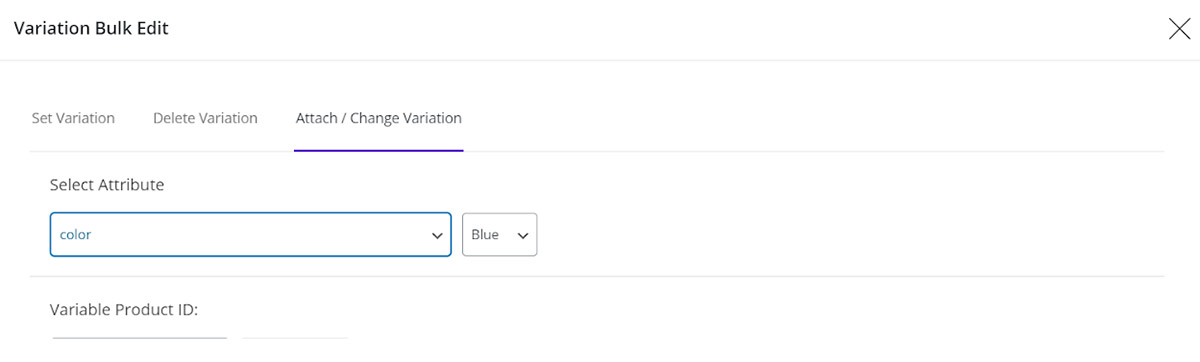
In this tutorial, we selected “Blue” from the drop down list as below:
Finally, by clicking on “Attaching”, this attribute will be added to the product variation.
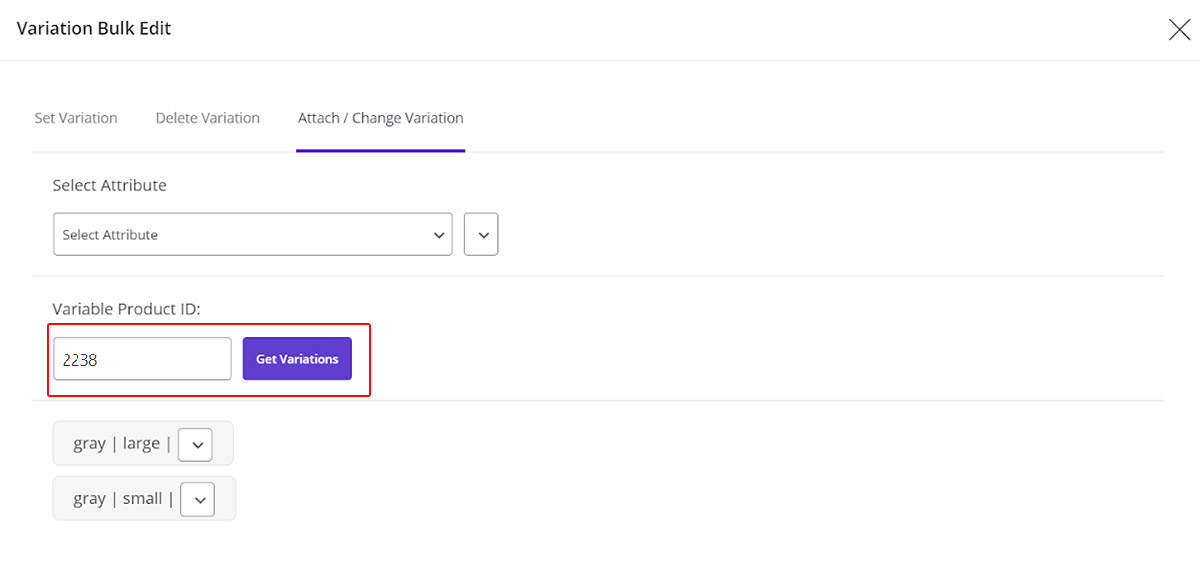
By “variable product Id” field
This field will help you to get the variations of a specific product and attach it to the filtered products.
For example, we entered “2238” as product ID in the related text box and clicked on “Get variations”:
As shown in the below picture, all the Attributes related to this product are listed and we are able to choose any of them, to be assigned to our filtered products by clicking on “Attaching”:
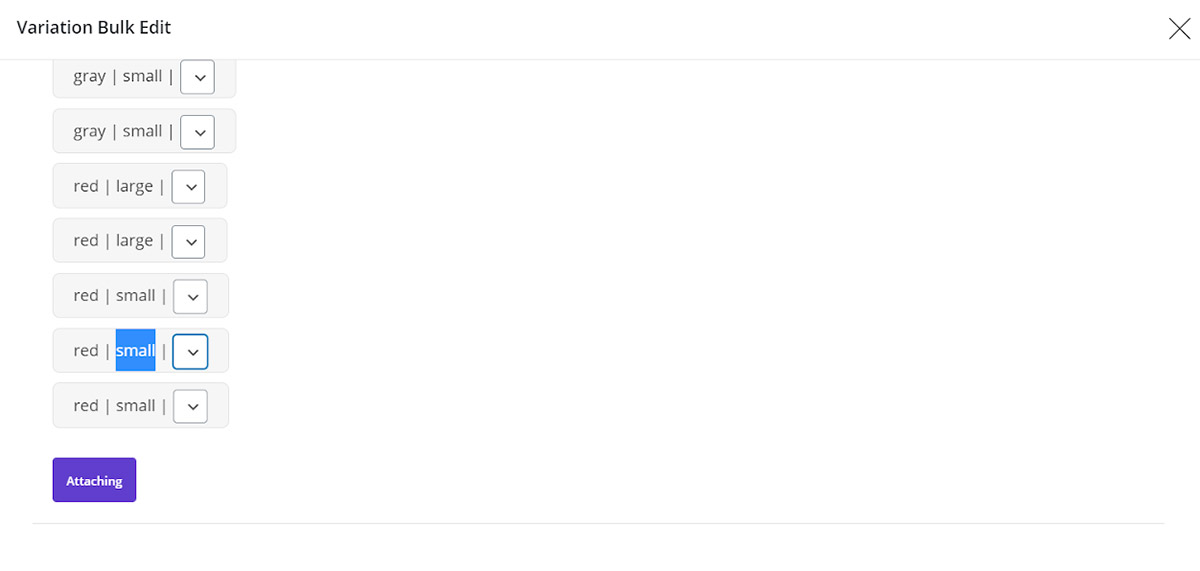
As we expected, all those attributes that we selected were attached to our product variations:
Attach / change product variation by using variation bulk edit form
As we severally mentioned in the previous tutorial, to use bind edit in our plugin you need to add the proper columns to the product table.
As we are going to attach variations to our product, adding the columns related to those attributes are necessary.
You can easily add any attribute column to your products table by getting help from how to add new columns to the product table. As we did for adding color column to our table in this tutorial:
Now to use “bind edit” for attaching new attributes to the product, you need to:
- Search custom products as we did for searching “Shirt” in the previous step
- Mark all custom products
- Mark “bind edit”
- Click on “Variation” column of one of the products
- Mark any attributes that you need to be assigned to the custom products
- Click on “Apply Changes”
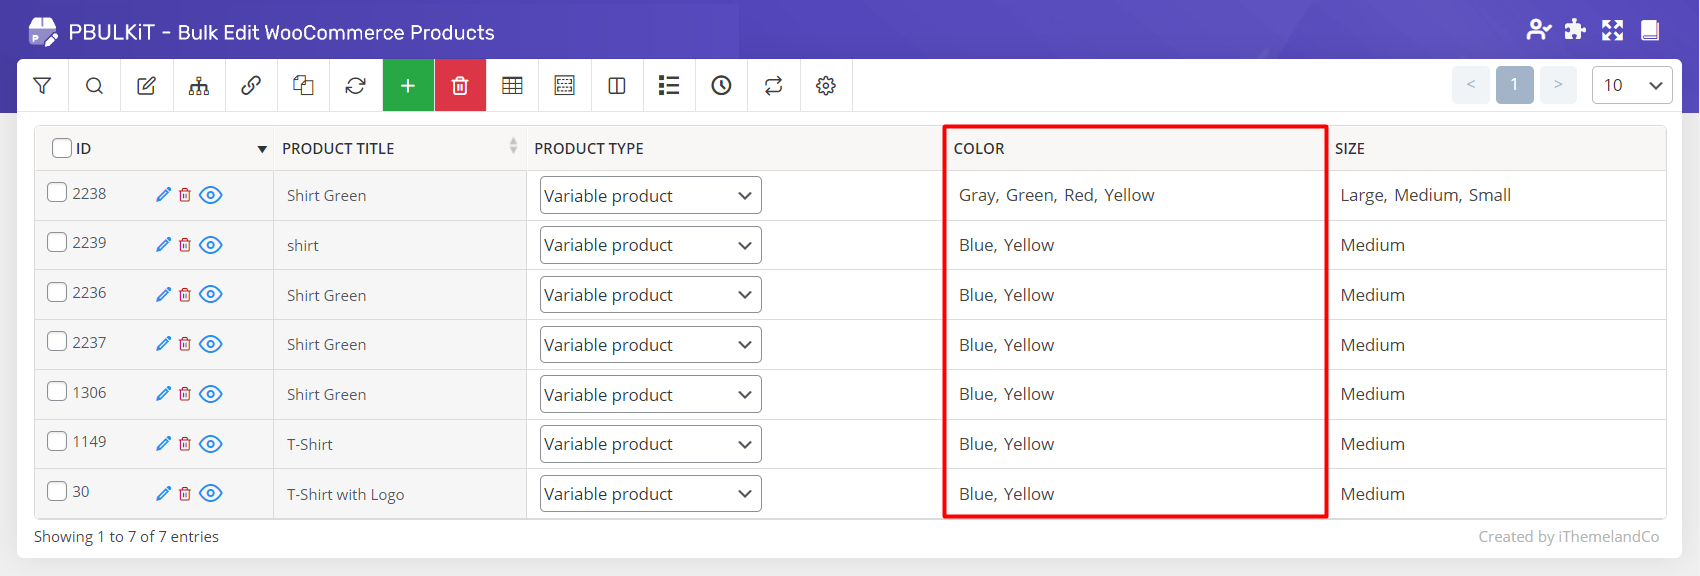
As shown below, we marked “Grey, green, red and yellow”:

And by clicking on “Apply changes”, those attributes were attached to our product variations:
Comments