Manage column profile in WPBULKiT – Bulk Edit WordPress Posts / Pages Plugin can help you to take the most advantages of our plugin. In fact, the main purpose of providing a post table in this plugin was to enable the store managers to see as many columns as they need related to each post / custom post in the main page and then bulk edit any of them.
To help more and make it more convenient for the store manager, we designed a special tab called “Column Manager” and we’re going to show you how easy it is adding any columns to your post table in this tutorial.
Manage column profile
To manage post columns, you have to open the “Column Manager” tab which is available at the top of the main page.
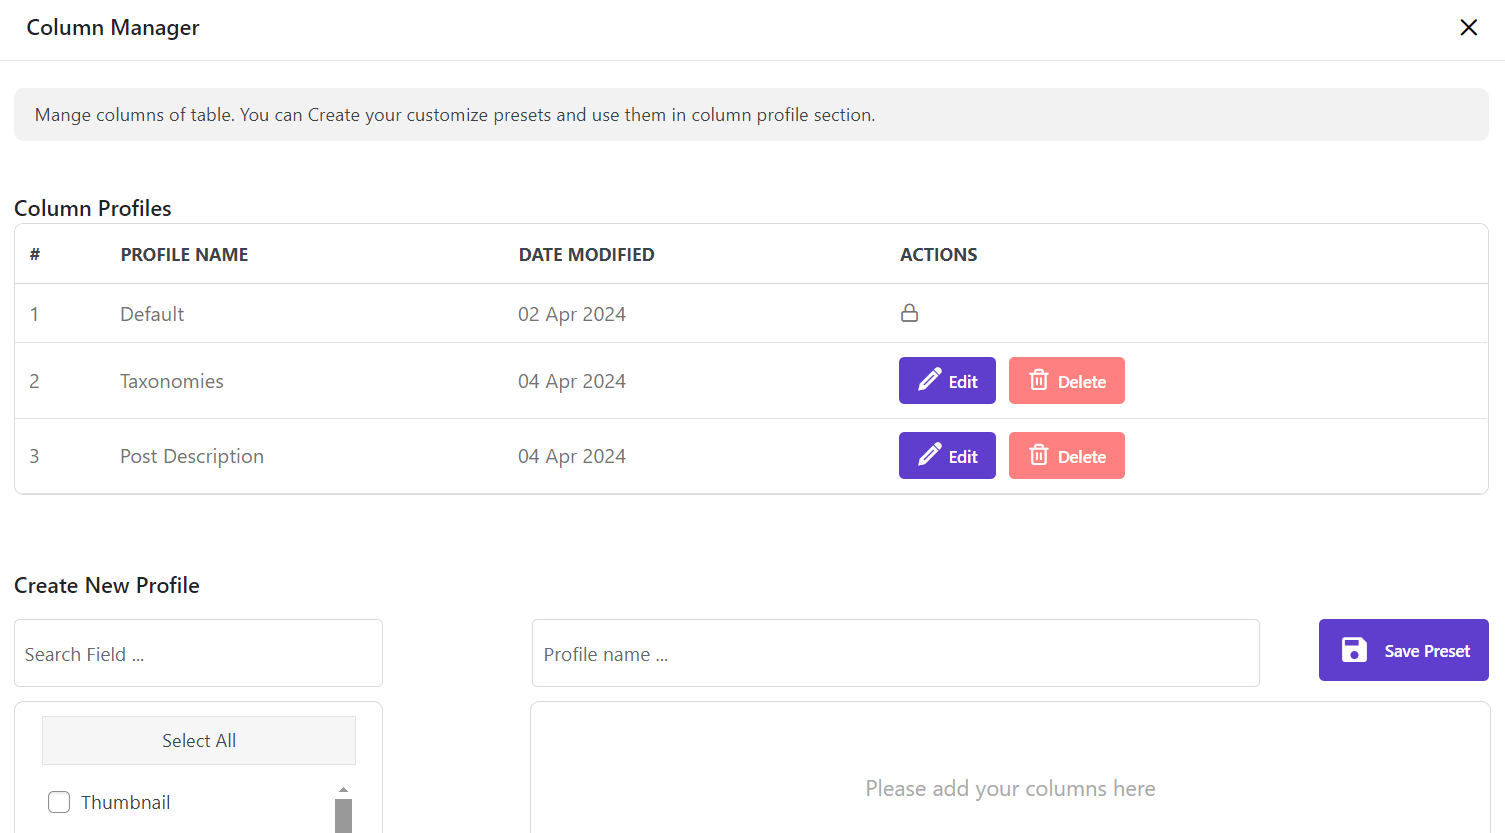
By clicking on “Column Manager“, you will see the below page:
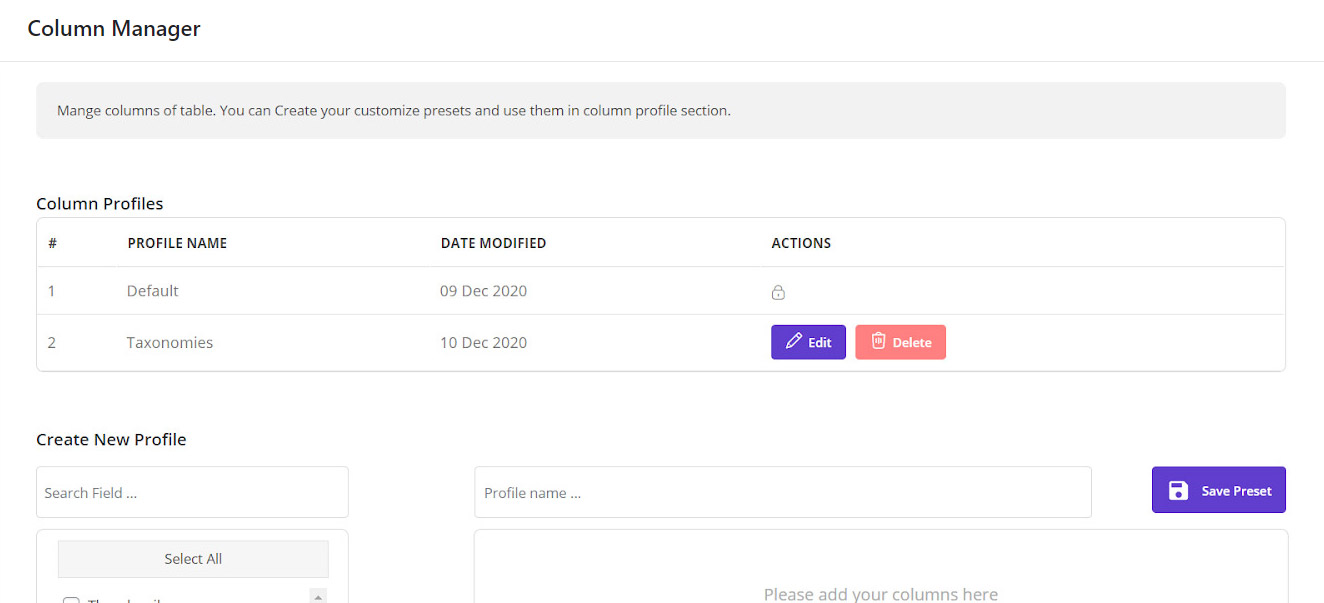
At the beginning, you can see all the column profiles added before to this plugin. We will describe this part later.
Let’s go and see how to create a column profile for managing post columns.
Create a new post column profile
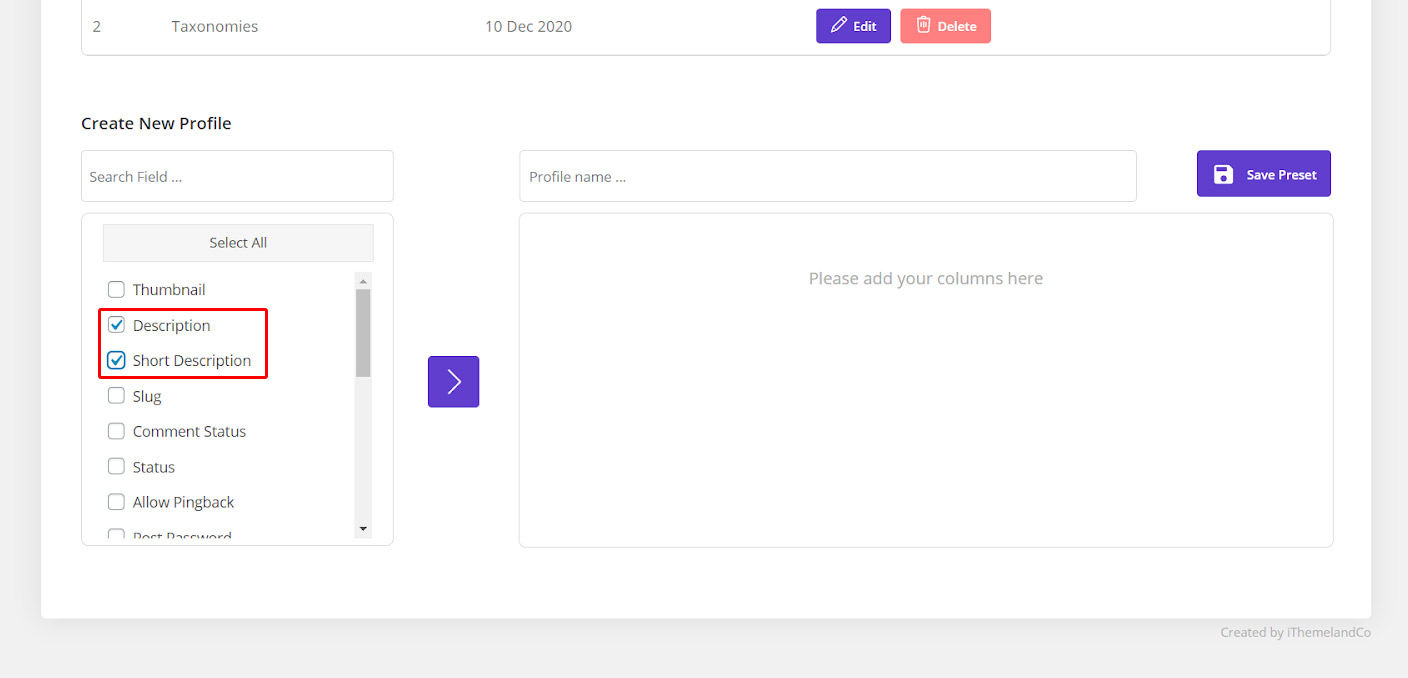
Creating a new profile is not a complicated task in our plugin as you can find a list including all fields which are available for being bulk edited.
So, the only task remained for you, is choosing the right columns according to your priorities and clicking on the Arrow Icon. For example, we selected “description” and “short description”. As shown below, those items were displayed in the opposite box:
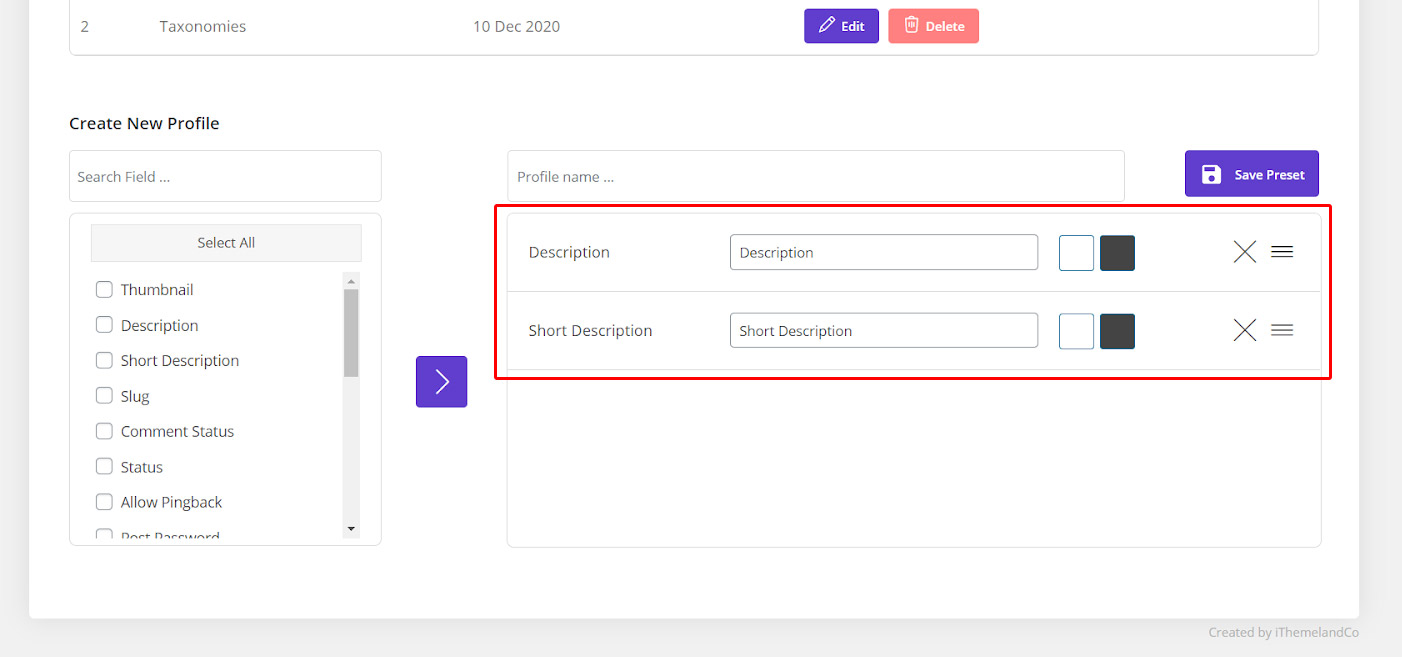
In this box, you have access to some options including:
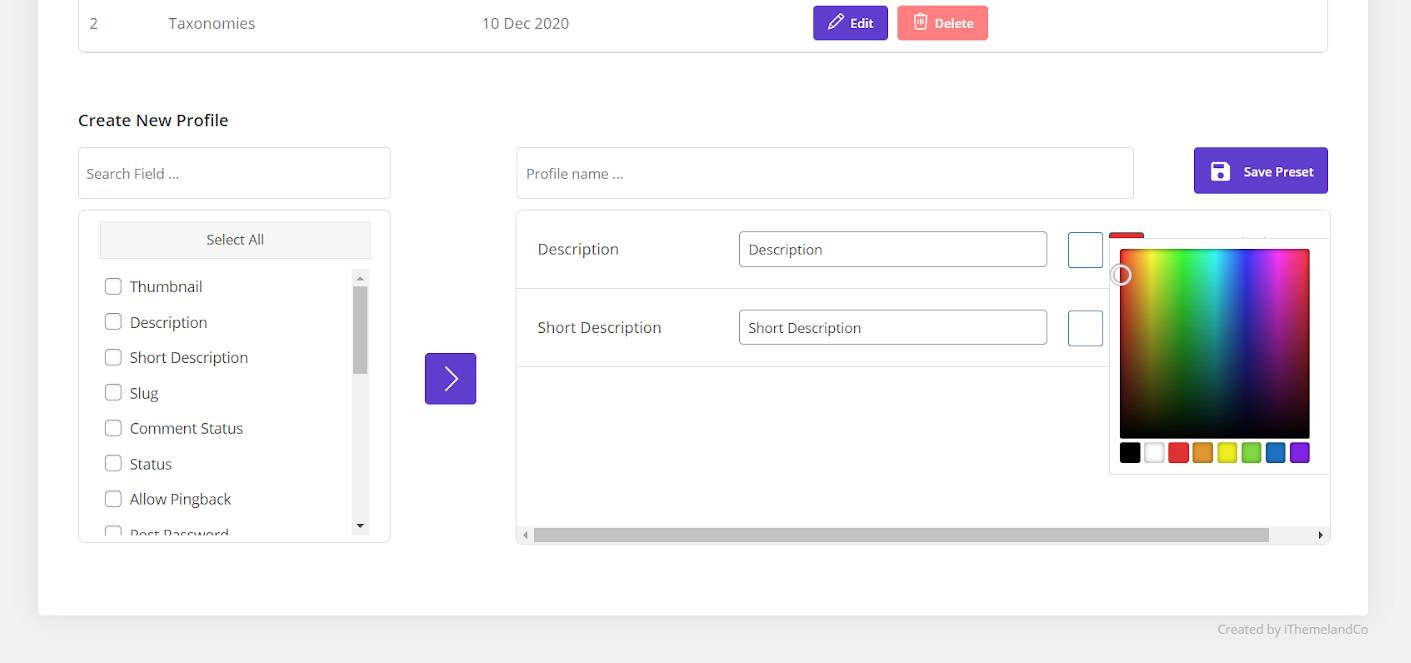
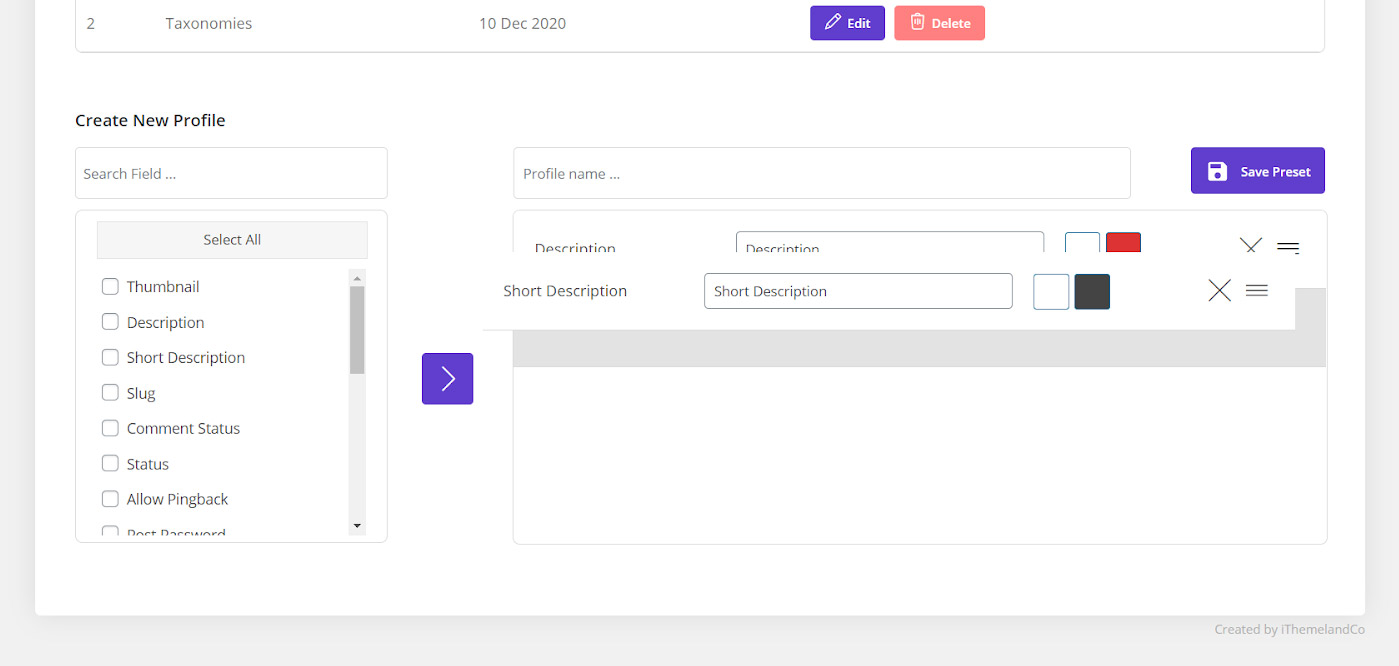
Change the color of post column
This option will help you to specify the columns which are more important in different colors and make them distinct.
As shown below, there is no limit for choosing color. So, you can pick any color by clicking on it.
Change the order
Changing the order of post columns is possible by drag & drop as displayed below:
Delete columns
The cross icon is set here to enable you to delete any post columns that were selected by mistake or you don’t need them to be displayed.
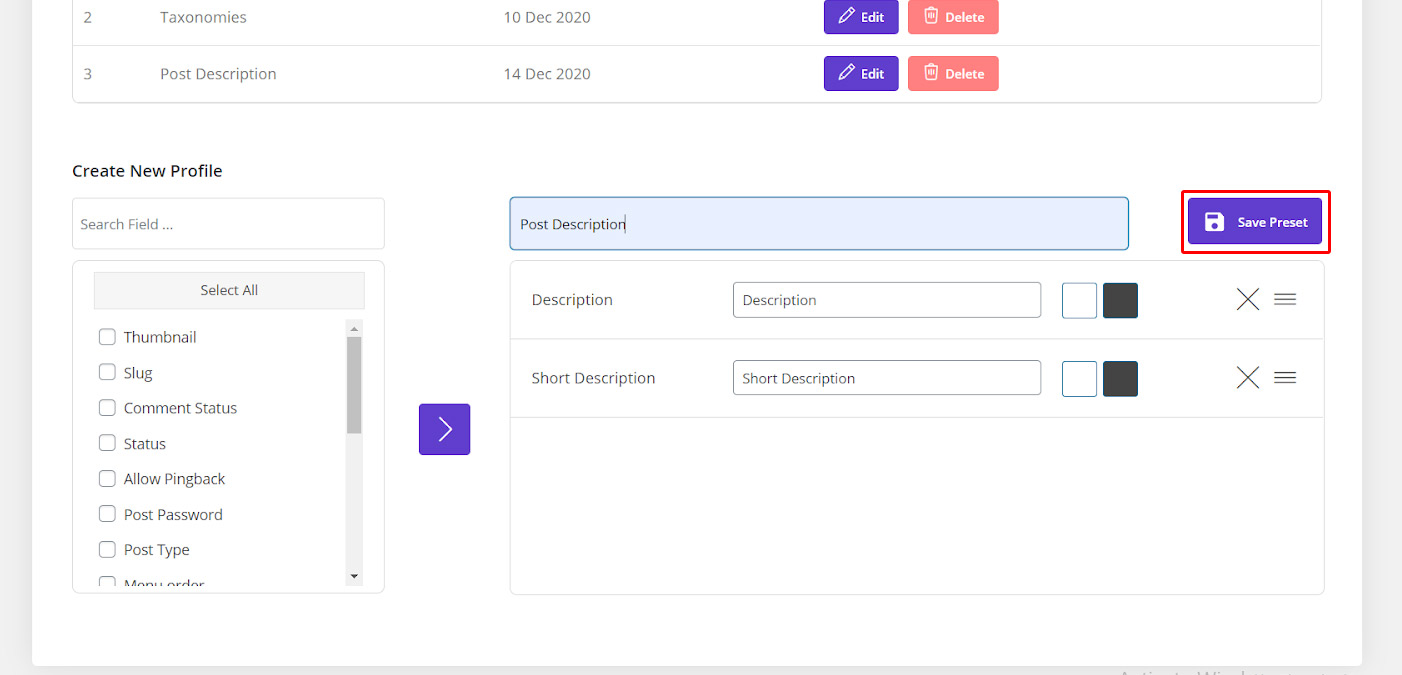
Save profile
You can save your column profile quickly by typing a name and clicking on the “Save Preset” button.
In this way you can refer to the saved column profile and see your selected post columns anytime you need.
For example, we typed “Post Description” as the column profile name:
Edit the saved column profiles
You have also access to the saved column profile in the column profiles list at the top of “Column Manager“:
In this part, you can use following options for managing the post column profile:
Delete columns profiles
You can delete user created column profiles by clicking on the “Delete” button and confirming the operation.
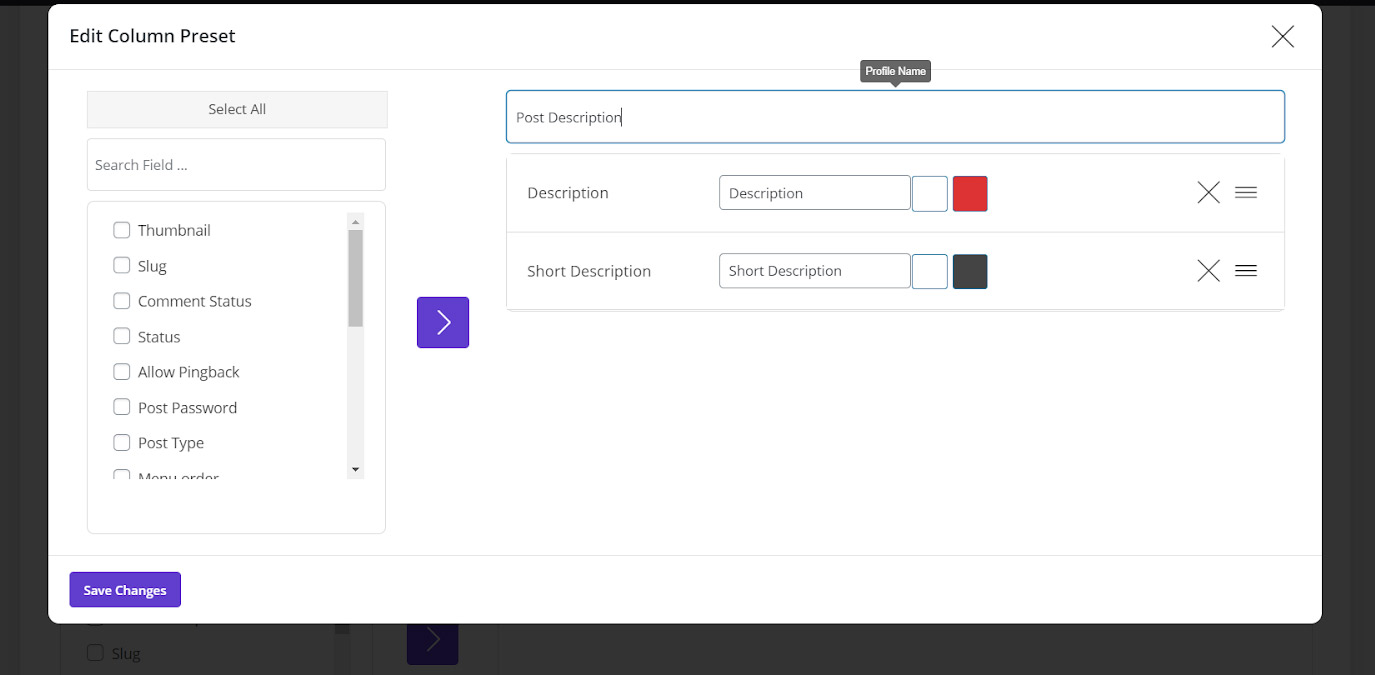
Edit column profile
The “Edit” button is only available for the column profiles that you created before. By clicking on this button a popup will open and you can mange your column profile as below:
- Add/remove columns.
- Change the column profile name.
- Select the color of columns.
- Change the order of columns.
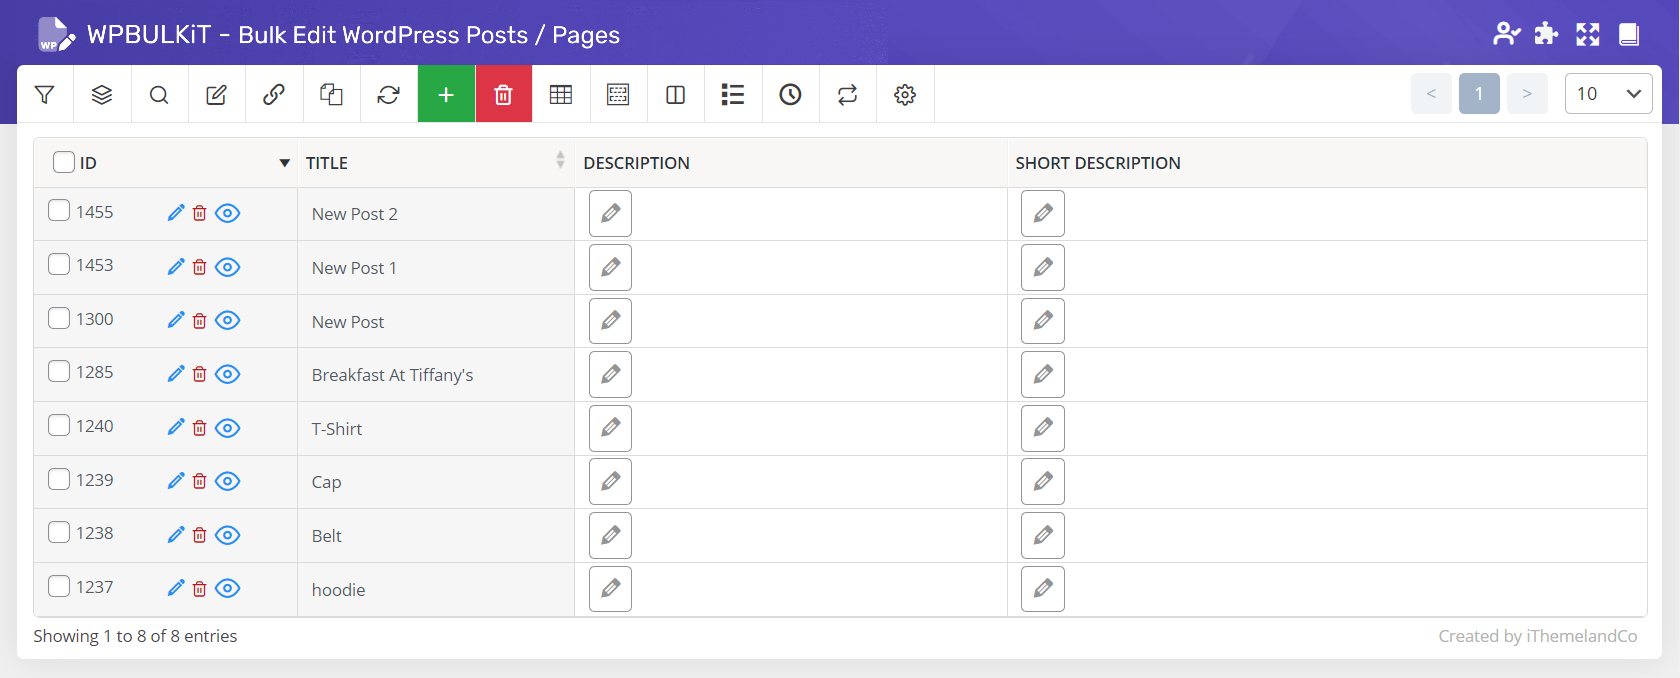
When you make sure that everything is done, it’s the time to choose this column profile and see the selected columns in the post table, as we shown for “post description” column profile below:
If you need any help with loading the column profile, please refer to this article:
Read More: Select column profile in WPBULKiT – Bulk Edit WordPress Posts / Pages Plugin
Comments