Importing data related to the thousands of WooCommerce products can be done in a few minutes by using the PBULKiT – Bulk Edit WooCommerce Products Plugin. This means you can import data as WooCommerce default import products.
By using the options provided in the “Import/Export” tab of our plugin, you can import data from files with CSV format, including thousands of products with their features, attributes, prices, shipping classes, or any other field supported in WooCommerce.
How to import thousands of WooCommerce Products to our plugin?
To import data from your pc or any other devices, first, you need to go to the address below and open the “Import/ Export” tab:
WordPress dashboard > iThemeland > PBULKiT > Import / Export tab
As shown below, there is a specific button for importing data in this tab: the “Import Now” button
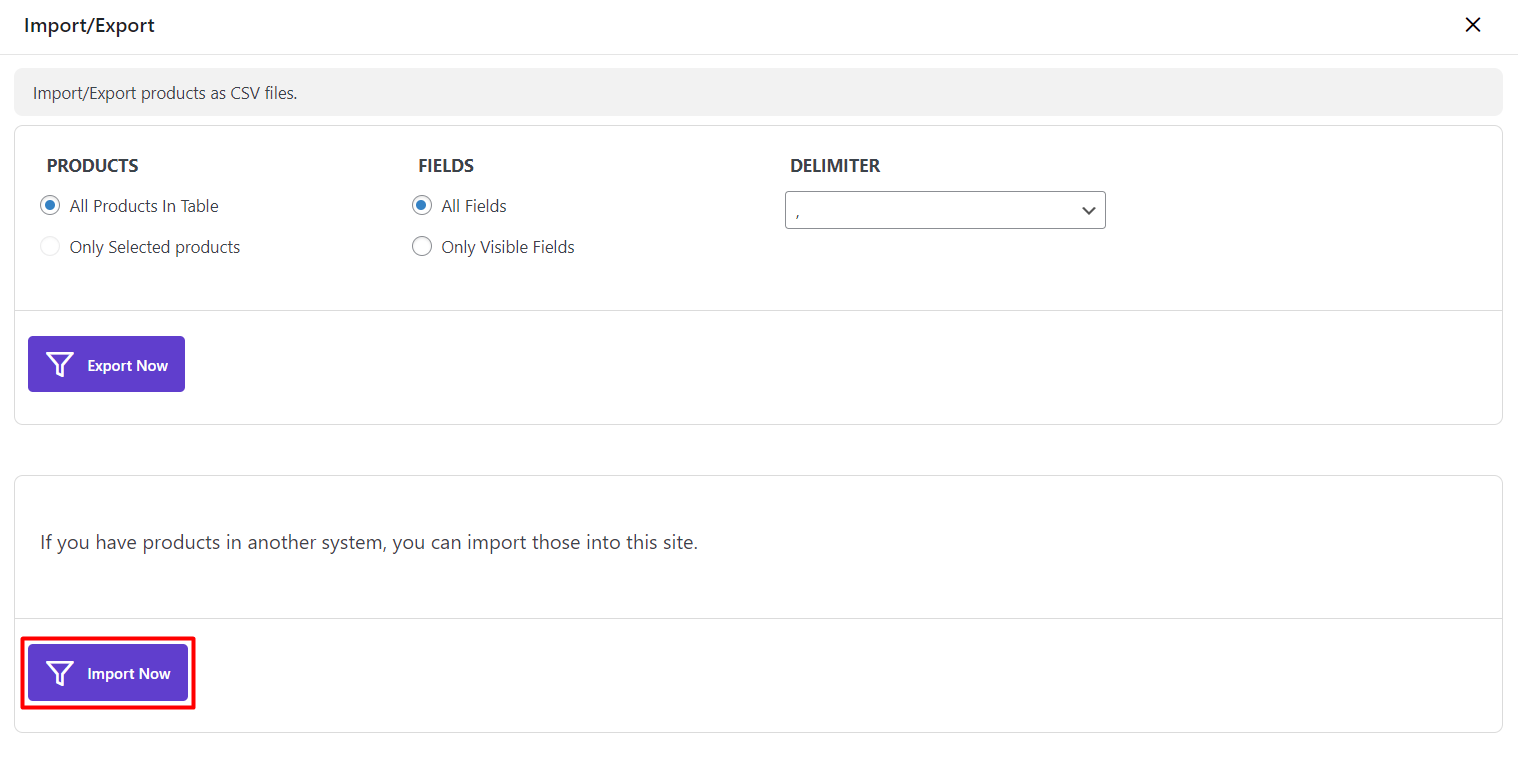
Clicking on this button will direct you to a new page that is specifically designed by the WooCommerce plugin for importing data from your device.
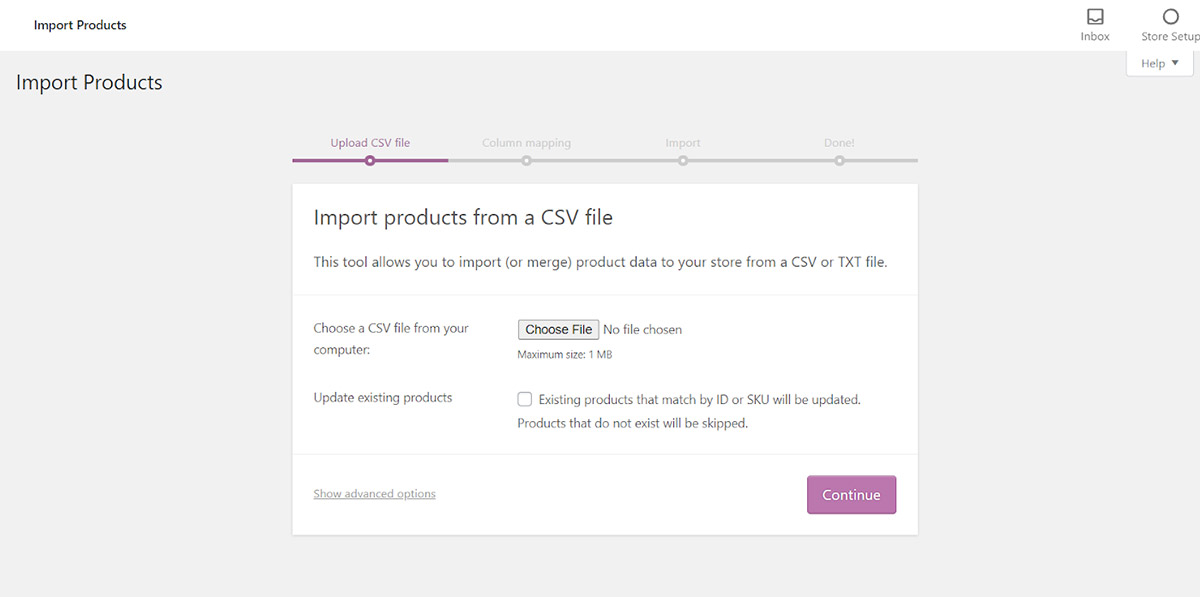
As you can see in the picture below, you need to complete four stages to import data to our plugin, including:
- Upload CSV file
- Column mapping
- Import
- Done
Completing these stages is straightforward. So, stay with us to see how we can use these stages to import data to our plugin.
Upload CSV file
To upload a CSV file, you need to click on the “Choose file” button:
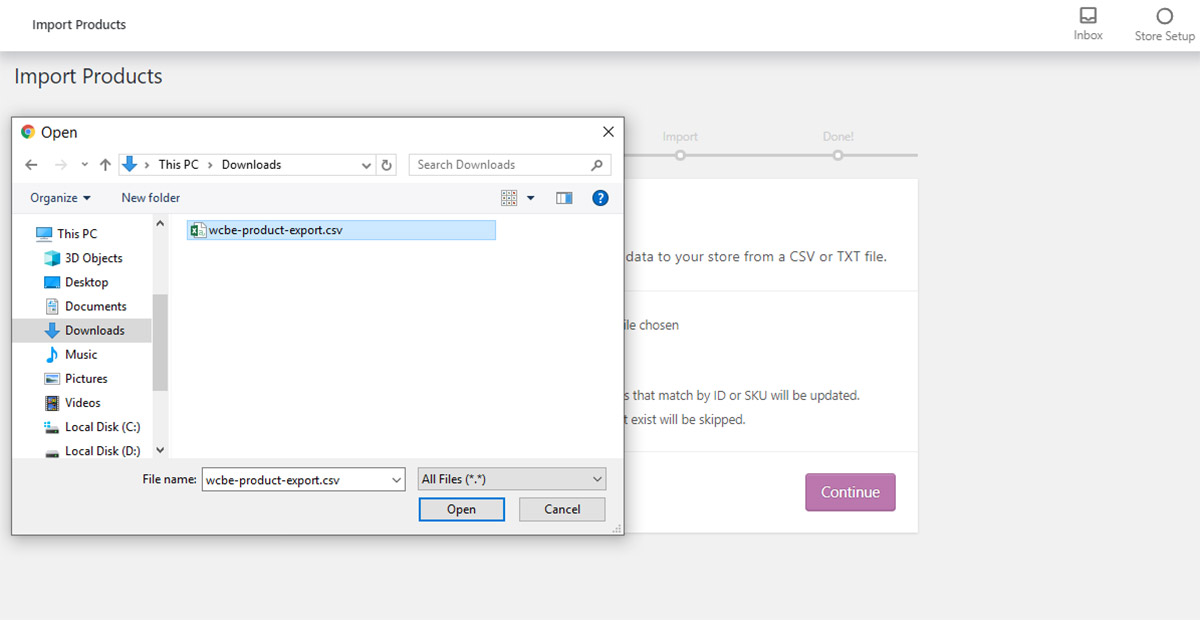
Then select your file in the new pop-up and click on the “Open” button:
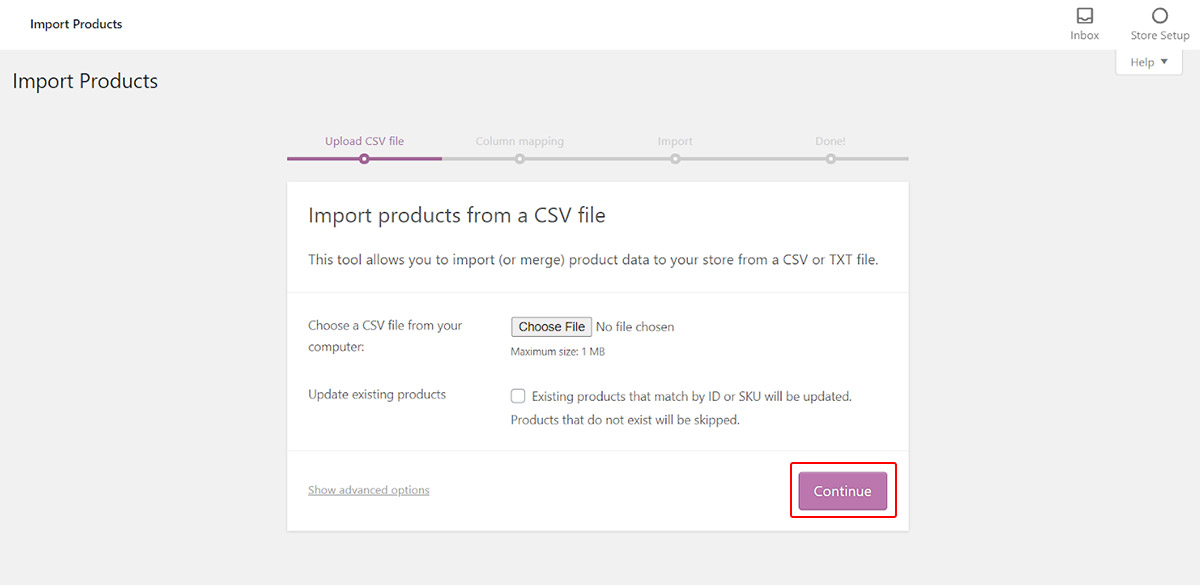
After adding a CSV file, you can click on the “Continue” button to go to the next stage.
There is also a checkbox on this page; if you mark the checkbox, the data of products that have the same ID or SKU as the products in the imported file will be updated.
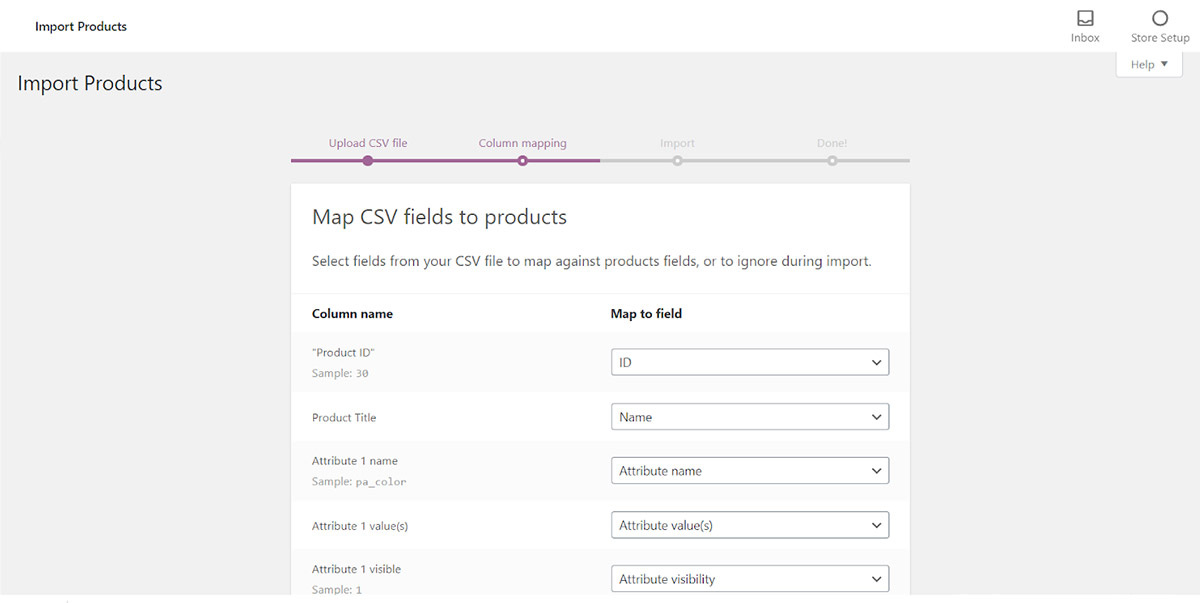
Column mapping
As soon as you click on the “Continue” button, you will be led to the next stage. In this stage, all fields related to the products are available, and you can choose from which columns in the imported file you want to assign data to them.
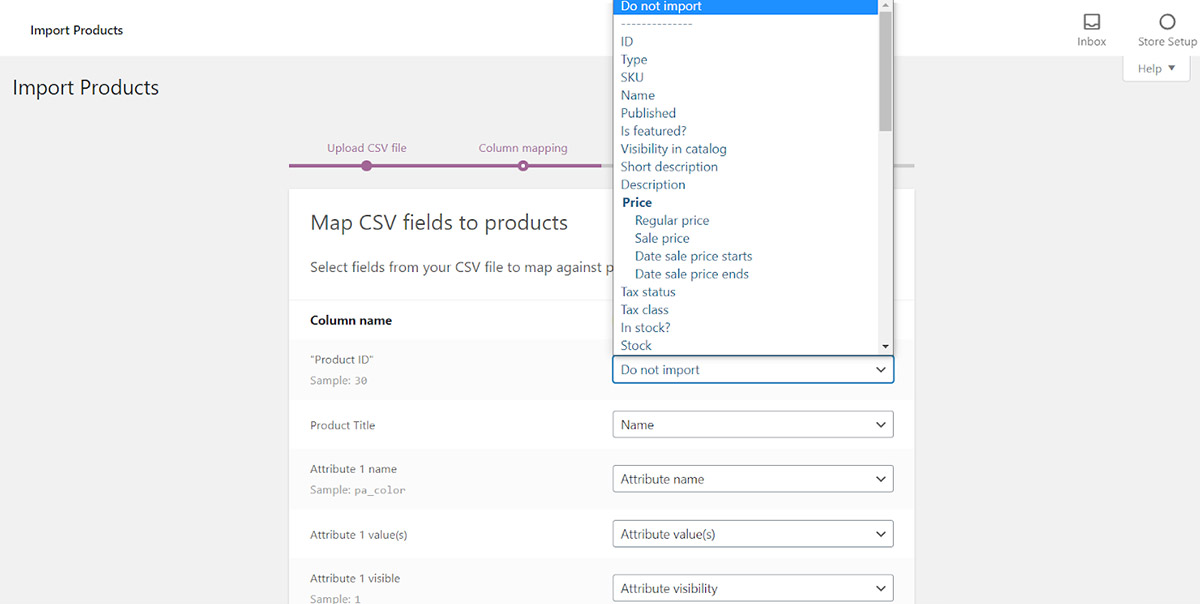
All fields are assigned to a default column, although it is possible to match the fields with the columns that exist in your file according to your requirements.
For example, we assigned the following columns to the fields:
- “Product Id” (a column in our CSV file) to ID (A field in our plugin)
- “Product Title” (a column in our CSV file) to “Title” (A field in our plugin)
- “Color” (a column in our CSV file) to “Attribute name” (A field in our plugin)
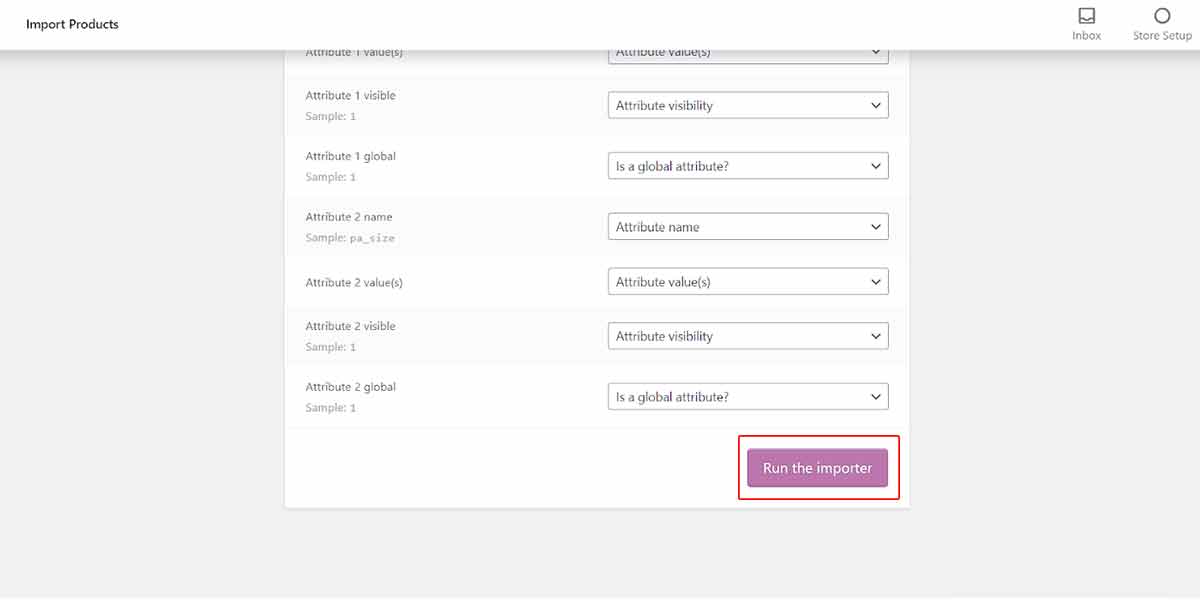
When you assign those columns properly, you need to click on the “Run the import” button at the bottom of this page to go to the next stage.
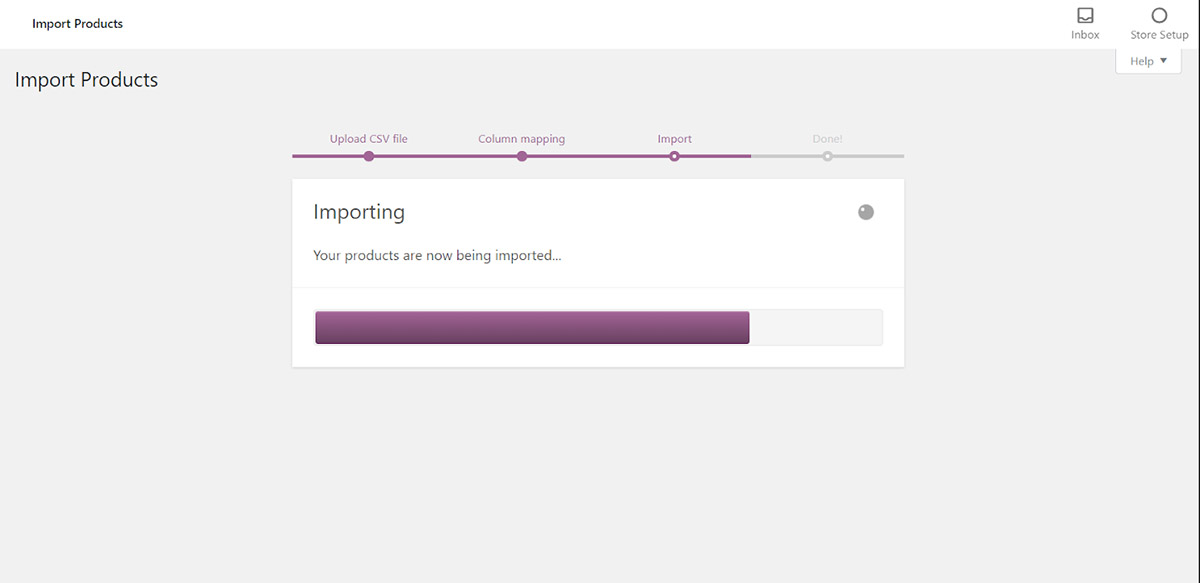
Import
In this stage, there is no need to do anything. Please wait to import data from your file.
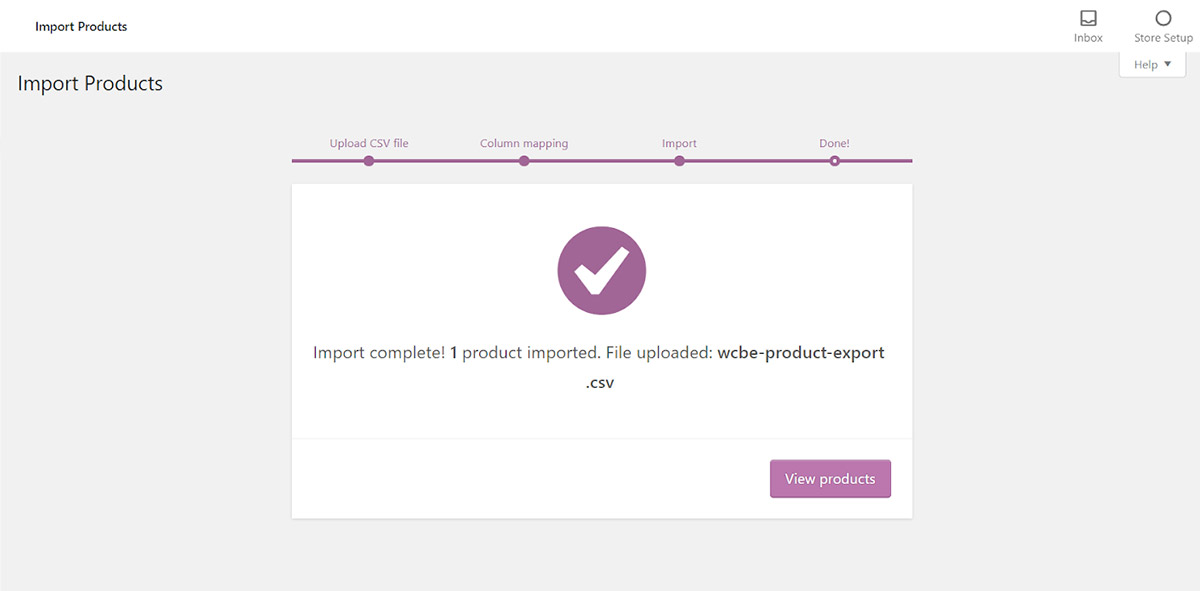
Done
You will see the message below in the final stage, which means that WordPress imported all of the data successfully.
The result
To see the result, you can go back to the PBULKiT – Bulk Edit WooCommerce Products plugin main page( iThemeland > PBULKiT) and check the table of products.
Comments