
WordPress Dashboard allows you to control all of the behind-the-scene details of managing your site. Once you find your way around the dashboard, you’ll realize it’s really easy to use and navigate. If you’ve logged into WordPress even once, you’ve seen the WordPress Dashboard, the first thing you see when you log into WordPress — not the entire WordPress admin area, which is sometimes mistakenly referred to as the Dashboard.
Getting familiar with Dashboard Sections
To access the WordPress dashboard, you’ll need to first log in to your WordPress site. If you do not know how to build a website in WordPress, please refer to the previous step of Learning WordPress for Beginners.
After you first log in, you’ll see a top welcome box from WordPress with some quick links to help you get started.
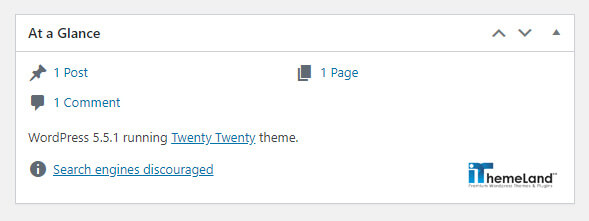
The next section is the “Right Now” or “At a Glance” section. Here you’ll see the number of post, pages, categories and tags for your site’s content. You’ll also see discussion information for comments, like the total number of comments, and numbers for those approved, pending or marked as spam.
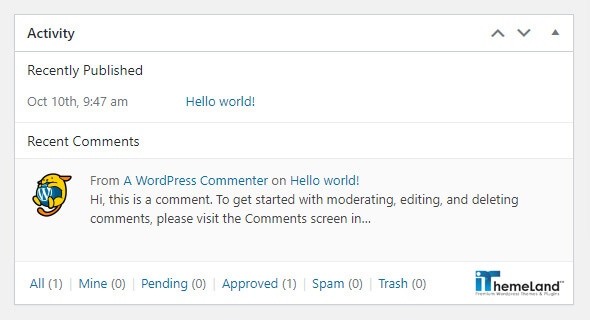
“Activity” section is the pulse of your website. The Activity module displays the title of the most recent posts and snippets from the latest comments. If something happened recently on your site, you’d find it listed here in the WordPress dashboard. Click any of the Activity links to jump right to the action.
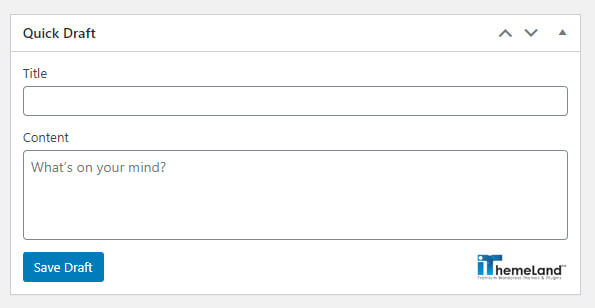
The “Quick Draft” module is the quickest way to create a new post. That being said, this feature is quite limited. It’s unlikely that most users will ever take advantage of the Quick Draft module.
You can see the latest news from the WordPress world in a constantly updated feed in the “WordPress News” section. Keep an eye on this module for news about WordPress updates and security releases.
Customizing the WordPress Dashboard
You can edit what is on your dashboard by clicking on screen options at the top right. Click the arrow to expand this section and you’ll see checkboxes for each of the sections usually included in the WordPress Dashboard. To remove any of the sections, just unclick the checkbox beside the section you’d like to hide. You can also choose the number of columns for the screen layout, too.
Left-hand Navigation Menu
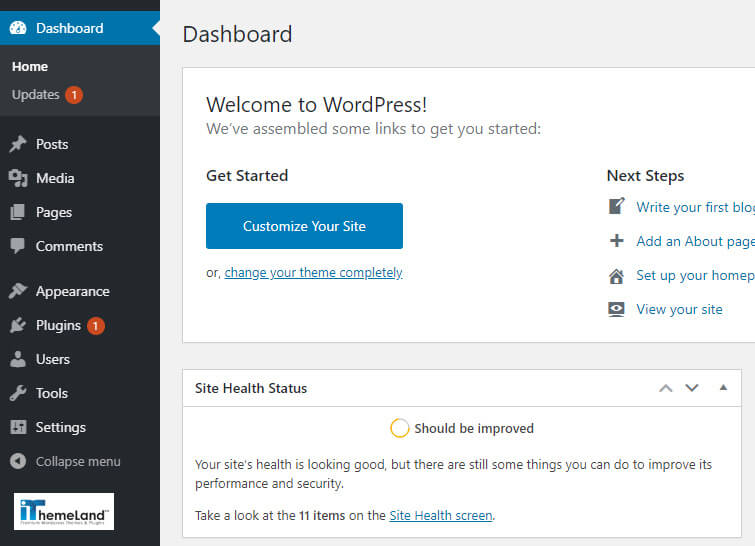
In addition to the WordPress Dashboard Home screen, the other major component of the WordPress Dashboard is the “left-hand navigation menu”. This navigation menu provides links to all of the WordPress administration screens for posts, the media library, pages, comments, appearance options, plugins, users, tools and settings. If you return to the Dashboard Home, you can also expand each of the sections by clicking the arrow to the right. You can also drag and drop the boxes to change the order.
Posts
Posts are where your blog posts will be located. You can select to view all posts from the WordPress dashboard, add a new post, view categories or tags.
Media
Next up is media. This is where any of your photos, videos, PDFs, and more are located. If you are just starting out the website, your library will be empty. Don’t worry. We will completely described using all kind of media in the WordPress websites in the future.
Pages
The next option after media in the WordPress dashboard Pages. Pages are the main anchors of your website. You can either view all of your pages or click to add a new page.
Comments
Then you will see comments. These include all of the comments that have been left on your blog. If you are brand new, you won’t have any comments yet.
Appearance
The appearance option in the WordPress dashboard is where people can start to get confused. This is where any of your themes and anything related to the appearance of your website is hosted.
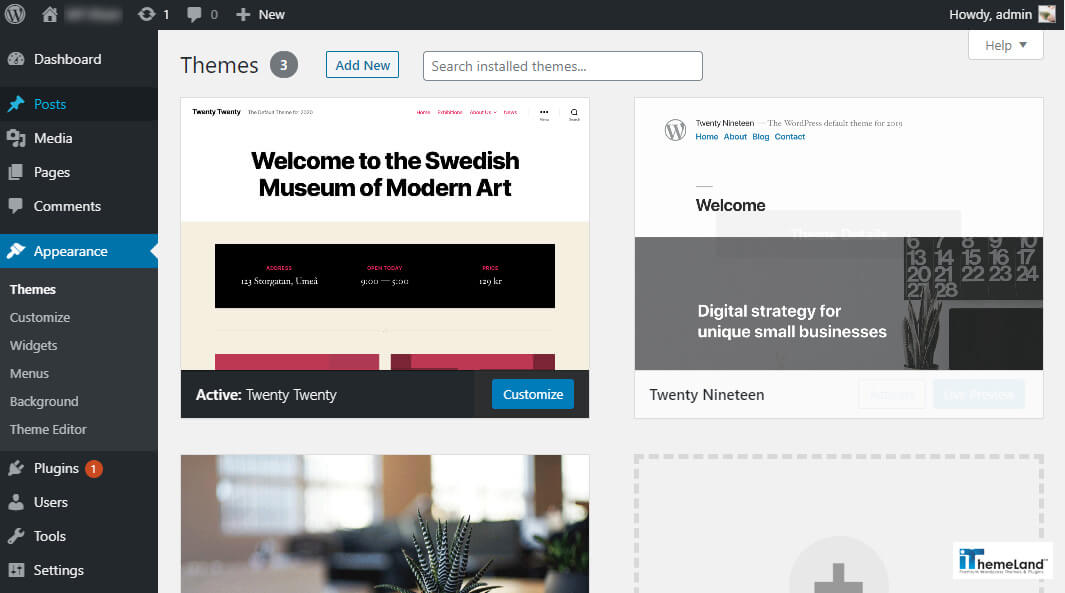
Themes will include the standard WordPress theme options (which we wouldn’t recommend using if you are starting a business) as well as any other themes you have uploaded.
Customize is where you can edit the details of the current theme that is activated on your WordPress account.
Widget, menus, header, and background can be accessed both through the appearance option or once you click Customize.
Theme settings is where the XML format is located for your theme. You most likely won’t need to use that for anything.
Theme editor is where all of the style sheets and backend code is for your site. This is where you wouldn’t want to edit anything, unless if you have experience with coding because you could run into trouble.
Plugins
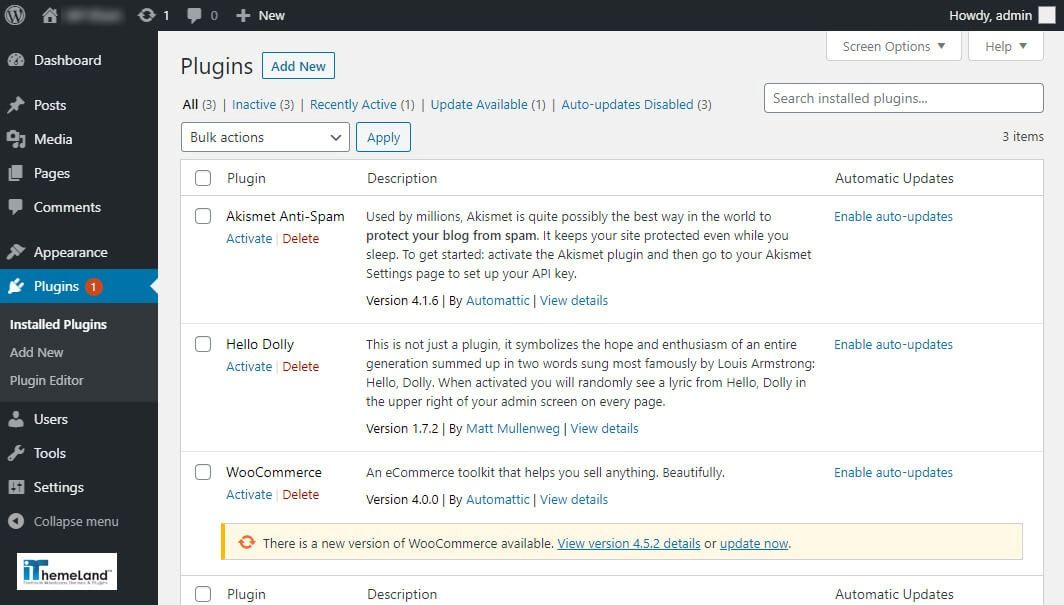
Plugins are ways to extend and add to the functionality that already exists in WordPress. In this section of WordPress dashboard, you can install new plugins by choosing Add New, or you can manage your existing plugins. All you have to do to turn a plugin like this on is click Activate(although there will often be additional setup steps).
Users
If you need to have multiple users with various login permissions, this option from WordPress dashboard can help you. “Users” is where the admin can add new members or edit their profile and permissions.
Tools
“Tools” contains options to perform some non-routine management tasks. As a beginner, you most likely won’t need to use this option. We will discuss about it later.
Settings
Your settings options in WordPress dashboard may look different from the above picture, depending on the plugins that you have downloaded. You should at the very least have general, writing, reading, discussion, media, and permalinks.

“General” settings is where you can edit your site title, tagline, URL, contact email address, time zone and more. ”Writing” is where you can edit your default categories and blog formats.
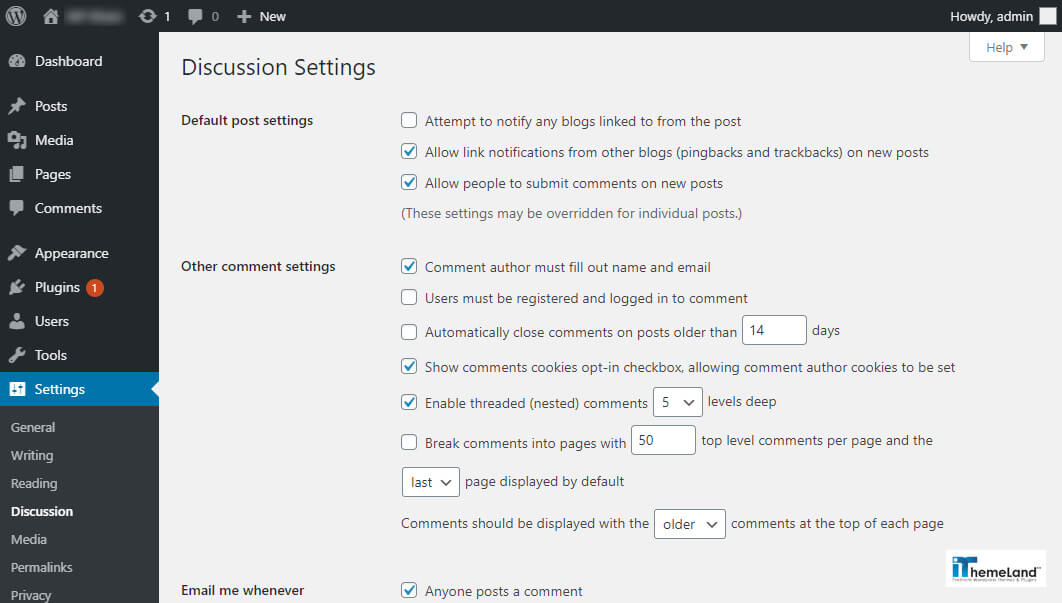
“Discussion” settings is where you can edit the settings for comments. “Reading” is where you can edit what the front page displays (either your latest posts or a static page), how many blog posts are shown, and how much of each blog article you want to be shown. “Media” is where you can determine the maximum dimensions in pixels to use when adding an image to the Media Library.
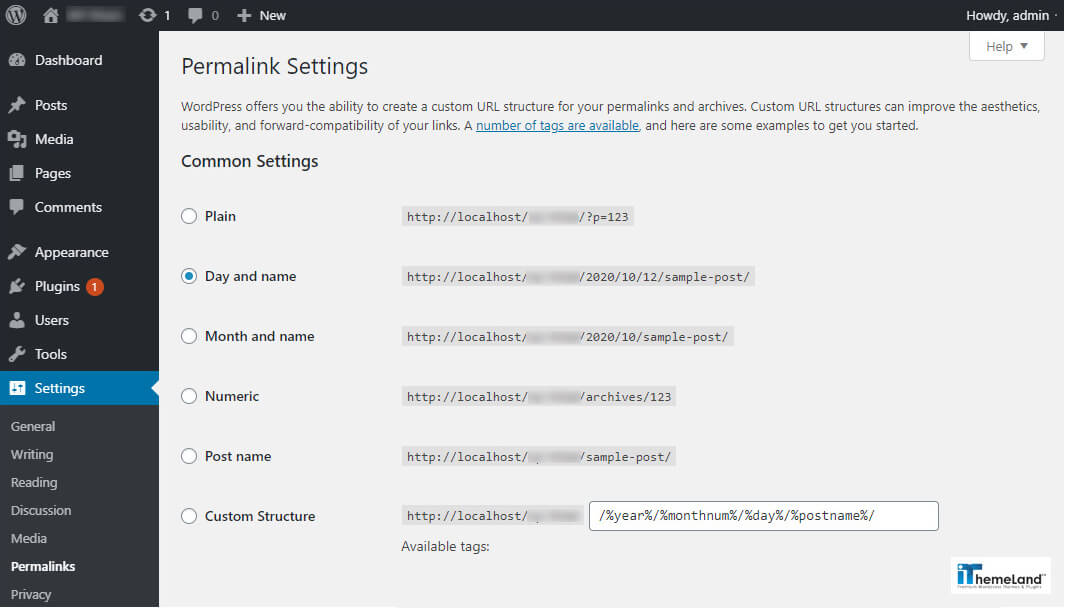
Finally, “permalinks” as an applicable option in the WordPress dashboard is where you can customize the URL structure for your blog posts.
WordPress Dashboard Updates Screen
From time to time, themes, plugins & WordPress will require updating. Updates typically happen when developers release security patches or add extra functionality.
It’s good practice to keep your themes, plugins & WordPress version updated to the latest versions. The top two reasons for sites being hacked are insecure passwords & outdated (vulnerable) software.
In an effort to promote better security and to streamline the update experience, WordPress will automatically update itself, if it’s able to, whenever a minor version is released (e.g. v5.2.4, v5.3.2). These minor releases are usually for maintenance and security purposes or translation file updates. You should note that only core WordPress files will be auto-updated. Your themes or plugins won’t be automatically updated.
Once your site is auto-updated your site administrator will be notified by email. If your WordPress installation can’t update itself automatically for one reason or another, your site administrator will be notified of this as well.
The “Dashboard Updates Screen” provides the links necessary to install a core WordPress upgrade automatically, or to download the file necessary to complete a manual upgrade.
In addition to the ‘core’ update process, this Screen of WordPress dashboard provides the ability to upgrade all plugins and themes, active or inactive, that have available updates. For installs that have set the language to a language different from English (United States), you can also install translation updates.
Before Updating WordPress
Before making any changes to your WordPress site, it’s essential to be prepared for any possible missteps. This includes backing up your files and deactivating any plugins that might interfere with WordPress:
- Create full a WordPress backup
Errors tend to happen at the most unfortunate of times. Backups prevent permanent data loss and act as a fallback plan when you’re modifying or updating your website and something goes wrong.
- Deactivate all of your plugins
There are times when new changes in WordPress are not compatible with certain plugins that you have. This can result in an inaccessible website. By deactivating them, you can prevent the issue from happening once you update WordPress.
This is especially true for caching plugins since they can potentially interfere with WordPress installation.
Updating WordPress
To update your WordPress version from Dashboard manually or to update your themes and plugins, hover your cursor over the Dashboard menu option in the left-hand navigation menu and in the fly-out menu, click the “Updates” link.
Alternatively, click the “Dashboard” menu option and then click the “Updates” link underneath. This is by far the easiest way to update WordPress as it’s only a click away.
The “Updates” page is divided into three sections. If your version of WordPress requires updating, this will be displayed at the top of the page. Below that, you’ll be notified of any plugin updates and below that again, theme updates.
Updating your WordPress version is as simple as clicking the “Update Now” button. WordPress will download the necessary files, perform a validation of those files and then automatically update your site.
When visiting the Dashboard Updates Screen, you might see different messages on your update status:
No Upgrade is Available in WordPress dashboard
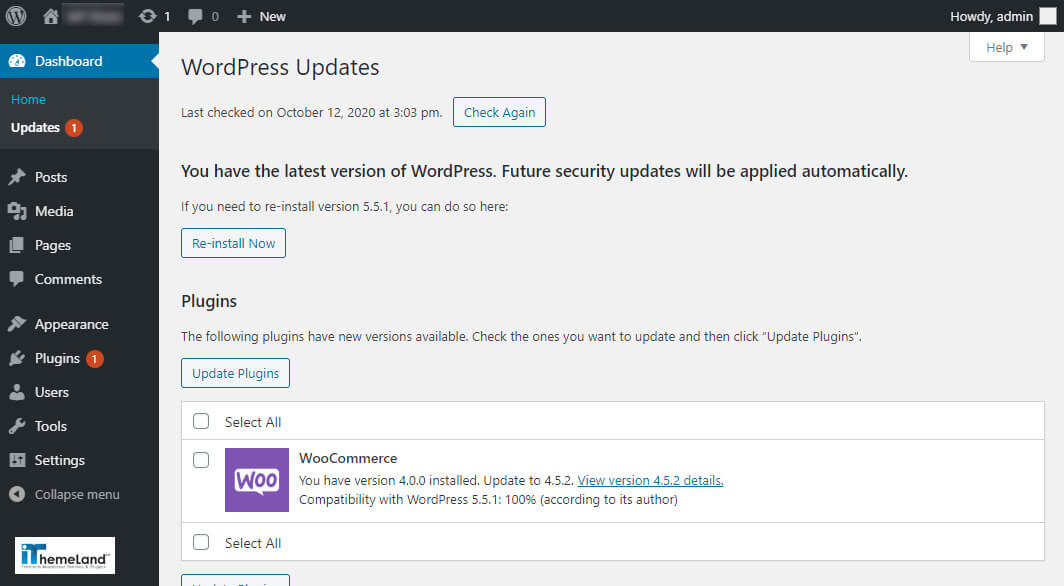
When visiting the Dashboard Updates Screen, if you are running the latest version of WordPress, you should see messages like this:
You have the latest version of WordPress. Future security updates will be applied automatically.
If you need to re-install version x.x, you can do so here or download the package and re-install manually:
- Re-install now
Click to reinstall the current version. You should receive the following messages if the upgrade proceeds successfully:
Downloading update from https://WordPress.org/WordPress-x.x.zip
Unpacking the core update
Verifying the unpacked files
Installing the latest version
Upgrading database
WordPress upgraded successfully- Download x.x
Click this to download the zip file contain the latest version.
An Upgrade is Available in WordPress dashboard
When visiting the WordPress Dashboard Updates Screen, and there is a WordPress upgrade available, you should see messages like this:
Important: before upgrading, please backup your database and files.- Upgrade Automatically
Press this button to begin the automatic upgrade process. The following messages will display during and upon completion of the upgrade:
Downloading update from https://WordPress.org/nightly-builds/WordPress-latest.zip
Unpacking the core update
Verifying the unpacked files
Installing the latest version
Upgrading database
WordPress upgraded successfully- Download x.x
Click this to download the zip file contain the latest version.
Once an Update is Completed
After a successful upgrade is achieved, it is a good time to review any new features about the new Version just installed.
If it’s only a minor update, you will be shown a “success message” along with the plugin and theme update options. On the other hand, if it’s a major WordPress release, you will see the welcome screen with a detailed summary description of what has been upgraded.
- Plugin Updates
When visiting the WordPress Dashboard Updates Screen, if there are updates available for one or more plugins (active and inactive), this message displays:
The following plugins have new versions available. Check the ones you want to update and then click “Update Plugins”.If there are any plugins that can be updated, these will be listed in the “Plugins” section on the page. To update your plugins, tick the boxes next to each of the plugins you wish to update and then click the “Update Plugins” button. The new plugin files will be downloaded and automatically installed.
- Theme Updates
If there are any themes that can be updated, these will be listed in the “Themes” section on the page. To update your themes, tick the boxes next to each of the themes you wish to update and then click the “Update Themes” button. Now you can proceed to update all of your themes and plugins to make sure they are compatible with the latest version of WordPress.
Summary
In the second step of learning WordPress for beginners, you learned what different sections of WordPress Dashboard are used for. These sections will be described in more detail in the next steps. You also learned how to manually or automatically update your WordPress and installed plugins and themes.