Restaurant food menu in product table plugin can be made easily by choosing the right columns and settings after adding your products in the WooCommerce. The appearance of the restaurant menu plays an important role in attracting customers to purchase foods from your website.
So, if you are going to develop or design your online store to sell foods, follow this tutorial. With this tutorial you can get familiar with the various options for creating an amazing and useful restaurant menu in product table by 3 simple steps:
Step 1: Choose the right columns for your WooCommerce restaurant menu in product table
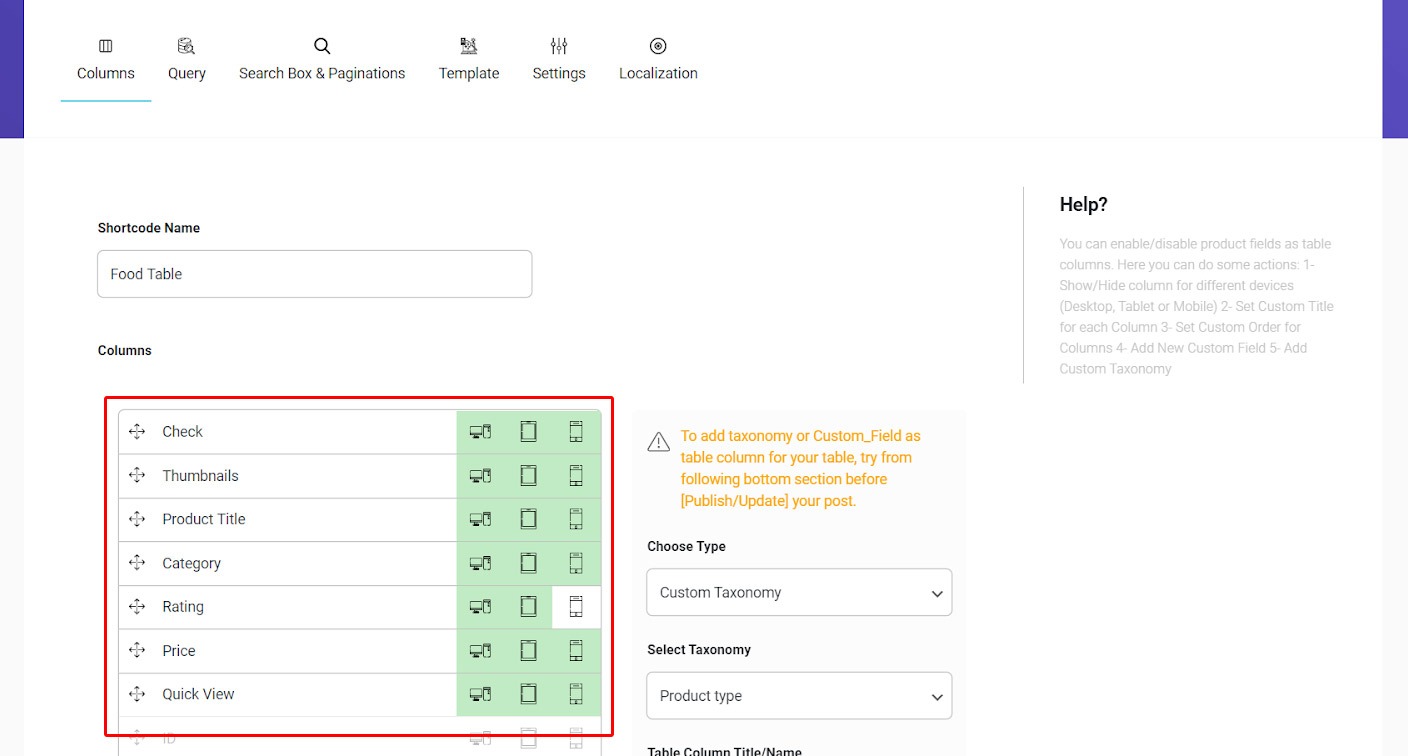
You create a new table by clicking on “Add New”. Then you are directed to the “Column” page that some columns are selected as a default.
However, to make a customer-friendly restaurant menu in the product table, you may need below columns:
- Check: A checkbox that enables customers to choose their desired products.
- Thumbnails: This option display images related to the foods in the menu.
- Product Title: with this option you can display the Food name in front of each product.
- Category: The food category such as fast food or traditional, main meal and etc. These categories are listed in the menu exactly according to the categories you had assigned to the foods.
- Price: This column display price of each food in the product table.
- Rating: This is a good option for the customers. This help to see how other people enjoyed purchasing that special food from your online restaurant.
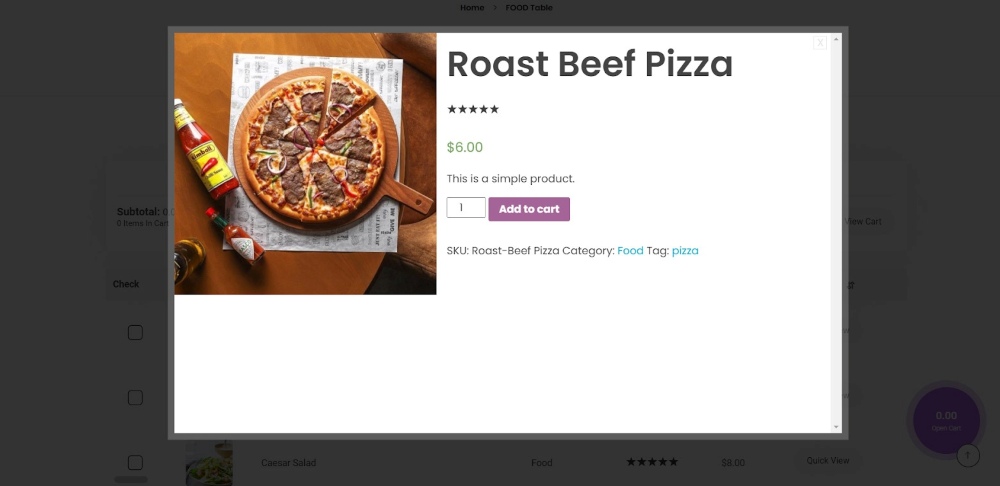
- Quick view: This custom column display brief description in a pop-up page. As you can see in the below picture. For this option we use “yith product quick view” plugin.:
You can choose other columns from the list as you wish or even add any new columns by using the form designed in this page.
You can move the columns by holding the left click on the cursor and drag the items to be replaced by each other.
It is up to you how to make the restaurant menu, regarding the features which you think that are important for your customers.
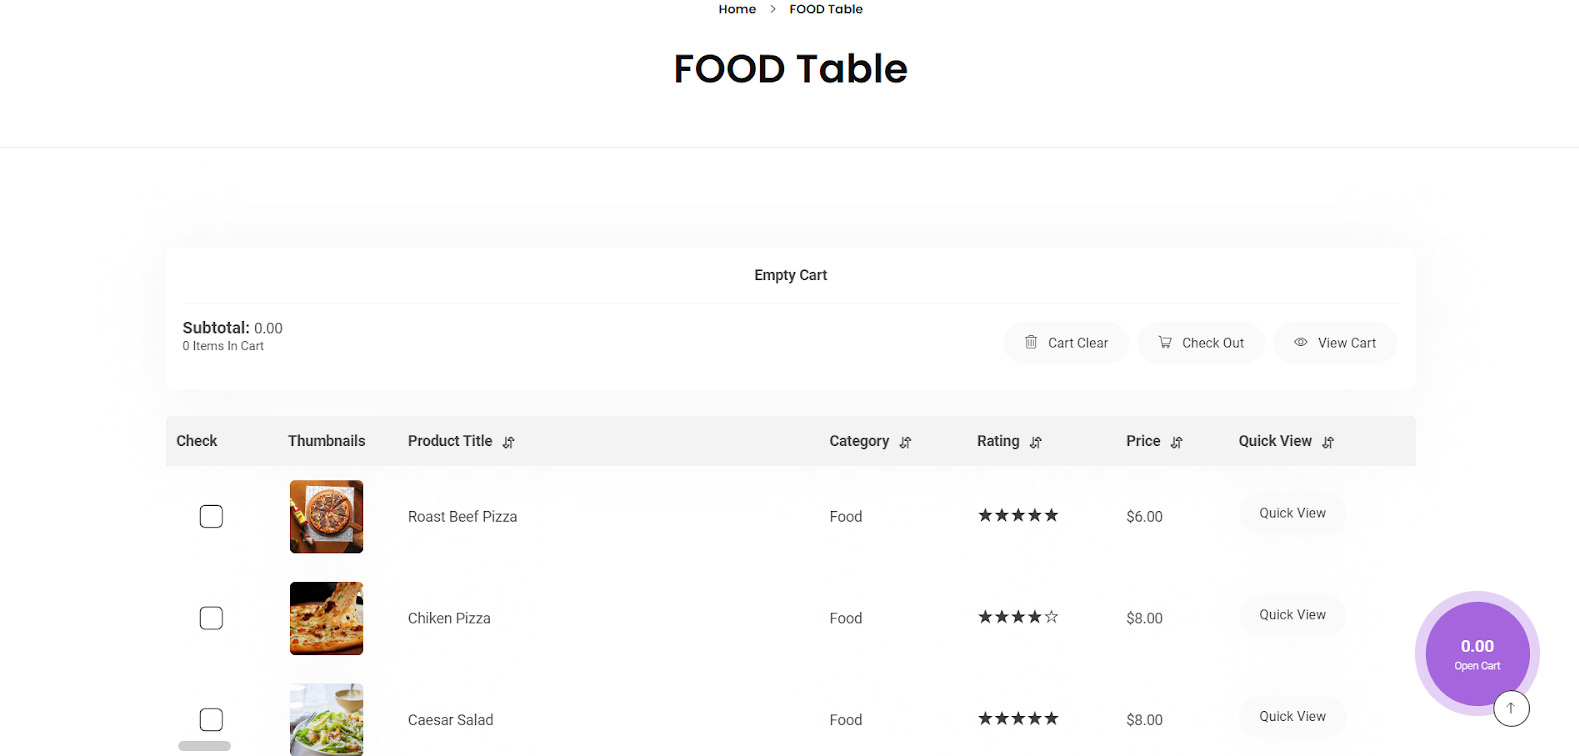
Now, let’s see how our restaurant menu looks like:
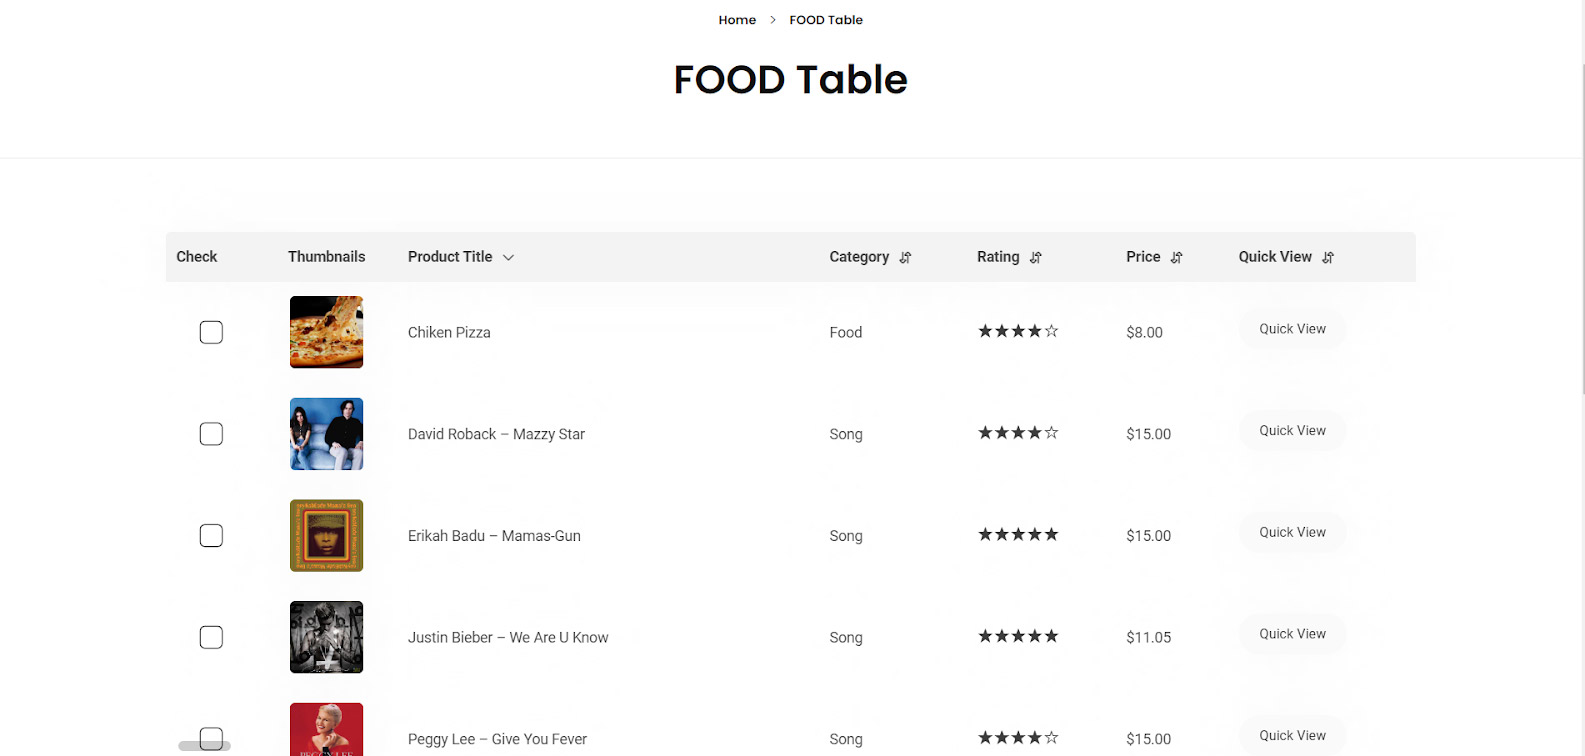
Obviously, there are some problems in our restaurant menu. The first and most important problem is displaying products other than foods in our restaurant menu.
Follow the second step to show you how to solve this problem.
Step 2: Make a Query in the product table
For filter the products that you need to be displayed in the product table, go to the “Query” tab.
As we are going to make a restaurant menu, it makes sense to select “Food” in the category field.
However, you can filter products by using different conditions. If you need more guidance to make your own query, refer to “How to create product tables with custom query”.
By updating the table, you can see that product table is totally consists of your selected products:

Step 3: Add to Cart options
The most important part of an online menu is making purchasing experience easy and enjoyable for customers. So, you have to choose the “Add to Cart” option very carefully for your restaurant menu.
As we discussed in “How to create a product table with a cart”, you have some options for adding “Cart” to the product table such as:
- Mini header / footer cart
- Floating Pop-Up
- Slide cart
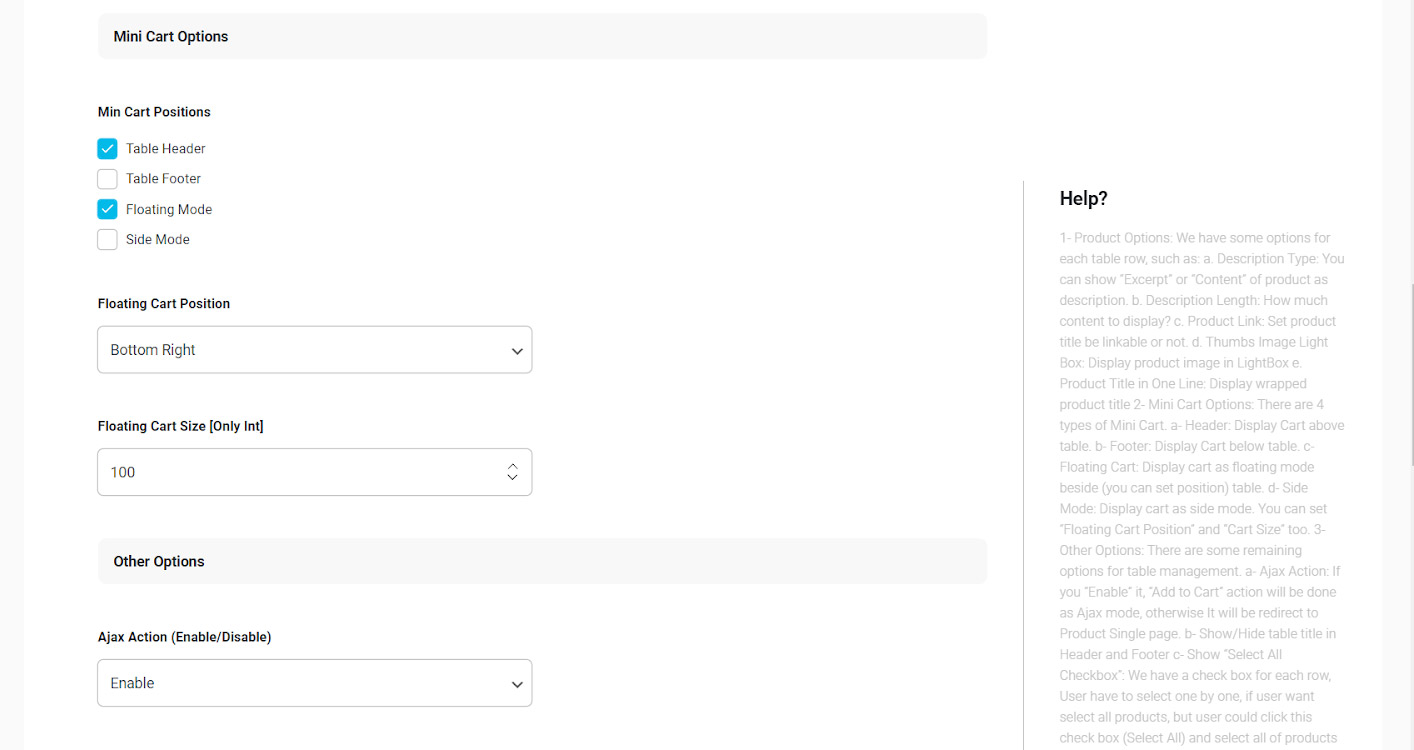
These options are available in the “Setting” tab:
In this tutorial, we decided to display the “Add to Cart” option as a table header and floating mode. We also set the setting of floating mode cart as below:
Now let’s see how our table changed:
Now, everything is ready for your customers to visit your restaurant menu in the product table as they order their favorite food.
They easily can select the food, see a brief description by clicking on the “Quick View“, add them to their cart and see the price and rating in the table.
How to improve the appearance of the restaurant menu in the product table plugin?
To make your WooCommerce restaurant menu more attractive, so many options are waiting for you in our plugin.
We are introducing some of them to you, however, you can get familiar with them in detail by following our other tutorials.
Change Theme
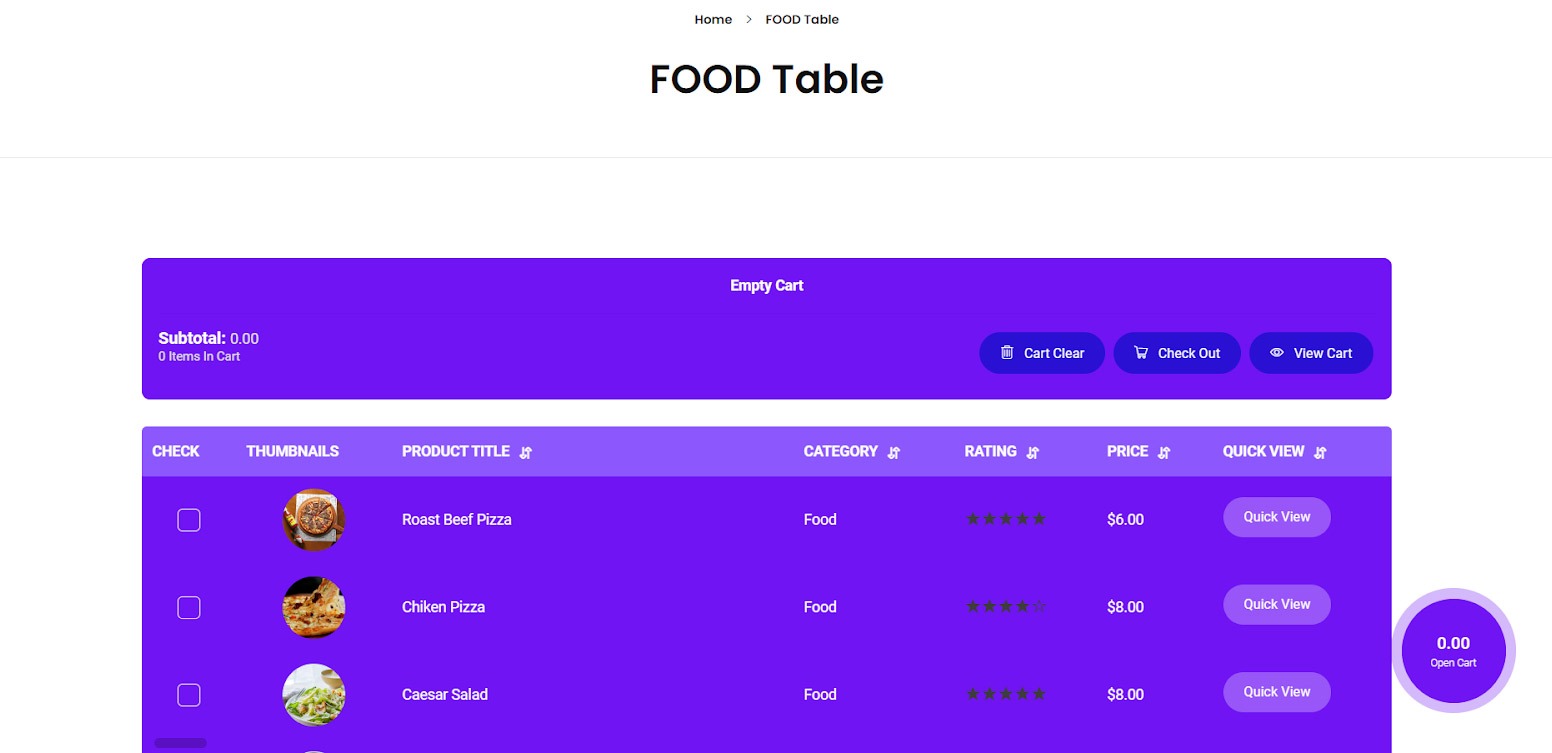
In the “Template” tab of WooCommerce product table plugin, you can choose one of the default templates or build your favorite template and set it for your product table.
For example, we chose “Colored” as Template and update our product table which resulted in:
Add a search box to the product menu
In the “Search Box and Pagination” tab, you are also able to add a search box above your product table and help customers to find their favorite food, quickly.
There are a lot of settings that you can change in this page which we described completely in “How to create a search form by category and attributes in WooCommerce product table plugin?”.
if enable this option, our restaurant menu in product table turned to be like below:

You can choose to search foods by category, tag and etc that help your customer to find desired food easily.
Comments