If you manage an online store providing many products for customers in various cities, exploring localized sales patterns and identifying top-performing cities is one of your most important tasks. This tutorial teaches you how to generate a billing city report with the WooCommerce report plugin.
What is a billing city report?
A billing city report is a simple report providing a list of all cities that customers place their orders in. You can find useful information like the number of orders and the total amount of orders related to each city in this report.
Why do managers need to explore localized sales by billing city reports?
The most important reason for preparing the billing city report is that managers of online stores can identify in which cities their customers place orders the most. By reviewing this information, they can take the necessary steps to supply enough products and prepare shipping methods and strategies to honor their loyal customers. On the other hand, by identifying cities that have experienced low sales, they can also use marketing and advertising to increase their sales in those cities.
How to generate a WooCommerce billing city report?
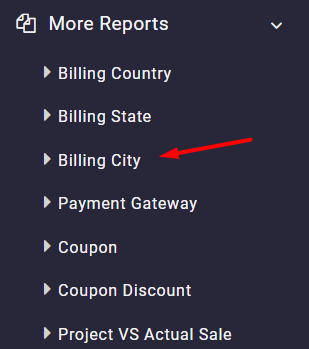
To generate a billing city report in our plugin, first, you need to navigate to the below address:
More Reports -> Billing City
Then by opening the Search form, you have to set a date range as illustrated below:
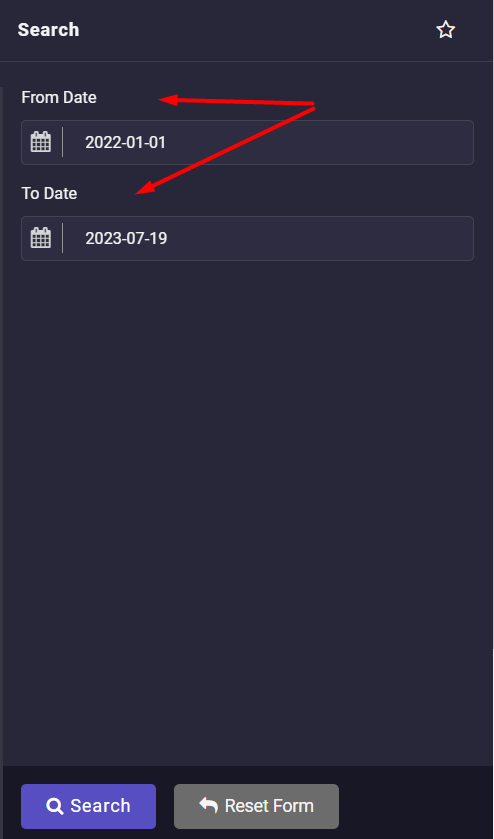
Finally, clicking the Search button lets you observe the Billing City report.
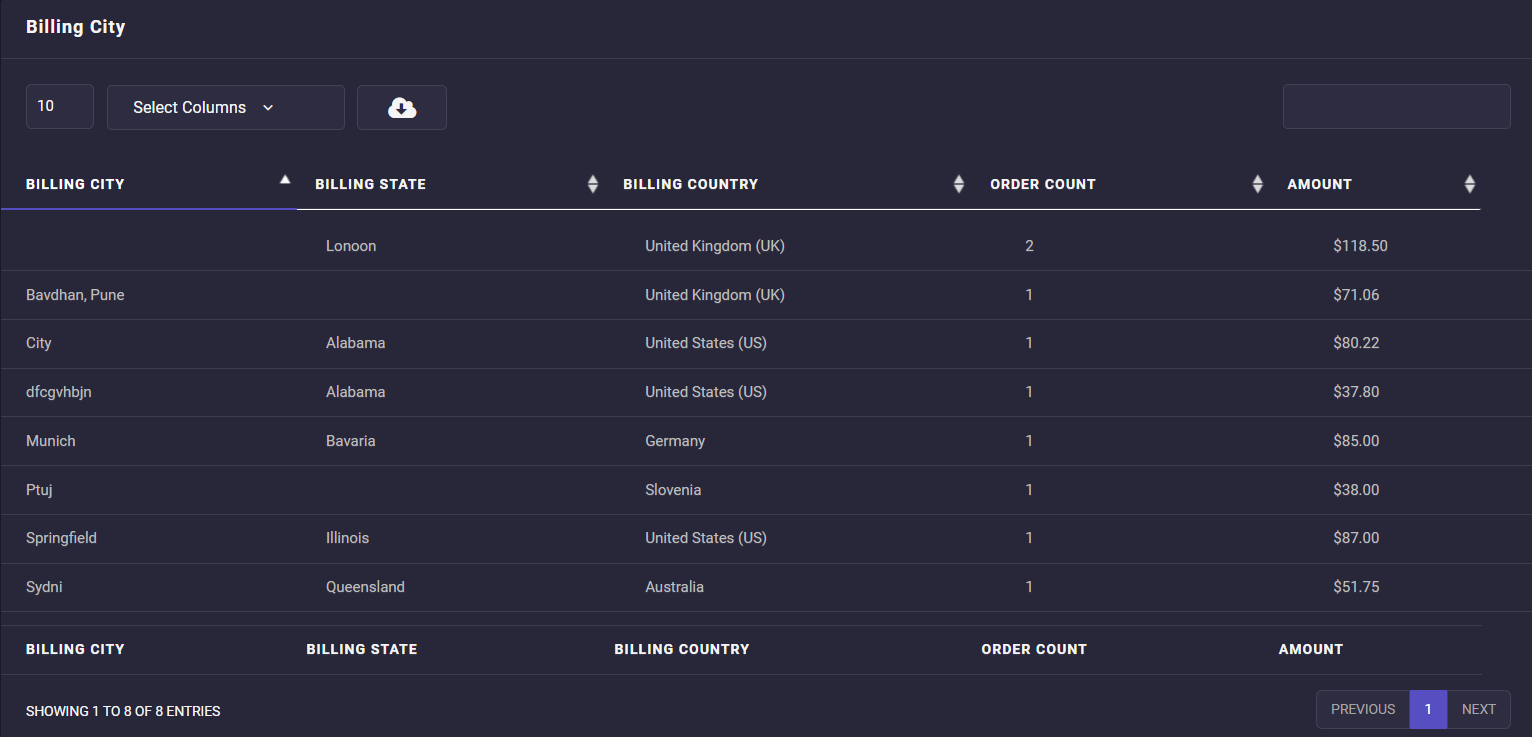
There are 5 columns in this report by default which are sorted by the name of the cities in the first column, including:
- Billing City: The name of the city that received the orders.
- Billing State: The state that the city belongs to.
- Billing Country: The country that the city belongs to.
- Order Count: The number of orders placed in the city.
- Amount: The total amount of orders placed in the city.
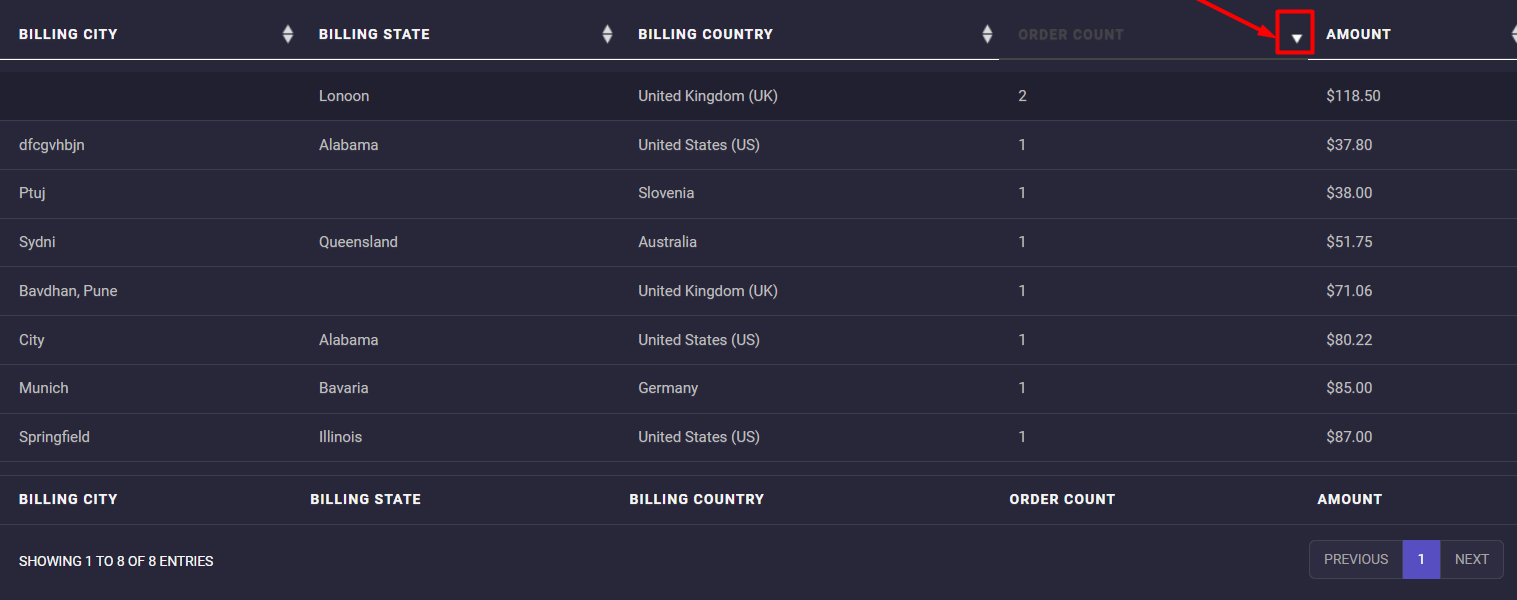
If you want to sort the report by the data of other columns, you can easily click the Up/Down arrow next to it. For example, by pressing the arrows next to the Amount column, the city with the total amount of orders will be shown at the top of the table, followed by other amounts in ascending order.
A brief report is at the bottom of the table, displaying useful information, including Billing City Count, Order Count, and Total Amount.