

Running a WooCommerce clothing store is one of the most successful ecommerce businesses all around the world. Either for those sellers who want to start from scratch or those ones decided to update their traditional business.
However, to make money from an online store, you need to get help from some experts to design a website. Then improve the SEO, use the right marketing strategies and handle delivery. It’s obvious that you have to invest on some basic things to start a new ecommerce business. The good news is that you can learn how to build a clothing store based on WordPress and WooCommerce on your own. In this way, you are able to save a lot of money. Run your ecommerce business with the minimum possible investment.
In this guide, we want to show you how to build a WooCommerce clothing store on your own. Before going through the details, let’s start with why we recommend you to choose WooCommerce as your ecommerce platform.
What is WooCommerce?
WooCommerce is a trustable and easy-to-use plugin of WordPress. It is designed with the purpose of turning a WordPress website into an online store. By installing WooCommerce on your website, a lot of extra features will be added to your website to make selling products possible for you.
The most essential features of running an online clothing store which can be added to your website by installing WooCommerce are:
- Creating attractive product pages and customer friendly shop pages.
- Letting customers see the price, feature, thumbnails and other information about the products.
- Enabling customers to add products to their carts and start checkout process.
- Providing safe and secure payment gateways.
- Handling shipping and delivery.
It’s not the end of the story. WooCommerce is designed as an open-source plugin to empower store managers add other useful and effective features to their online shop by installing extra extensions based on their needs. As we described completely in “Why you should use WooCommerce for store site?”, there are a lot of reasons why we recommend you to install WooCommerce for building a clothing store.
How to build a WooCommerce fashion and clothing store
Building a WooCommerce fashion and clothing store is not very difficult or complicated. You just need to know where to start and how to continue. If you don’t have any idea about running a WooCommerce clothing store business, don’t worry. You are at the right place. Follow our below guide to start running your ecommerce business based on WooCommerce in four simple steps:
Step 1: Run a WordPress website
There is no difference in which platform you want to start your online business. At the very beginning before choosing a CMS software, you have to decide about your domain name. This is the URL address enabling your customers recognize your online store from others. So, it’s very important to pick a suitable domain name related to your business and the name of your brand.
Then you need to register this domain name and buy a host from a hosting server. There are a lot of websites providing web hosting services like Bluehost. As you want to run a WooCommerce clothing store which is based on WordPress, we recommend you to choose a hosting server that supports downloading and installing WordPress directly from its admin panel.
To help you run a WordPress clothing store without any trouble on your host, we provide a step-by-step guide about “How to build a WordPress website”. By following the instructions described on that guide, you can build a WordPress website which is ready to turn into an online store in the next step.
Step2: Download and install WooCommerce
If you have already built your website and have an access to the “WordPress Dashboard”, the most difficult part of the process of running a WooCommerce clothing store has been over. As we mentioned before, WooCommerce is a free plugin of WordPress available in the WordPress respiratory directly from the WordPress Dashboard.
To activate WooCommerce on your website and start selling your goods, you just need to simply follow the below instructions:
- Log in to WordPress Dashboard.
- Navigate to Plugin > Add new.
- Search WooComeerce as shown below.
- Click on “Install Now”.
- Wait for WooCommerce plugin to be installed on your website.
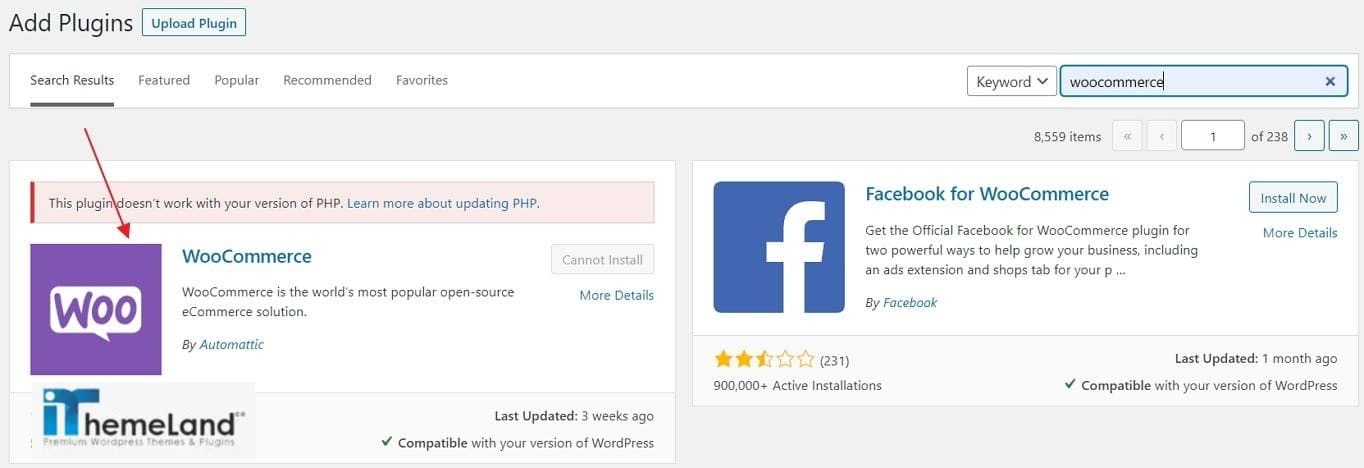
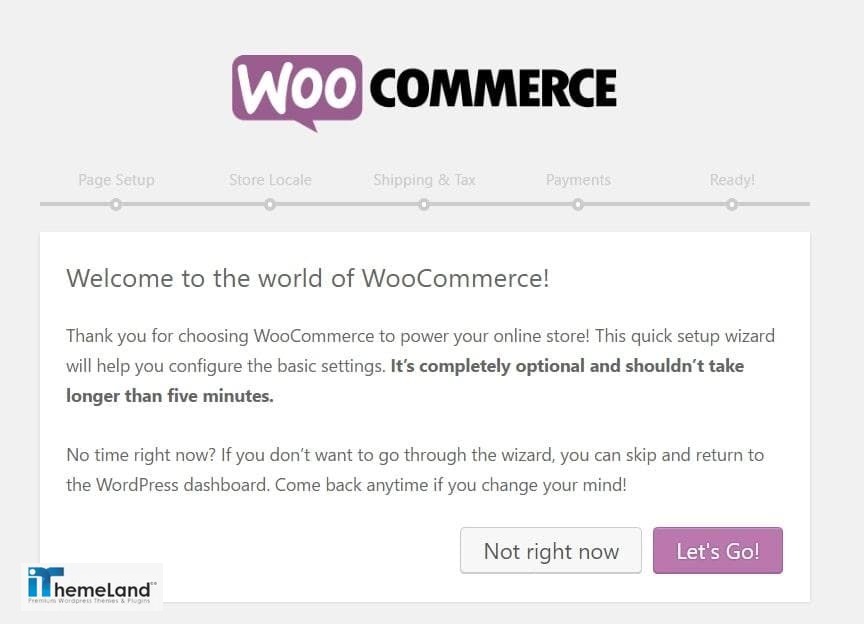
- Press “Activate” button to see the setup Wizard of WooCommerce.

- Click “Let’s Go!” and follow the instructions on WooCommerce setup wizard as we described in “How to create eCommerce Website in WordPress”.
When the process is finished, the essential webpages for running your clothing store are created in your website including:
- Shop page to display your products to the customers.
- Cart page to let customer see what they are going to purchase and their prices.
- Checkout page to direct customers to a secure payment gateway.
- Account page to enable customers log in to their accounts and enter their information such as their address for shipment and also trace their orders.
Now everything is ready for adding products and selling them on your clothing store.
To add products, you just need to navigate to the below address:
WordPress Dashboard >WooCommerce> Products > Add product
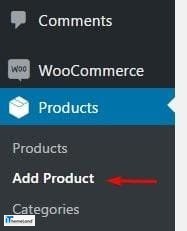
In the product page, you can add every single detail such as
- Product name.
- Product description.
- The product Categories.
- Product Tags.
- Product Image.
- The product prices.
- Product type.
At first, it may be confusing for you. But after a while you will get used to it and find out how this process is so convenient in WooCommerce. If you have any problem in adding products on WooCommerce, don’t hesitate to see our ultimate tutorial about “WooCommerce product types”.
There are also a lot of useful plugin that you can get help from them to manage products, orders, coupons, etc. easily on WooCommerce clothing store. Let’s try some of them.
Step3: Install WooCommerce extensions to add features and functionality
Extensions and plugins designed specifically for WooCommerce with a variety of useful. Also effective performance and functionalities can help you to add extra features according to your requirements. Choosing the best plugins for a clothing store is almost depends on what functionality you have expected from.
The most useful WooCommere plugins are designed to help you in:
- Adding one or more payment gateways to your clothing store.
- Integrating your online store to shipping companies automatically.
- Using accounting tools.
- Allowing customers to book an appointment to get services.
- Letting customers to subscribe on your website.
- Adding VAT or Tax to the product prices.
- Managing and editing your products, orders, coupons, etc.
- Offering free gifts.
- Customizing the main pages of WooCommerce.
Here we introduce you the most popular plugins that have a great performance for clothing stores:
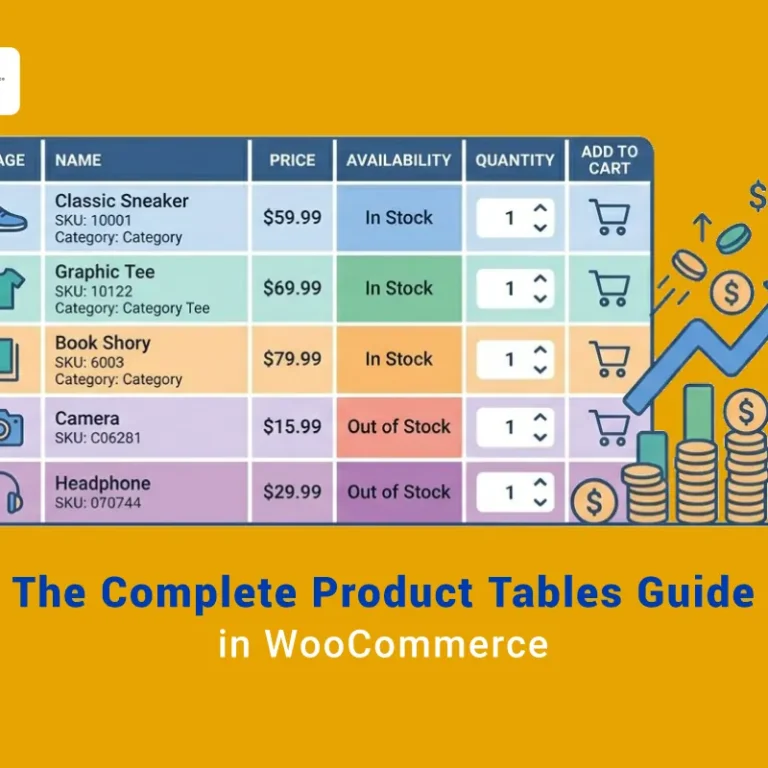
WooCommerce product table plugin
WooCommerce product table plugin allow you to change the default appearance of your ecommerce website and display your products in a well-designed table. The product table provided in this plugin has a lot of amazing feature such as:
- A powerful search boxes.
- Directly add to cart button.
- Displaying all information like categories, variations, thumbnails, etc in one view.
- Customization tools for making changes in the product table appearance.
If you have too many cloths, accessories and other products on your clothing store, it’s a good idea to use this plugin for creating an appealing shop page to make a better experience for your customers.
WooCommerce bulk product editing plugin
When you are running a big ecommerce website with hundreds of goods, adding and editing them by using the default product pages of WooCommerce is really frustrating. WooCommerce bulk product editing plugin is an ideal solution for store managers designed. It help them as an assistant for editing as many products as they need at the same time.
By installing this plugin, you can easily filter the products added to your WooCommerce clothing store according to any features and then bulk edit any data simultaneously.
The most advantages of this plugin are offering a user-friendly interface for bulk editing the values related to the products via an excellent “Bulk Edit Form” in which you have access to every single data entered to the WooCommerce product page including prices, categories, variations and even custom fields.
WooCommerce bulk orders editing plugin
By growing your e-commerce business, you definitely received more and more orders on your website. In this situation you need an assistant to help you manage those orders perfectly. WooCommerce bulk orders editing plugin is exactly what you need in your clothing store.
By activating this plug-in on your clothing store bulk editing all orders is simply possible. It is possible by using a filter form and an effective bulk edit form. You are also able to filter the orders according to any data such as customer name, shipping address, order price, purchased product, etc. It is also possible to edit all of these data for the filtered orders at the same time y using the bulk edit form.
At the main page of this plug-in you can see all of the orders in a table view. Then manage which columns to be displayed in the table. A lot of amazing features such as inline edit or bind edit are also available in this incredible WooCommerce plug-in for managing and editing orders of your clothing store.
Step 4: Choose a WooCommerce theme
One of the most important features which makes WooCommerce such an amazing ecommerce platform is the possibility of changing the appearance of its main pages by installing different types of themes. There is no doubt that the appearance of your WooCommerce clothing store has a great influence on attracting more customers. Fortunately, there are a wide variety of useful themes available for WooCommerce websites to help store managers create a good-looking appearance and improve customer experiences.
Although you may choose a theme through the process of activating WooCommerce and setup wizard, it may not meet all your requirements after a while. So, it’s a smart choice to look for a new theme to enhance the appearance of your clothing store as well as its performance.
To make sure that you are choosing a suitable theme for your WooCommerce clothing store, consider the below points:
Compatibility with WooCommerce
It’s very important to pick a theme designed to be installed on Woocommerce websites. There are a lot of amazing themes with incredible features available in “WordPress directory” or other marketplaces. However, all of them are not suitable for ecommerce websites powered by WooCommerce. So, it’s important to find a them created specifically to help you improve the functionality and appearance of your WooCommerce store.
Reputation of its developer
Installing a new theme has a huge impact on the appearance and performance of your website. So, it’s very important to look for a theme designed by a reputable developer. We recommend you to spend some times to search and find the most reliable developers by checking their experiences. Also reading the reviews of other users before installing a free or premium theme on your website.
Useful features
It’s obvious that you have to check the features and functionalities of a new theme before choosing. But the point is that what are the most important features that make a theme ideal for a clothing store? There is no specific rules or instructions for finding the best theme but you should try to choose a theme with the below features at least:
- Fast loading time.
- Responsive and mobile friendly.
- Built according to the SEO.
- Offered useful tools for customization such as sliders, image carousels, banners, etc.
Finding an ideal theme with all of the mentioned features may be very time consuming. To help you run your WooCommerce clothing store faster, we introduced the best WooCommerce themes for clothing stores in the following.
Best WooCommerce clothing store themes ( free & premium)
Storefront
Storefront is the default theme of WooCommerce offered in setup wizard to be installed on your website. There is no doubt that this is the most compatible theme with WooCommerce with a lot of amazing features. This theme designed to help you create your clothing store as an impressive and attractive website.
The most important advantage of using Storefront is the possibility of installing its child themes designed specifically for the purpose of creating fashion websites.
Neto
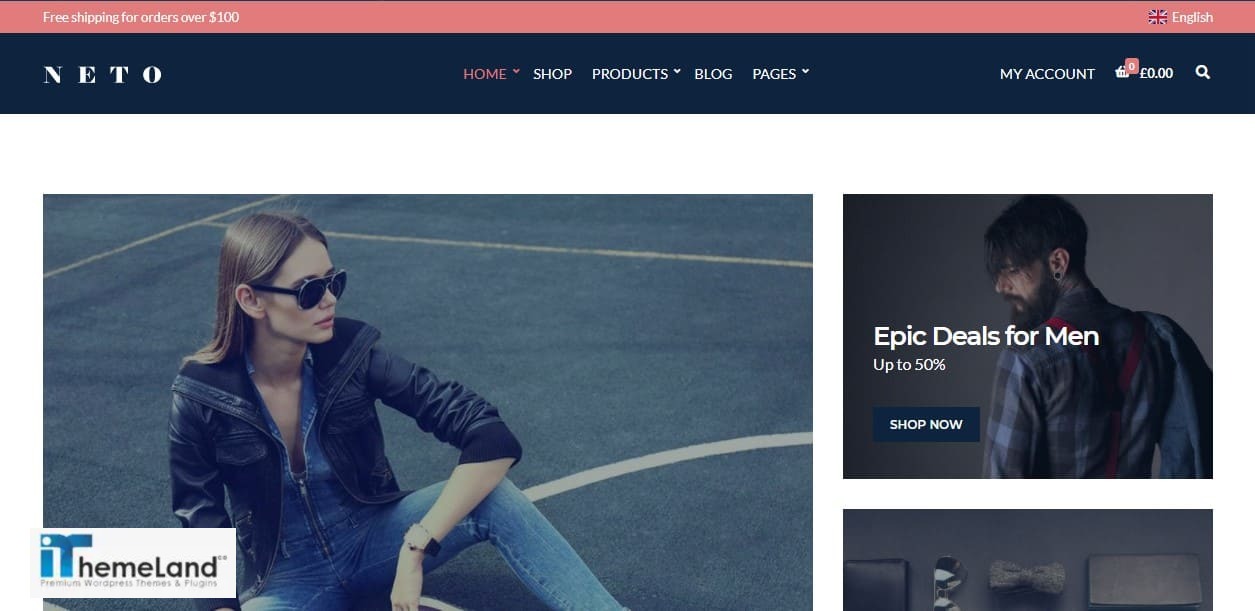
Neto with various demos and templates is one of the professional WooCommerce themes designed specifically for fashion and clothing stores. You can get inspiration from its prebuilt demos and layouts and use page builder plugins such as Elementor to build an astonishing website and grab the attention of customers.
Gear
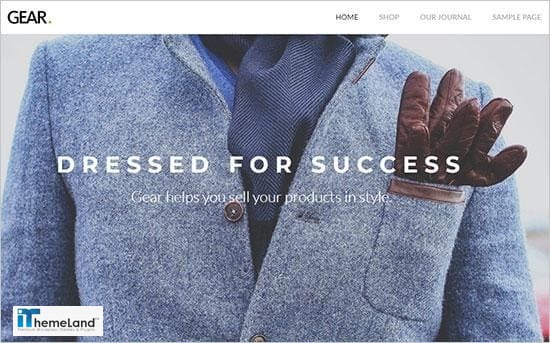
Gear is known as the most appealing theme for fashion, clothing or lifestyle stores. By installing this theme, you are able to use colorful layouts, video embeds, Google fonts and a lot of notable features suitable for creating a WooCommerce website.
Shoptimizer
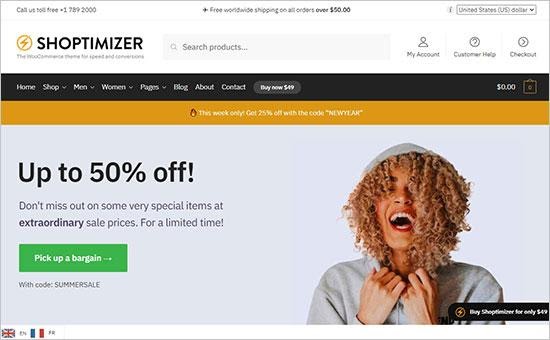
Shoptimizer is another WordPress theme which is fully compatible with WooCommerce. The amazing features such as user-friendly navigation menu, easy to use shopping cart page and many other notable features makes it a perfect choice for designing an ecommerce website. If you are looking for a theme to improve your customer experience and increase the conversion rate, don’t hesitate to install Shoptimizer on your website.
Elation
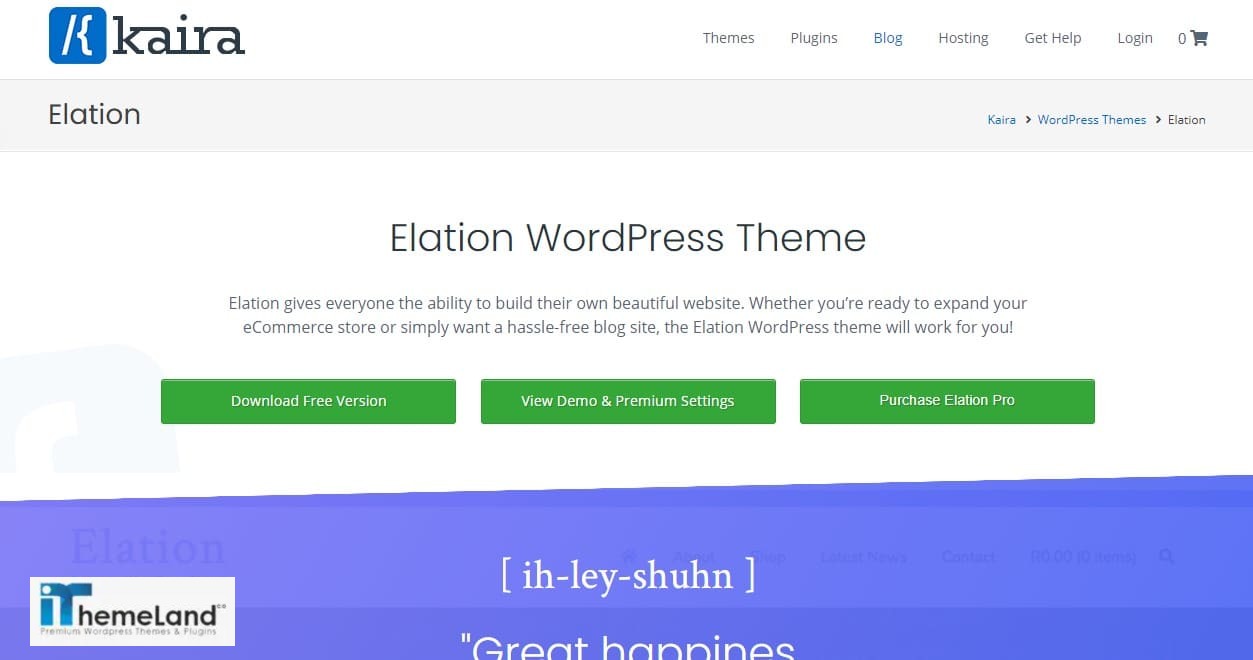
Elation offers some useful prebuilt layout including footers, banners, homepages and so on to help you run your WooCommerce clothing store very quickly. You can enhance the performance of your website by using incredible features of this theme such as sticky sidebar, blog layout, menu cart dropdown, sticky menu, social icons, etc.
Hugo
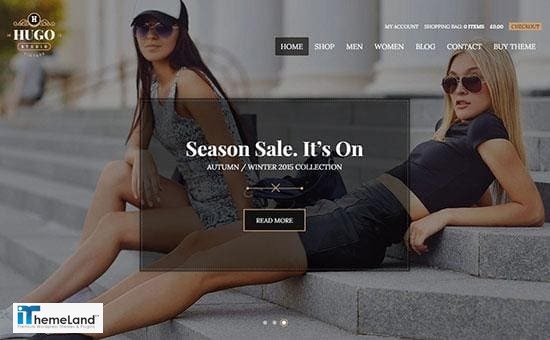
Hugo provides a flexible layout with a variety of different layouts useful for creating an appealing fashion and clothing store. Offering a Full-screen custom background is the most beautiful feature of this theme which makes it an ideal solution for WooCommerce websites. By using this theme, you can create your clothing store with multiple integrated features such as custom widgets, a customized shopping cart system, etc.
Storebox
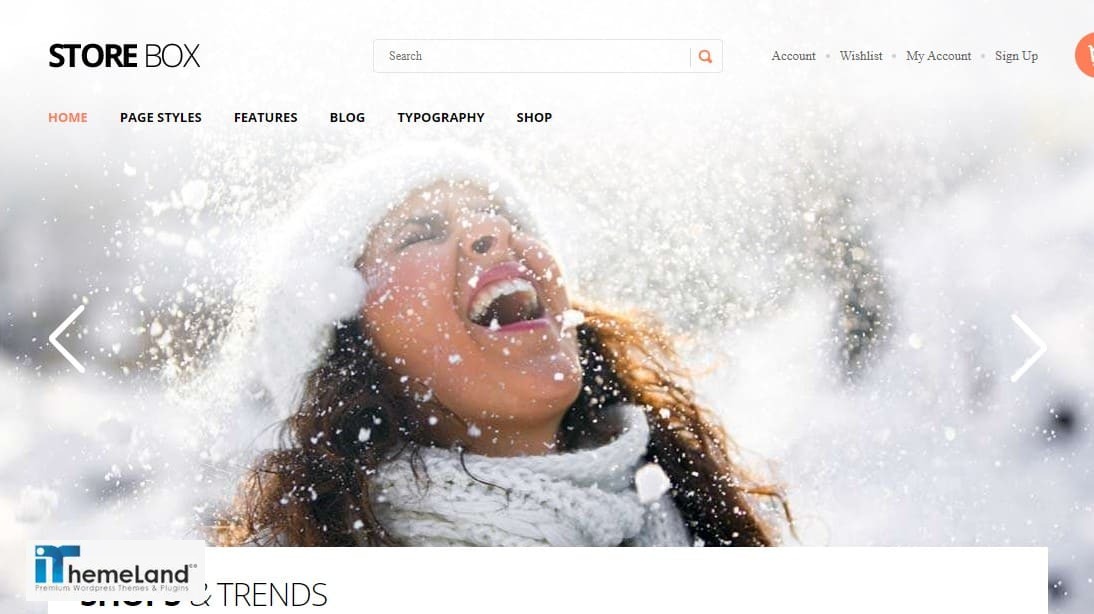
Storebox comes up with an easy-to-design layout including the most necessary features you need to add to your clothing store for encouraging your customers to visit and purchase from your website. It is also possible to integrate this theme with drag and drop page builders such as Visual Composer to customize your shop page or product pages.
Multiple homepages, Product pages templates, video or thumbnail layouts are also provided in this theme to give you flexible options for designing your clothing store as you wish.
Conclusion
Running a new ecommerce business such as a fashion or clothing store has a great income if you know can build a professional and attractive website to impress your visitors and potential customers. Although creating a clothing store has its own difficulties, you can make this process more convenient by choosing a user-friendly ecommerce platform like WooCommerce.
WooCommerce as a free and open-source eCommerce platform is designed with the purpose of helping entrepreneurs and retailers to run their online business and have full control on every aspect of it.
In this post, we shared the most essential information you need to know for running a WooCommerce clothing store to help you start a successful business on your own. The Future is yours if you decide to start Today!


One Response
your post is the best one I have ever seen. it has full of informative knowledge for building clothing store with WooCommerce. thanks a lot.