You have access to the settings in the main menu of this WooCommerce report plugin.
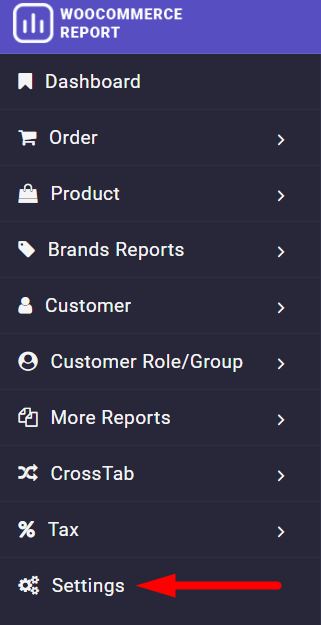
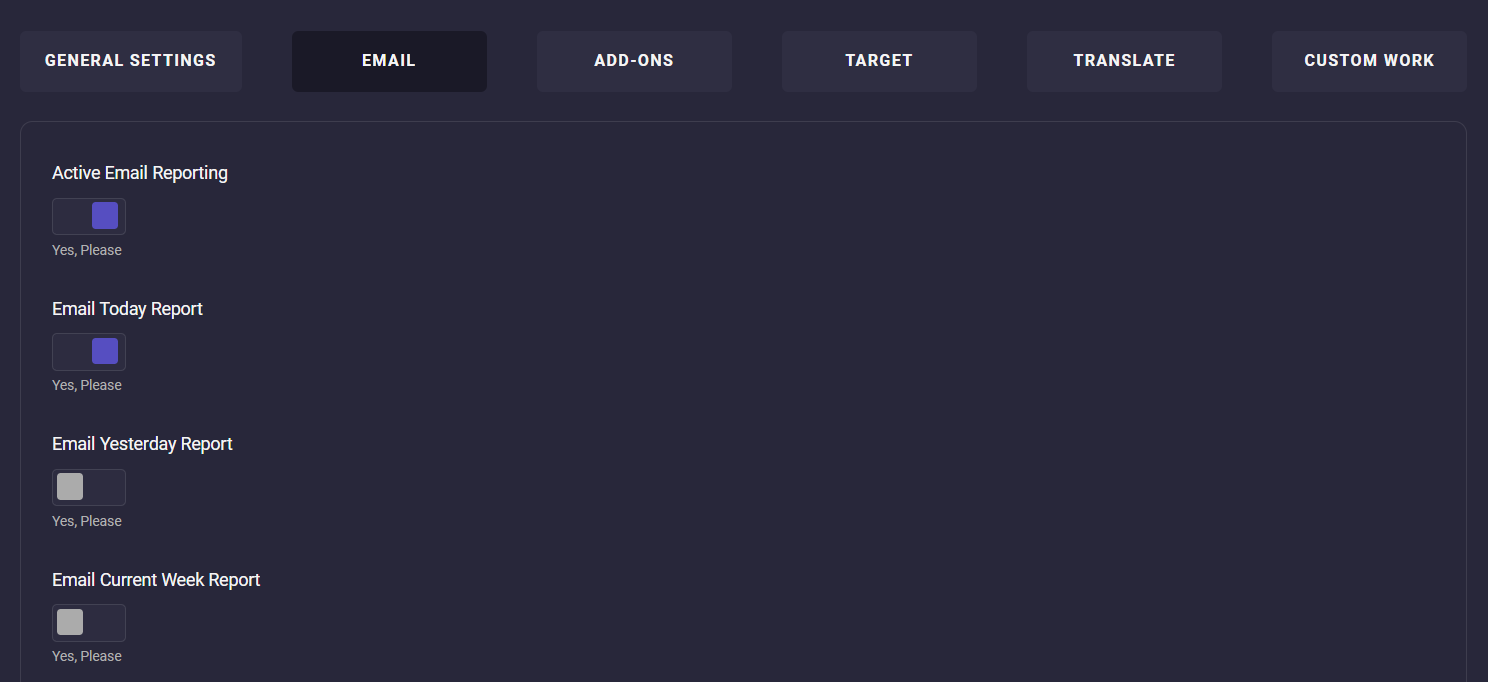
By opening the Settings page, you can see 6 different tabs which are:
- General Settings.
- Email.
- Add-ons.
- Target.
- Translate.
- Custom work.

To know how the options available in each tab can help you to customize the plugin according to your needs, we will explain them briefly.
General settings
In this tab, you can find the most practical tools and options for configuring general settings in our plugin, including:
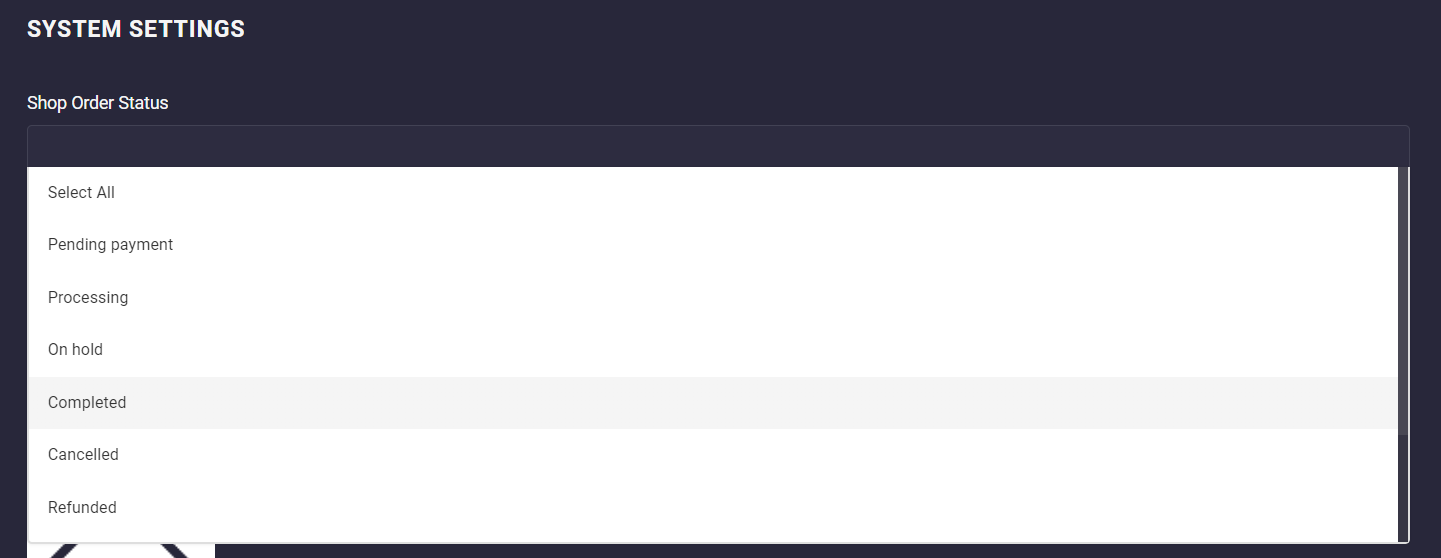
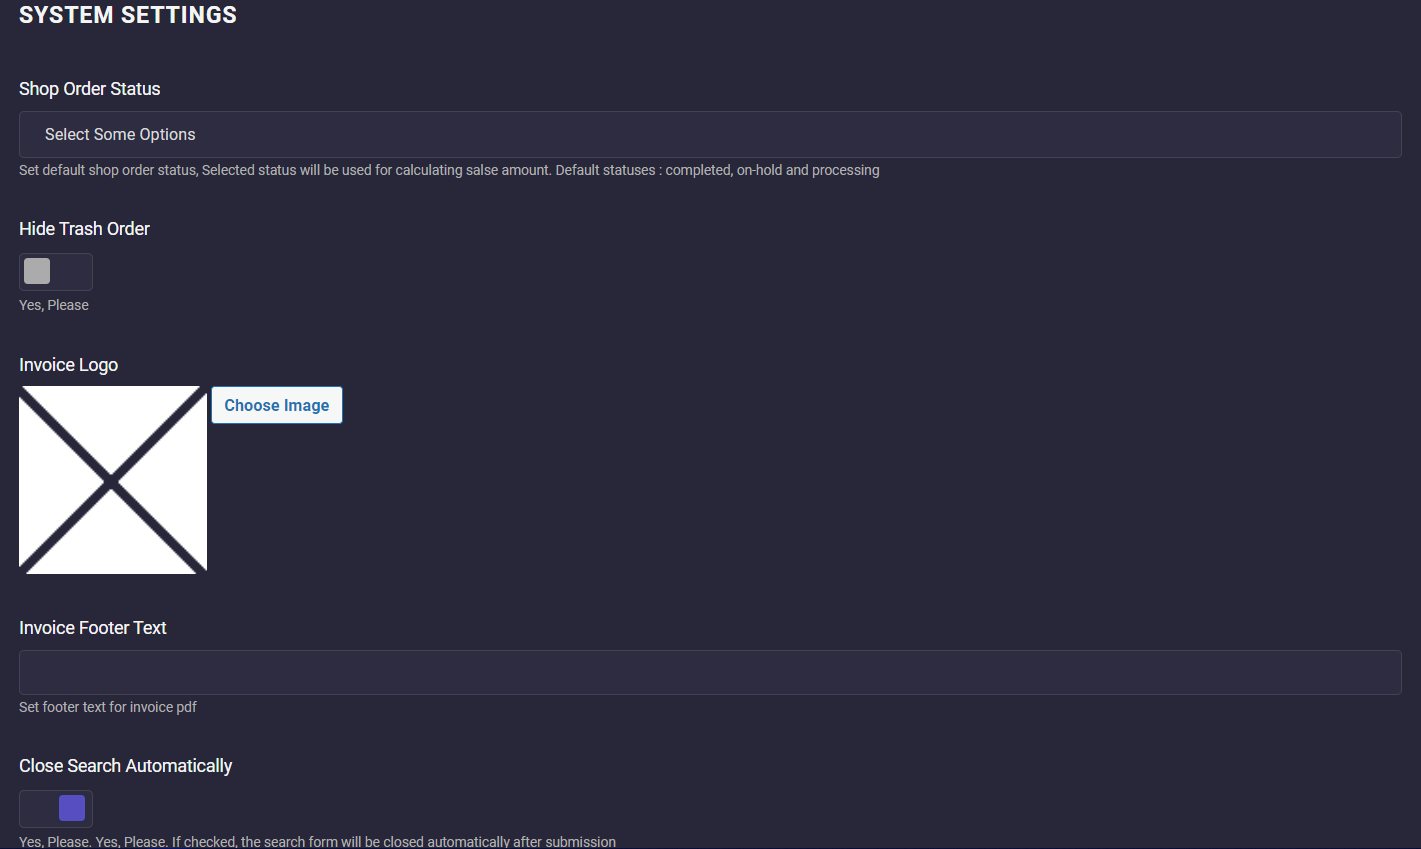
Select order status
If you want to set a default order status that means which of the orders should be considered in the reports, you can select one of the order statuses like on hold, processing, complete, etc. from the list of this field.
You can also activate the Hide Trash Order option which means the trash orders will not be used in the report.
Invoice logo and footer text
The next two fields are designed to allow you to customize your invoices. In the first field, you can attach a logo or picture related to your business to be displayed on all issued invoices. In the second field, it is possible to write any text to be added as the footer of the PDF invoices such as address, phone no., social media accounts, etc.
Dashboard settings
As we described in “Which reports are available on the WooCommerce report plugin dashboard?”, you can find a lot of information and charts in our plugin dashboard. Here you can find some options to customize the Dashboard according to your needs, including:
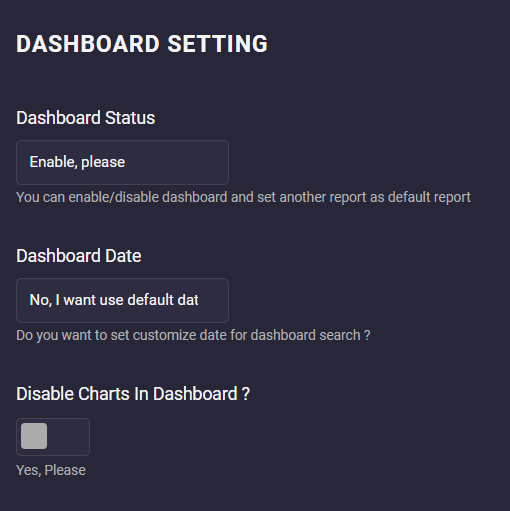
Dashboard status
If you don’t want to see the default information and charts in the Dashboard, it is possible to disable them here and set your favorite report to be displayed there.
Dashboard date
There is a Date Range on the dashboard where you can set your desired date to fetch considered data and display it on table and chart layout. You can set the custom date for that by this field.
Disable charts in dashboard
If you activate this option, the charts will not be displayed in the Dashboard.
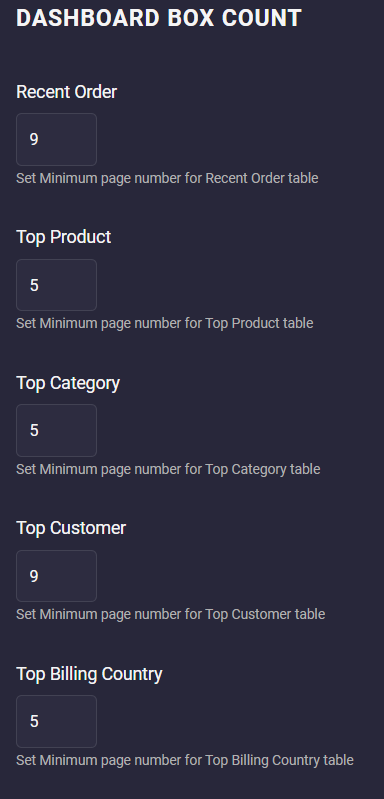
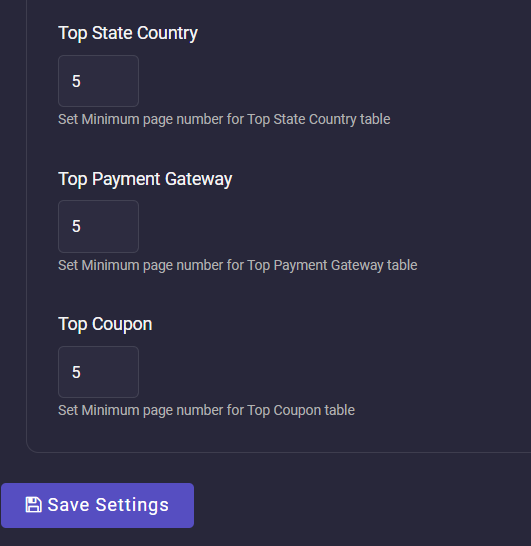
Dashboard box count
In the fields under Dashboard box count, all tables displayed in the Dashboard are listed and you can set the minimum row number for each one.
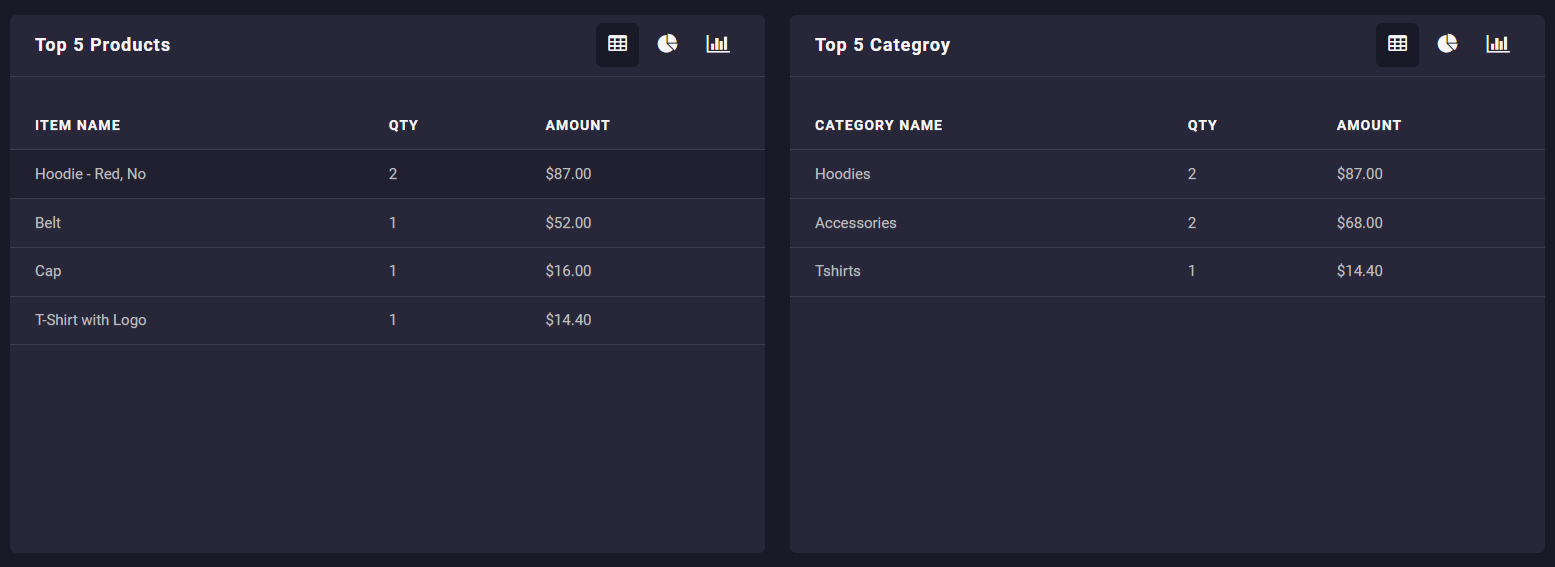
For example, we set 5 for the Top Products and Top Customers table, so, they are displayed in the Dashboard as below:
We designed an option for our plugin allowing you to send some reports to your email automatically. In this tab, you can set which reports are more important for you and you need to receive them in your email.
Brand Add-ons
If you have set any Brand Add-ons on your WooCommerce store, it is possible to add them to your reports by choosing them here.

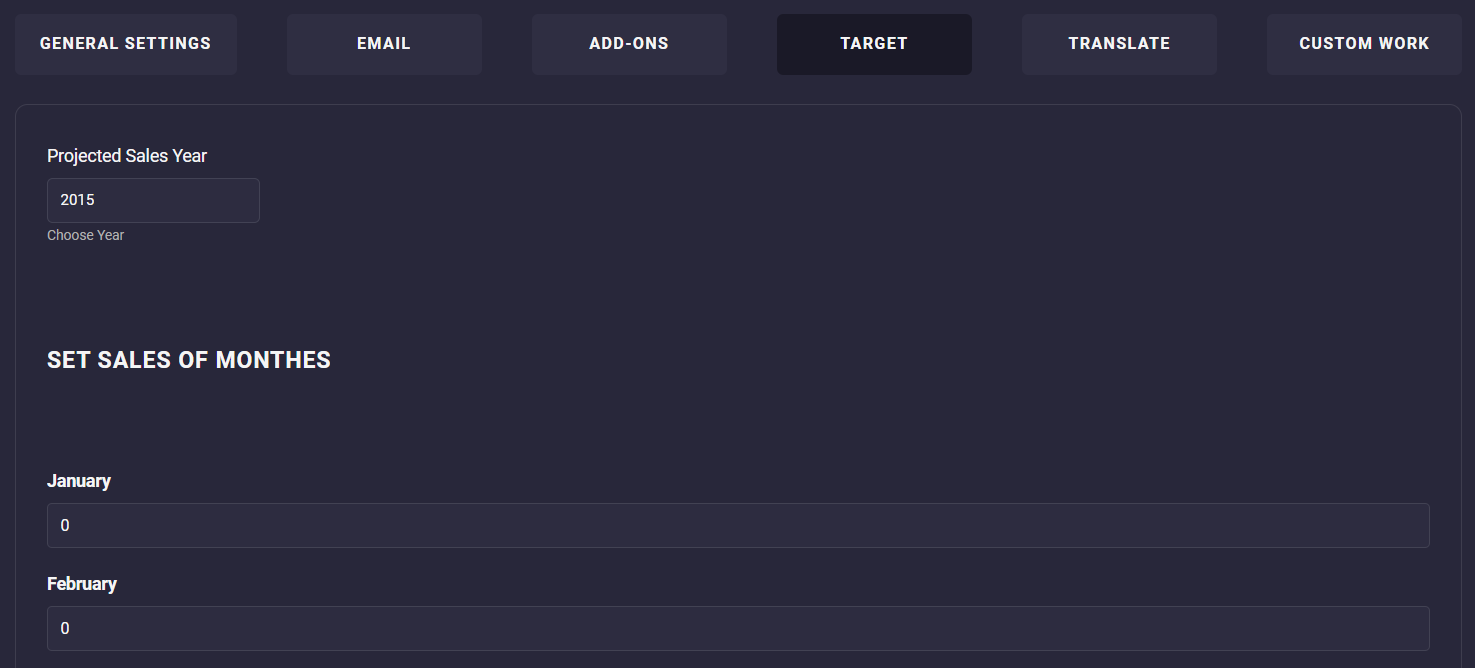
Target
One of the amazing features of our plugin is allowing you to predict a target for every month and compare the actual data to them at the end of each month.
In the Target tab, you can set the Projects Sale Year and the Sales of months to fulfill this purpose.
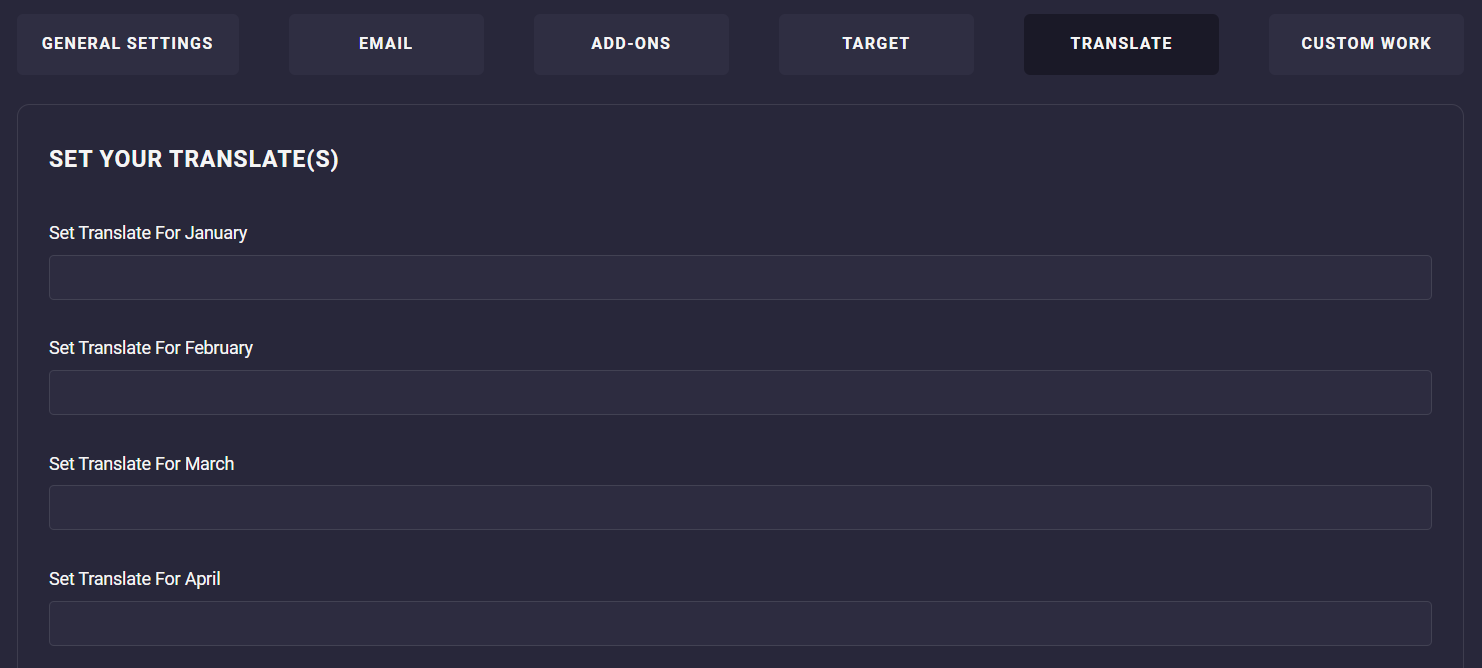
Translate
The fields designed in this tab enable you to set a translation for each month.
Custom work
If you order custom work, you can set its ID here.
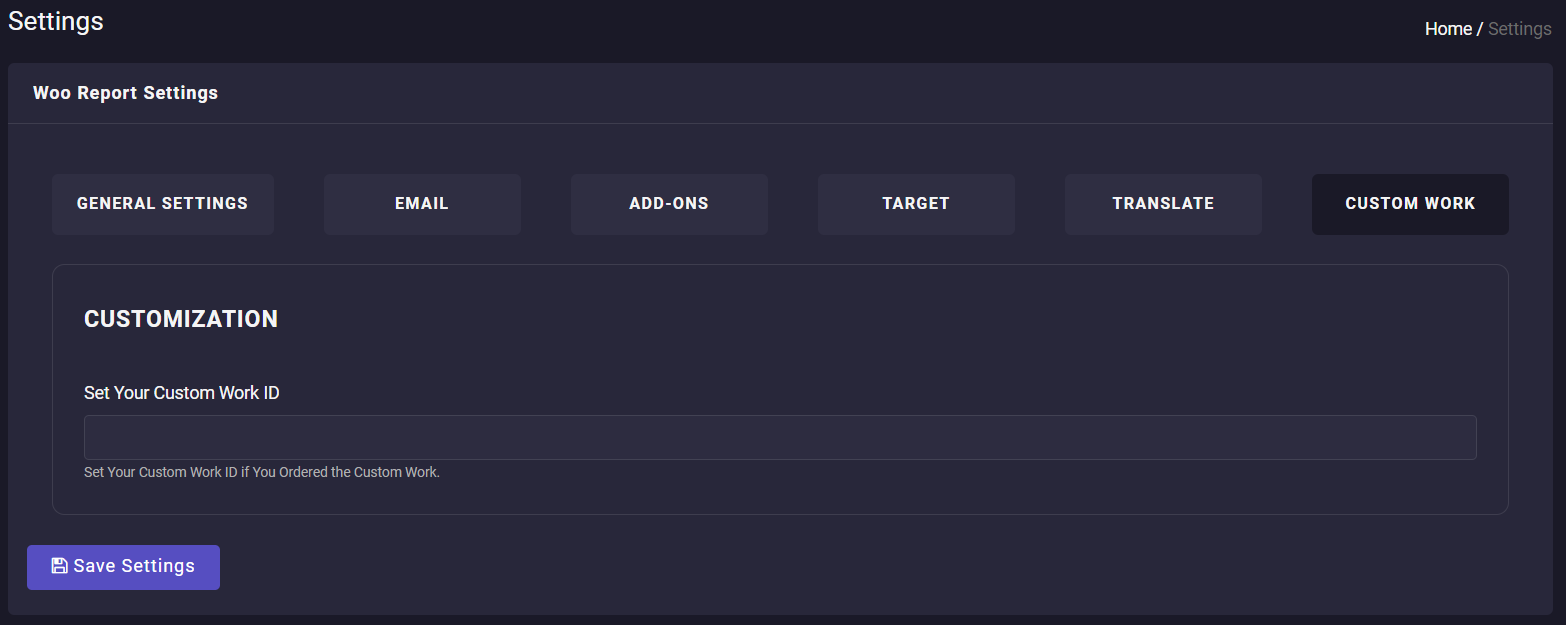
Save changes button
When you finish configuring the settings, all of your changes will be applied to the report plugin by pressing the Save Settings button at the bottom of the table.