Issuing an invoice is one of the requirements of every online store, but it is impossible to issue an invoice in WooCommerce without a plugin. The WooCommerce report plugin provides a professional option to issue invoices for sending to the customer. In this tutorial, we will teach you how to issue an invoice with this plugin.
What are the advantages of generating invoices?
The invoice acts as a legal contract between you and the customer. Customers are committed to their desired orders and transactions when you create and send invoices related to their orders.
Some of the advantages of using invoices in WordPress are:
Making your store look professional: The customer’s perception of your company can change significantly by sending a professional invoice to their emails and making your store appear more professional and reliable. Even if you manage a small online store, adding this feature to your website is still better to increase brand awareness.
Keep order records: The main function of WooCommerce invoices is to track purchases. Your customers may also ask you for an invoice for purchases. Keeping legal records of your sales transactions lets you track what products have been sold and helps you stay organized.
Keep Tax records: It is always a good idea to issue invoices for all orders to have a record of the taxes applied to them. Invoices help companies to observe tax differences. This will help you to evaluate your income accurately and ensure you pay your taxes on time.
Use invoices as a marketing tool: Sending invoices for orders with pending payment status is great for encouraging customers to return to your store and complete their purchase process. In this way, you can decrease the number of abandoned carts and improve the customer experience.
How to generate WooCommerce invoices in WooCommerce reports plugin?
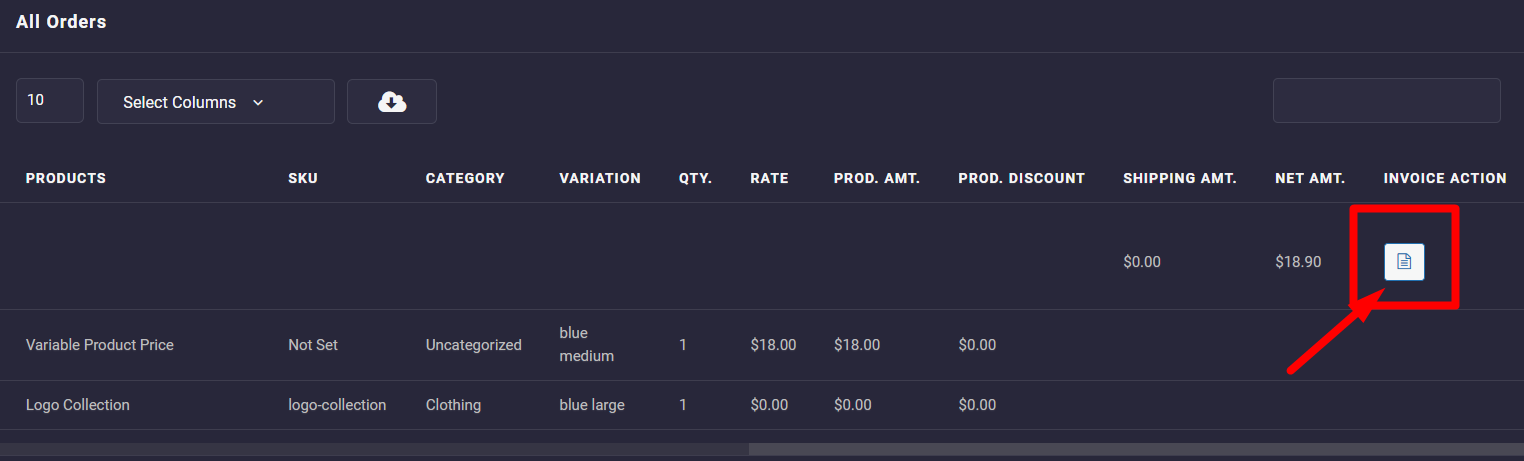
To issue an invoice for the WooCommerce report in our plugin, you can simply click on the Invoice Action icon, which is available in the last column of the orders report.
For example, consider that you want to issue an invoice for the last order of Smith – one of the customers of your online store.
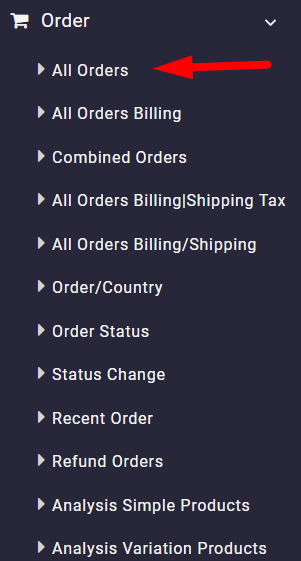
To do this, first you need to navigate to the below address:
Orders -> All Orders
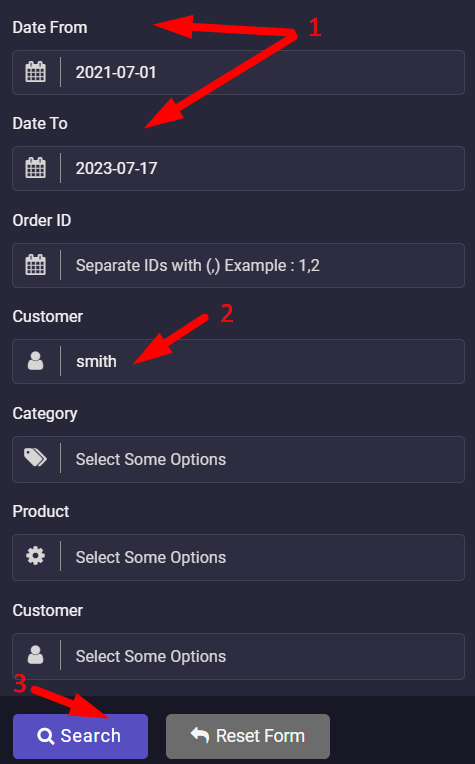
Then Open the search form and follow the below steps:
- Set a date range in the Date From and Date To fields (1).
- Choose Smith from the customer list (2).
- Click on the Search button.
Now, you can see all orders placed by Smith in the specified date range in the table:
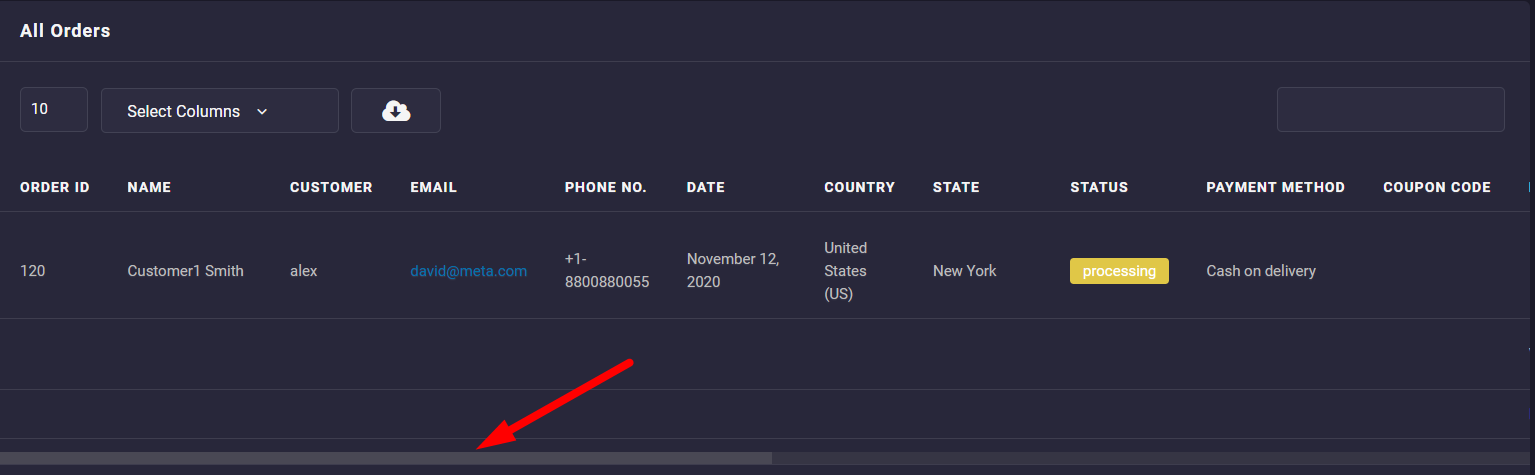
To issue the invoice, scroll over the table and click on the Invoice Action icon displayed in the last column of the table.
When the plugin issues the invoice, you can see a download button next to the invoice icon.
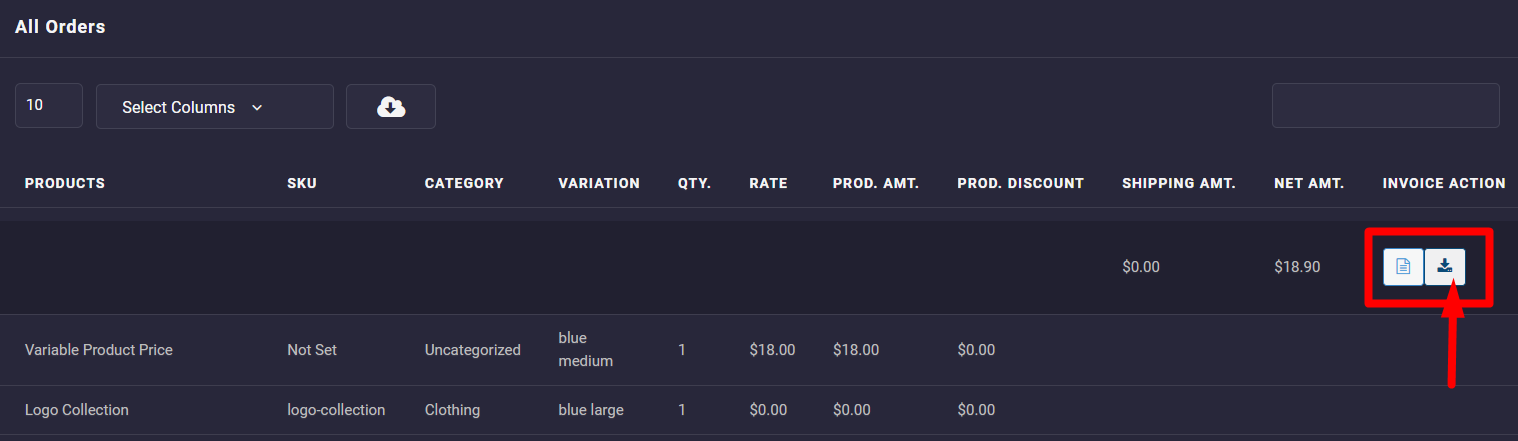
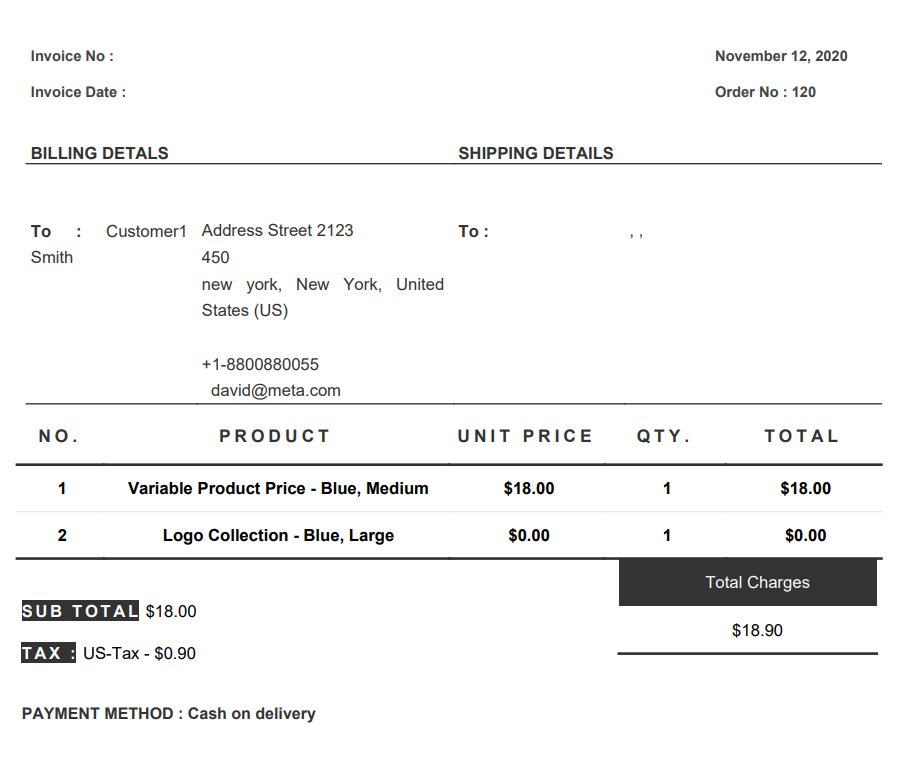
The invoice will be downloaded as a PDF file by clicking on this icon, and you can send it to your customer Email.
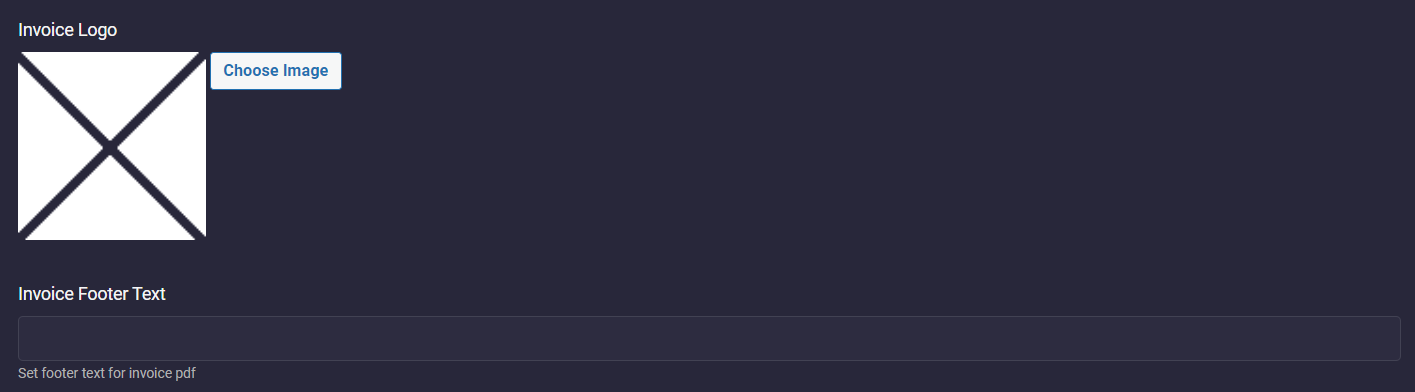
It is also possible to customize the invoice by adding your Invoice logo and Invoice footer text, as illustrated below in the Setting tab: